Pinterest board
The conversation
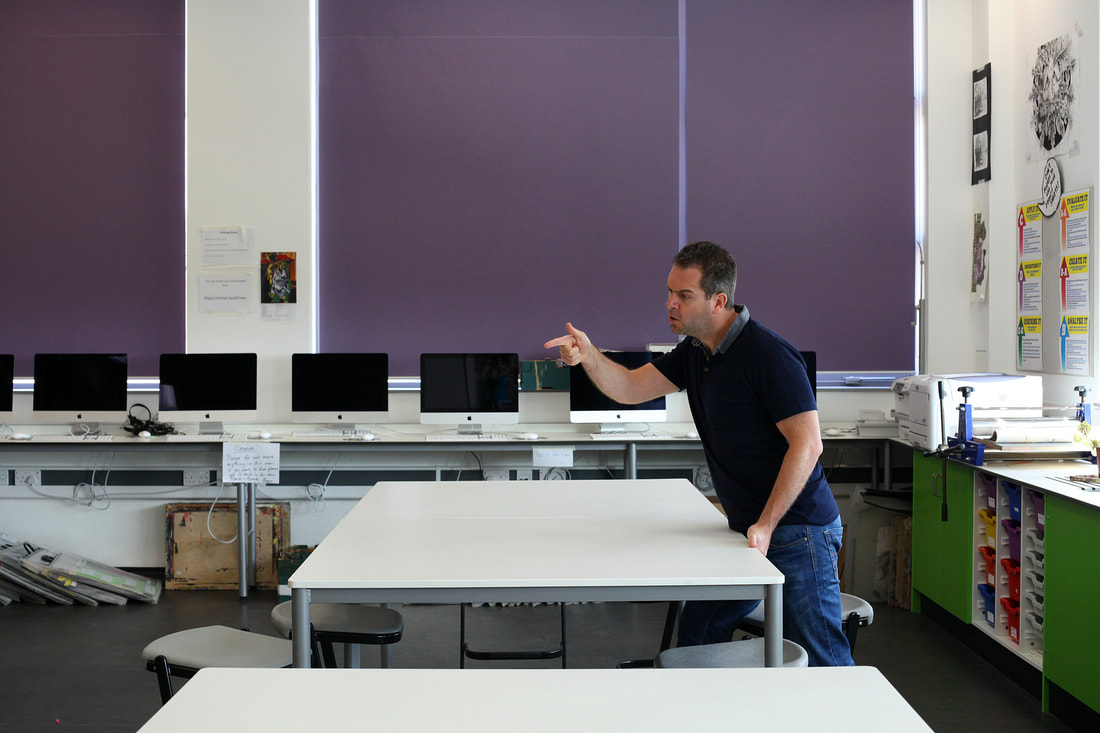
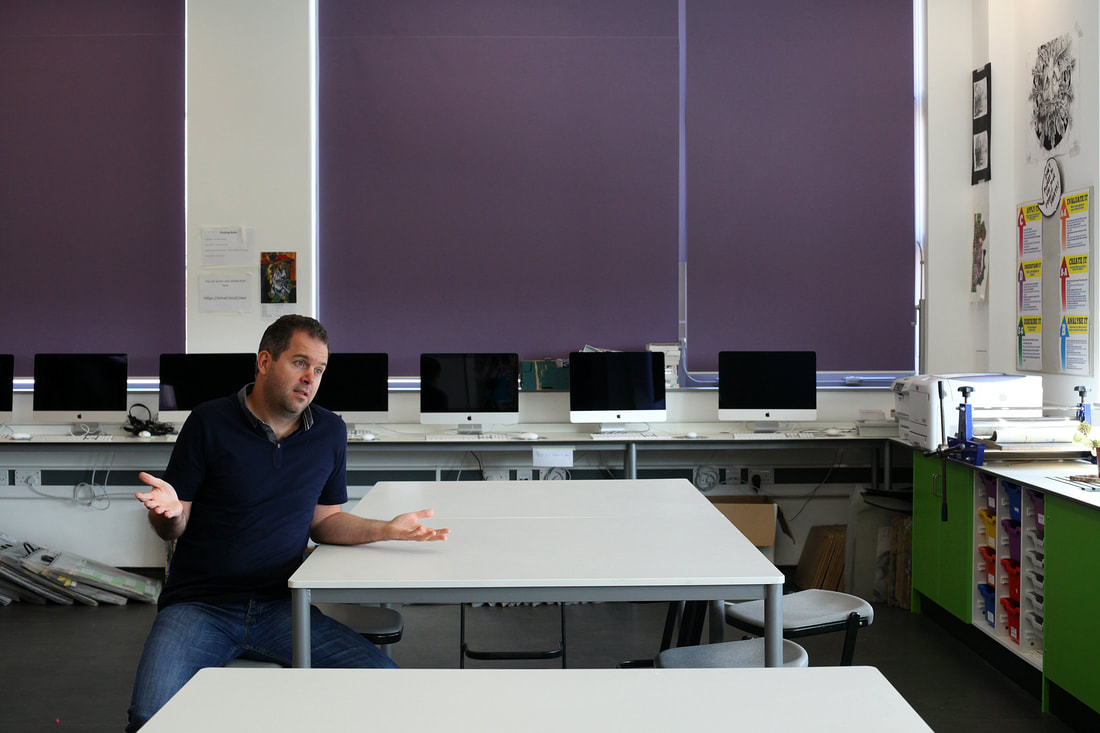
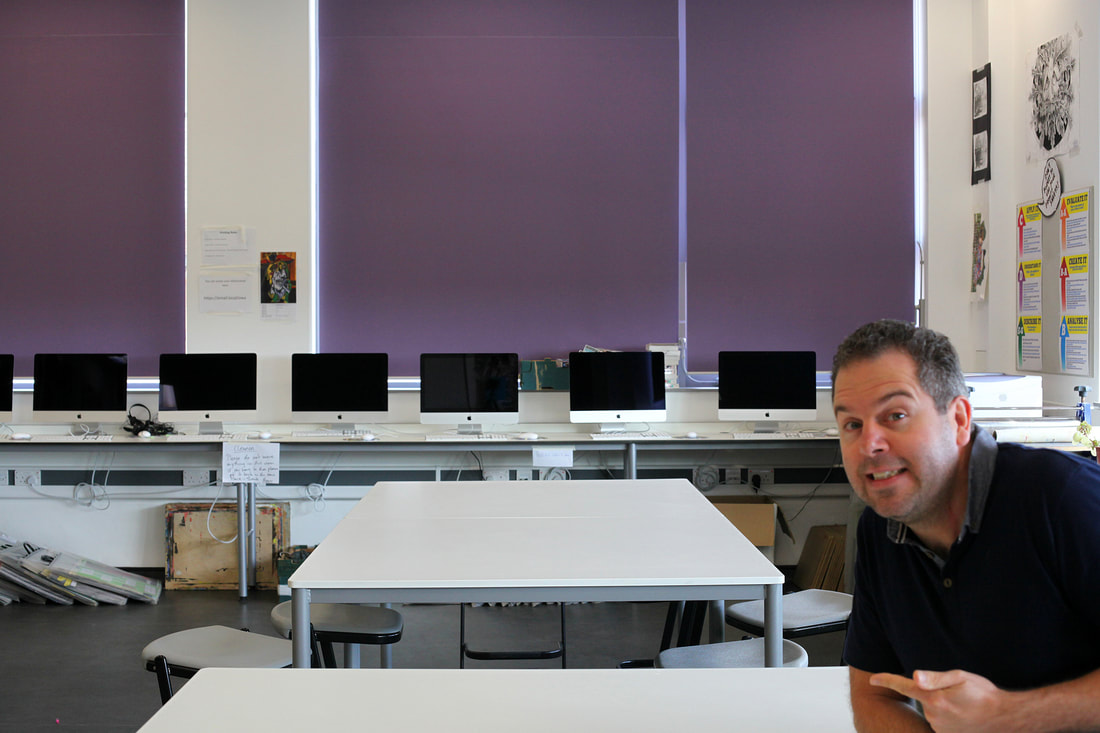
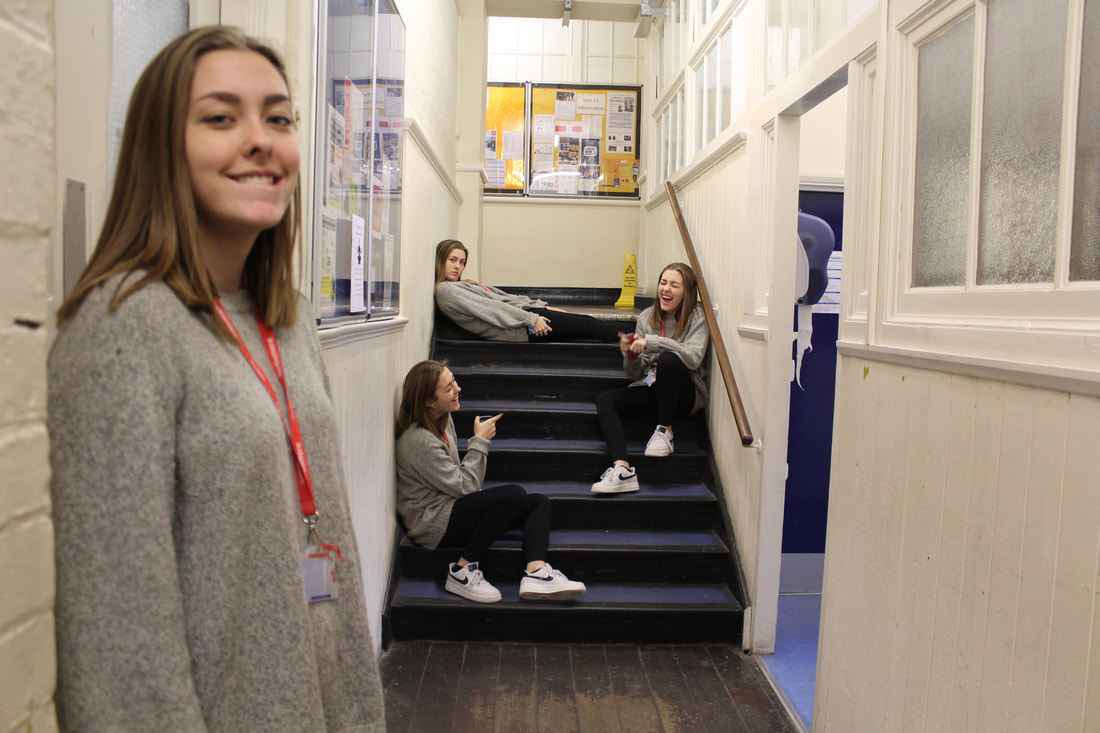
In this task I looked at different codes of behaviour relating to the exam title of Secrets, codes and conventions. We looked at the photographer Paul Smith, who explored the conventions of group photos and the relative codes of behaviour.
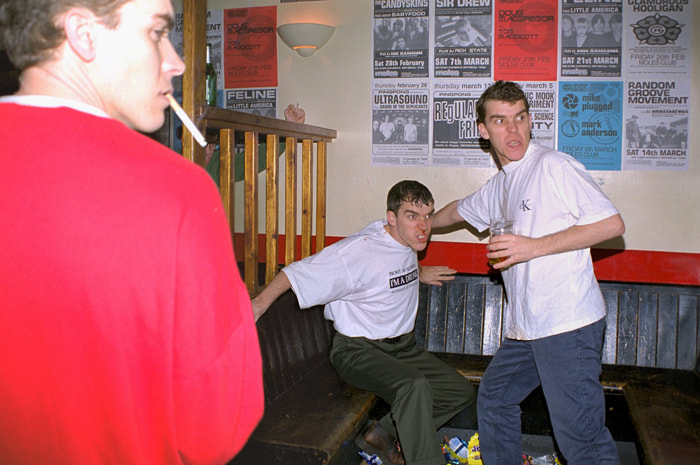
We experience different codes of behaviour in our everyday lives. We acknowledge the necessity to behave differently in different social situations such as with friends or in Church or at school. In these photos, Paul Smith portrays the universal codes of behaviour in the specific social situation of a 'Lads nights out.'
We experience different codes of behaviour in our everyday lives. We acknowledge the necessity to behave differently in different social situations such as with friends or in Church or at school. In these photos, Paul Smith portrays the universal codes of behaviour in the specific social situation of a 'Lads nights out.'
Paul M Smith photography
|

|
Response
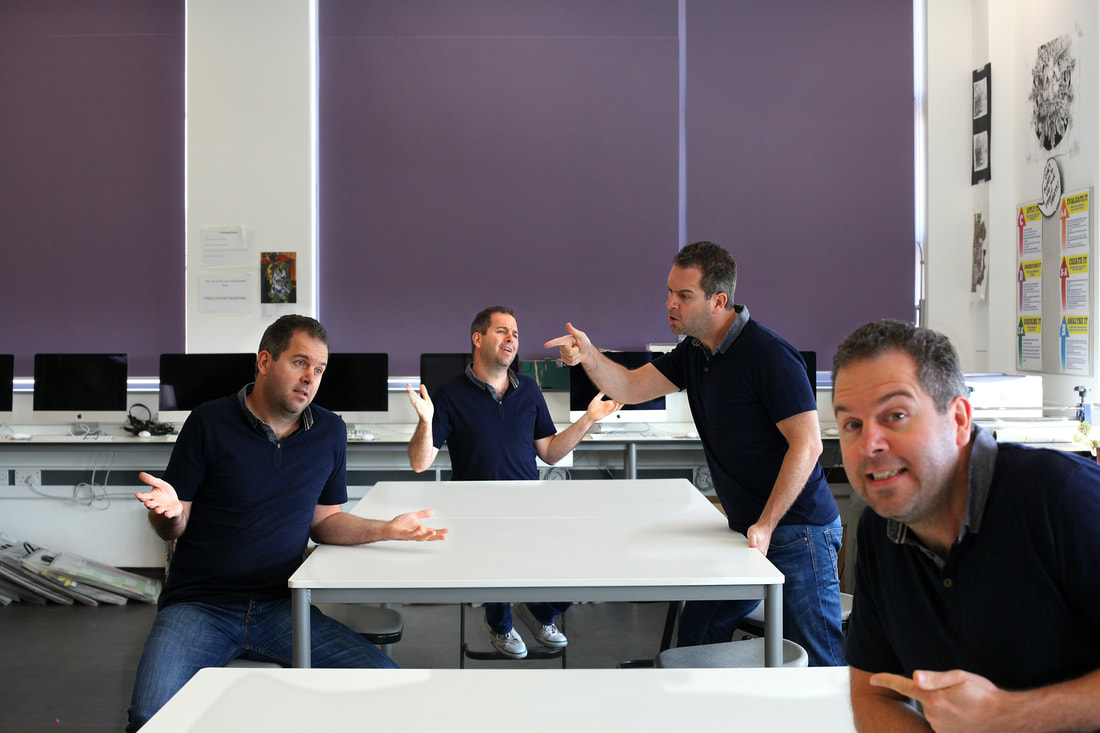
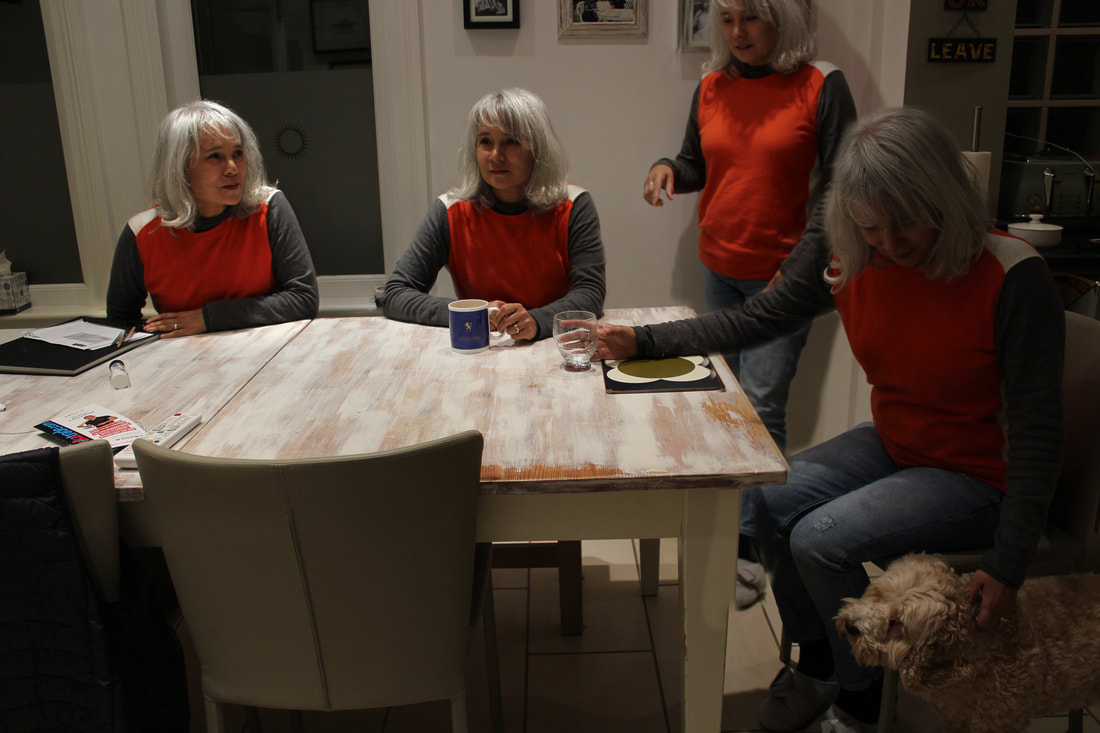
In this first attempt, I practised the photoshop technique of layer masks on photos given to me.
PROCESS:
First we were given the series of photos to make the edit, including the background photo. The photos have to be taken in exactly the same place so that they line up perfectly. We then layered the images on photo shop, the figure furthest away as layer 1 and the figure nearest as layer 4.
PROCESS:
First we were given the series of photos to make the edit, including the background photo. The photos have to be taken in exactly the same place so that they line up perfectly. We then layered the images on photo shop, the figure furthest away as layer 1 and the figure nearest as layer 4.
|
|
|
|
|
Next we used the polygon tool on photoshop to outline the object and place it onto the layer below

Then we refined the edges of the figure and used a feathering tool to soften the edges so that the layers blend together better. After that we pressed space to delete the background and moved onto the next figure.
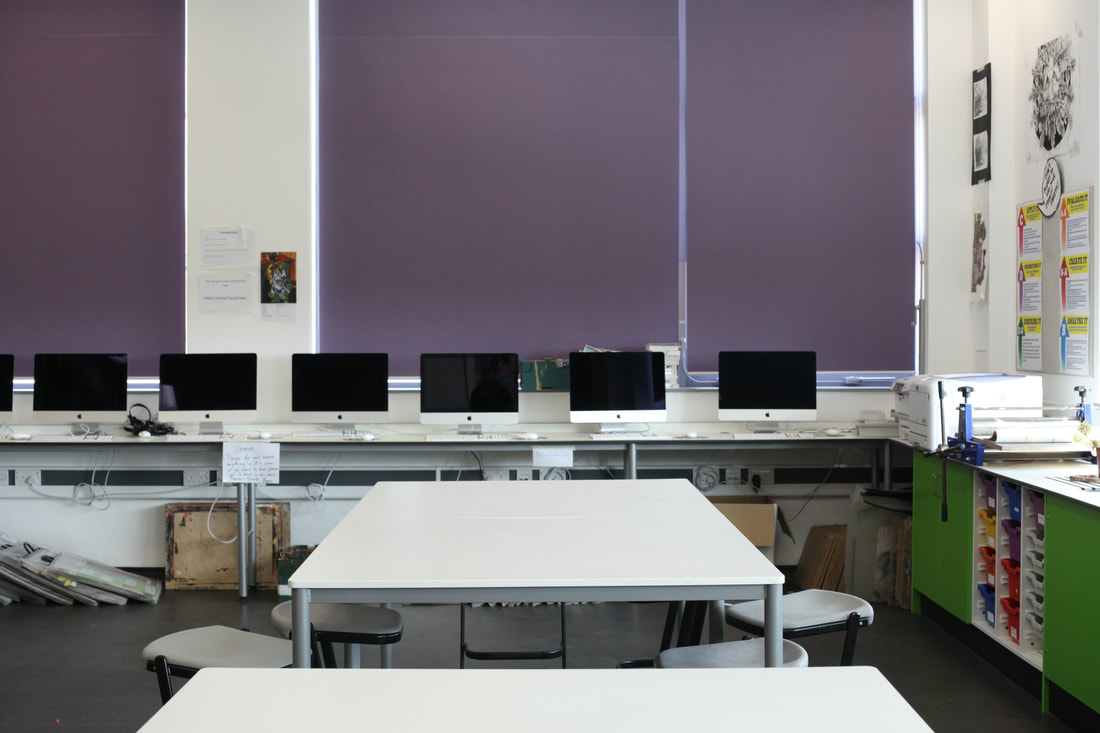
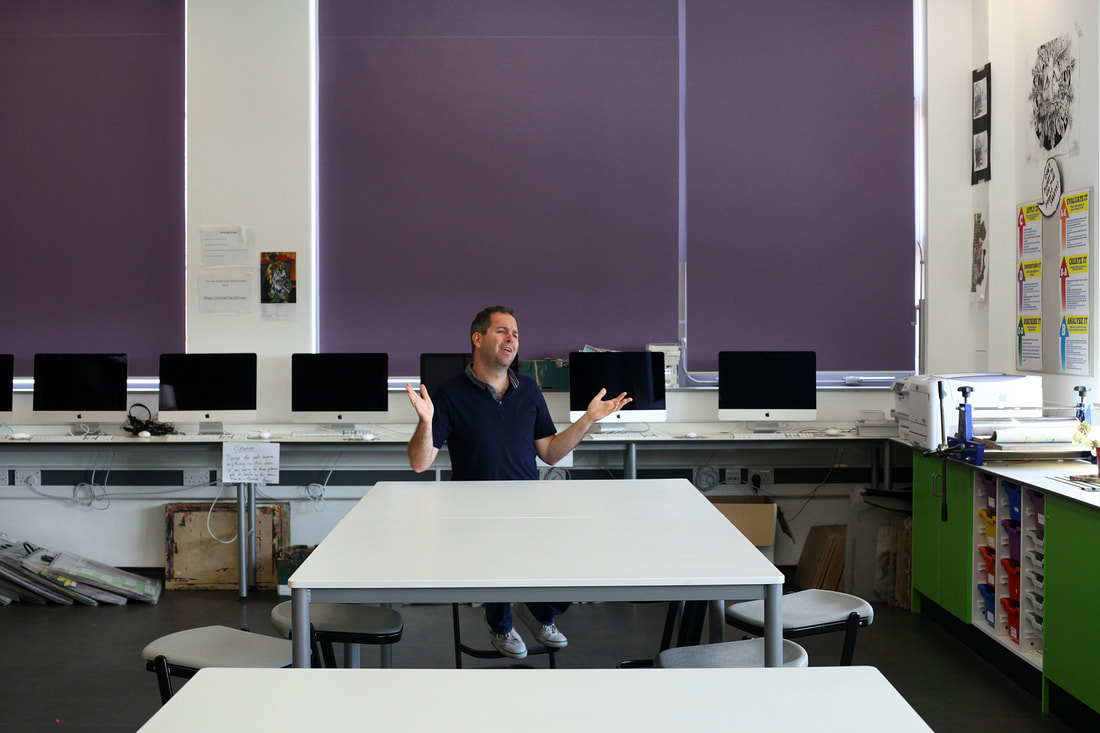
In this attempt, I used my own photos taken around school and edited them.
Exhibition visit - Andrea Gursky
|


|
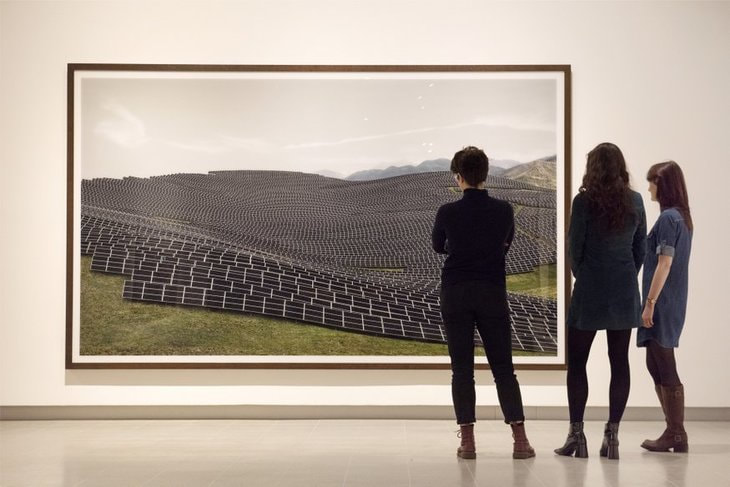
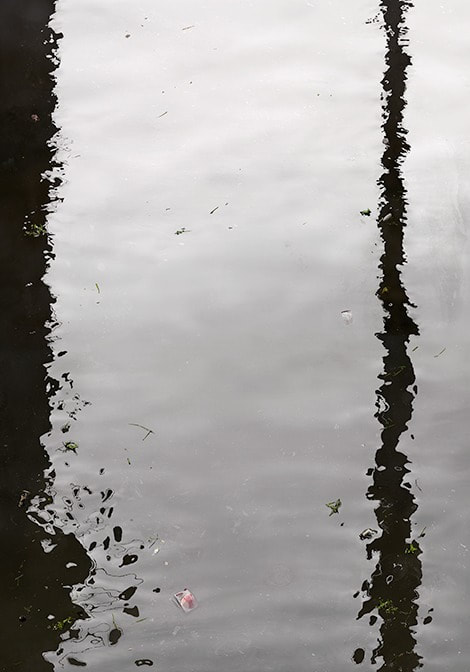
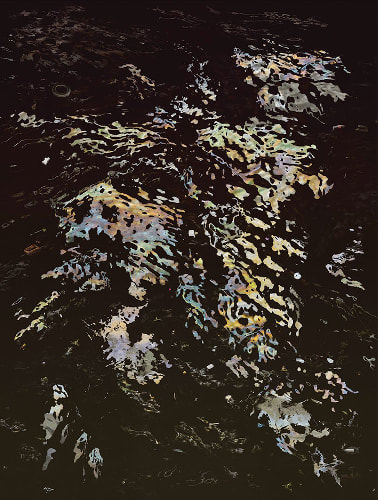
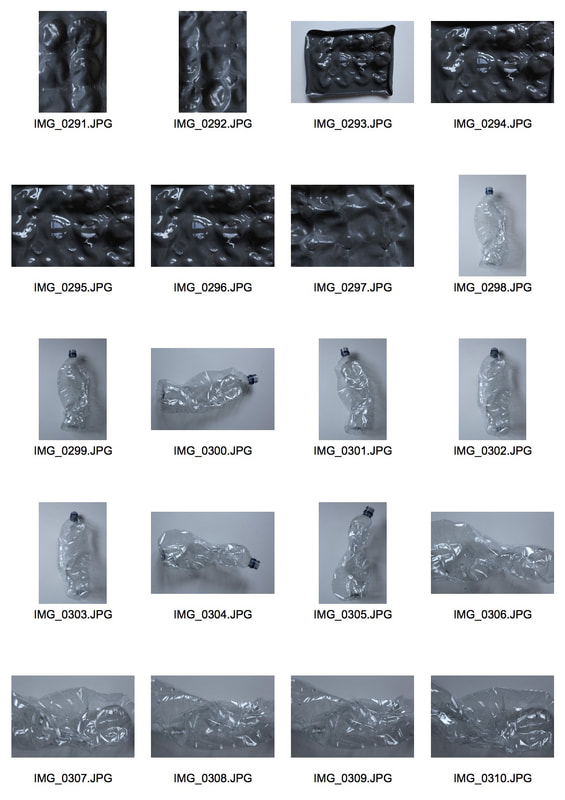
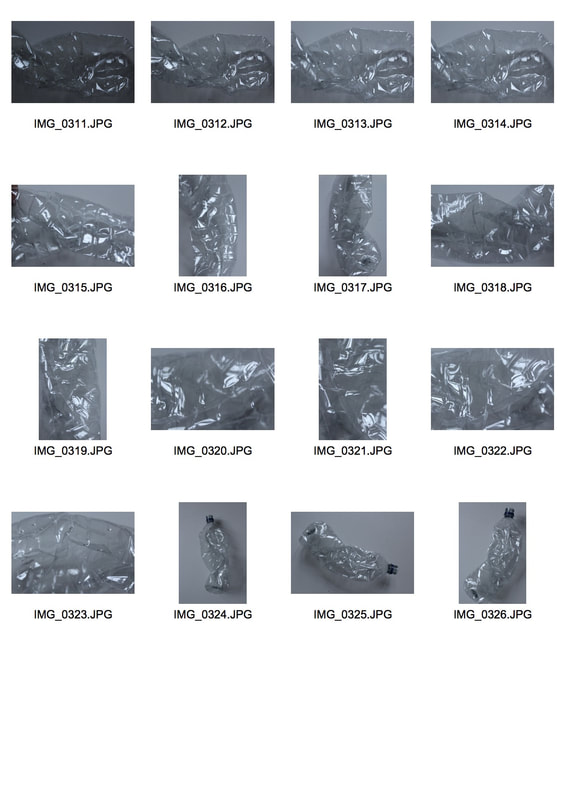
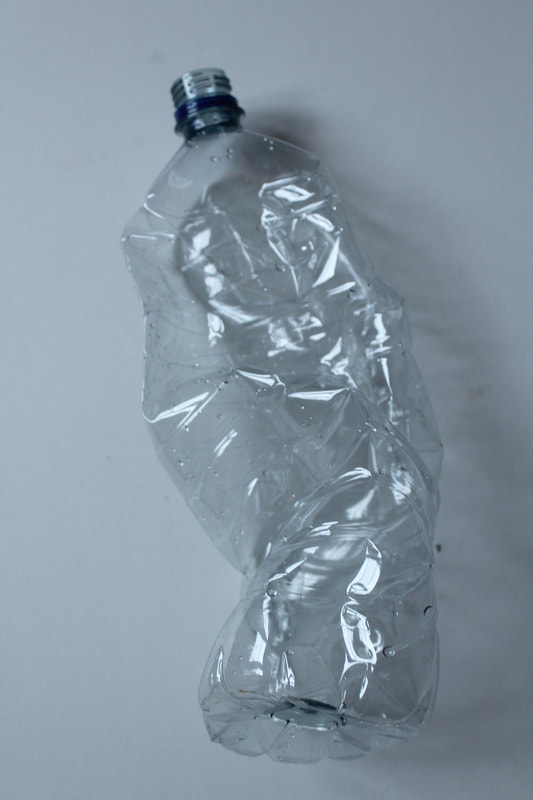
Andreas Gursky creates abstract photos of natural materials, everyday objects and man made multiples. He uses perspective and symmetry to create patterns and unrecognisable images of objects we see everyday. Often in his photos, Gursky zooms in to emphasise texture of a material and add abstraction and aesthetic value. These images of water have a painterly quality and are almost unrecognisable as water. The unique shapes and colours created by the waves are visually interesting and it is almost hard to belief they're natural and real. This portrayal of such a traditional and unchanging subject gives completely new perspective to the viewer and asks them to look at the natural world in a different way. Gursky's photos require the viewer to spend time studying them, whether they are broad landscapes of factories or close up shots of water, there is always an extraordinary level of complexity and fine details. Everything is always kept in focus, there aren't specific focal points in photos which adds to the immense detail and overall impact of the bold colours and shapes.
Gursky wants us to consider our own perception of reality. Describing his everyday subjects he says he is 'not reporting on reality but what is behind it', he captures the natural world we are accustomed to in an ethereal and abstract way. It is said that photography can reference both fiction and real life, and Gursky has mastered the use of both at the same time in one image. Whether you are familiar with contemporary art or photography or not, Gursky's photos give you a very powerful encounter.
In his photography Andreas Gursky attempts to push the boundaries and conventions of photography, through technique and subjects. He is renowned for photographing some of the most epic sites of global capitalism and economy such as stock markets and factories. He looks at issues with consumerism and mass consumption and mass media. Throughout his career he expresses his interest in how people behave in groups or a collective and how these structures shape our behaviour. He has previously said that he uses photography to try and explore or explain how the world fits together. He looks at every sort of image you can make and combines it all to create his completely unique pieces of art.
Gursky uses digital manipulation to alter minute details or repeat multiples to create an endless effect or patterns. This also emphasises the mass number of objects in the photo, linking to his themes of consumerism. The impact of all the multiples in focus is more effective in showing the large amount of objects and the mass of material and resources.
|
|
|
London photos
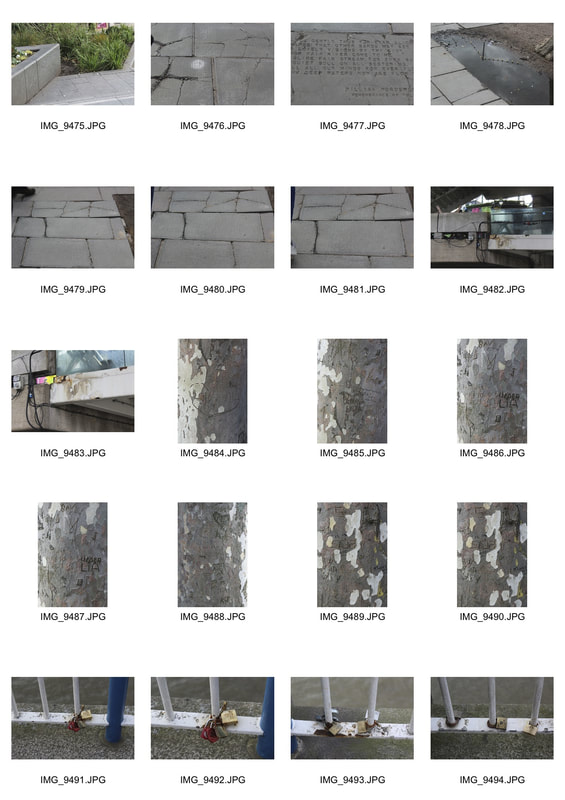
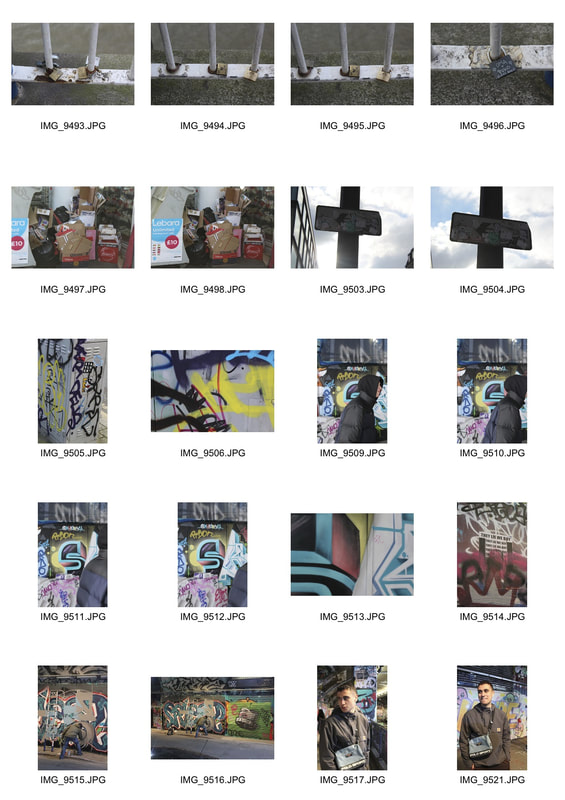
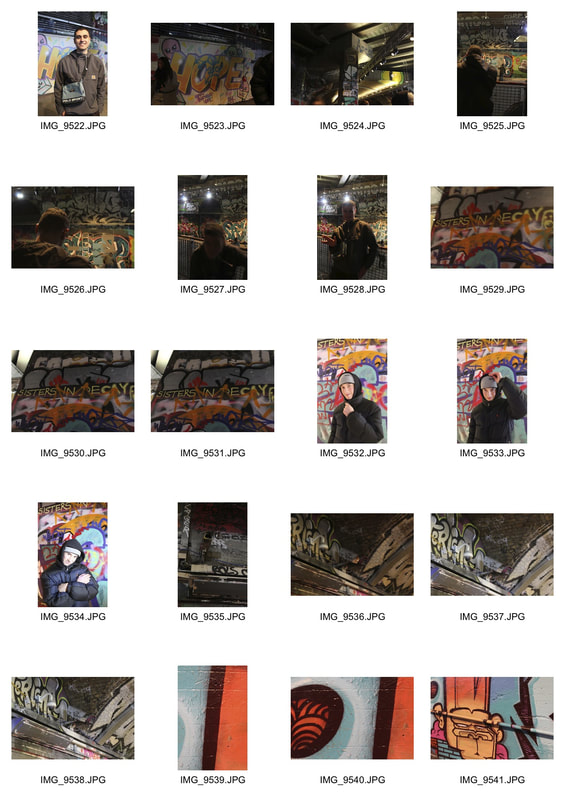
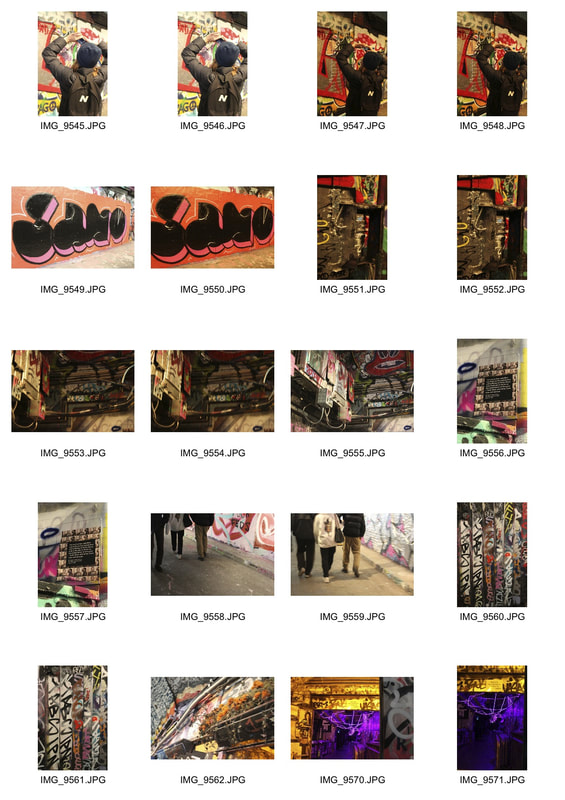
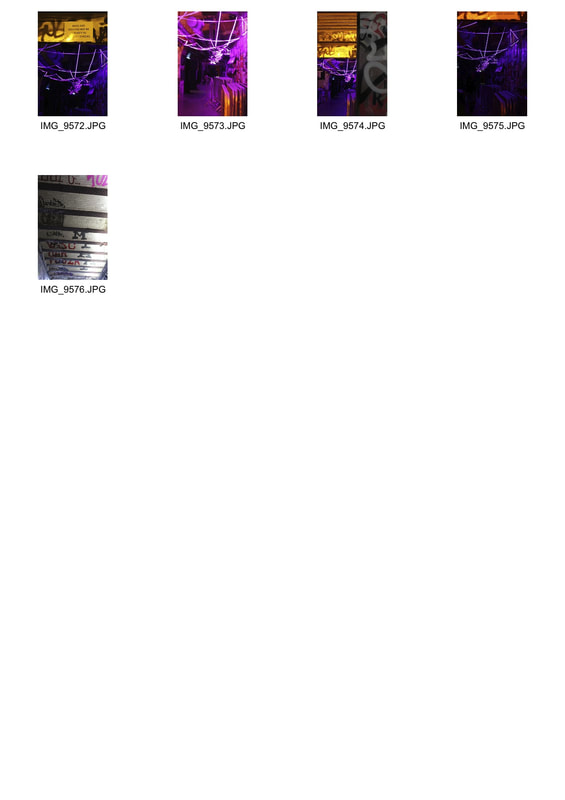
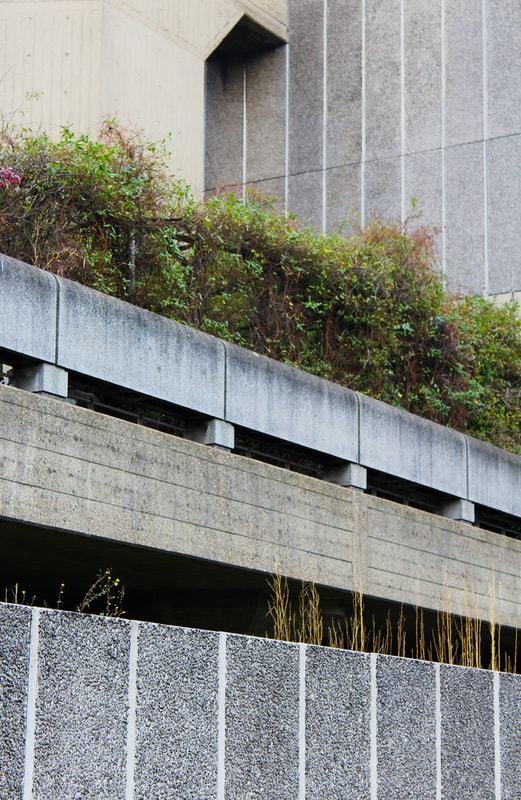
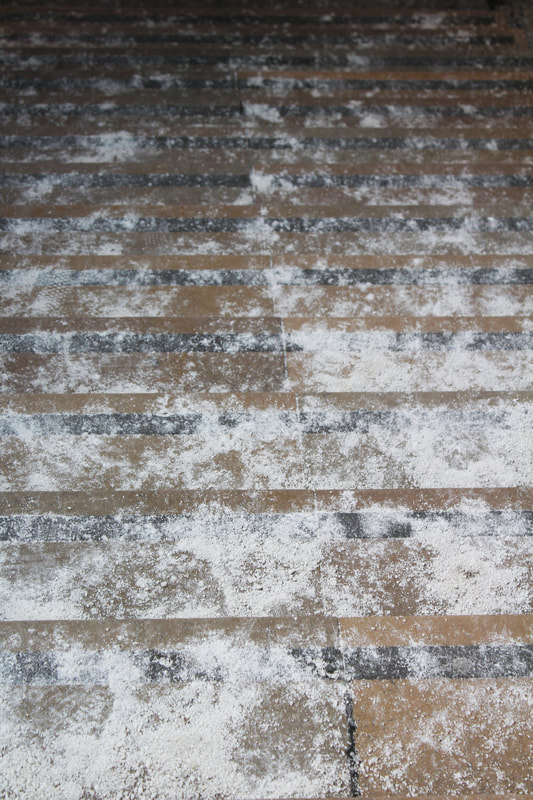
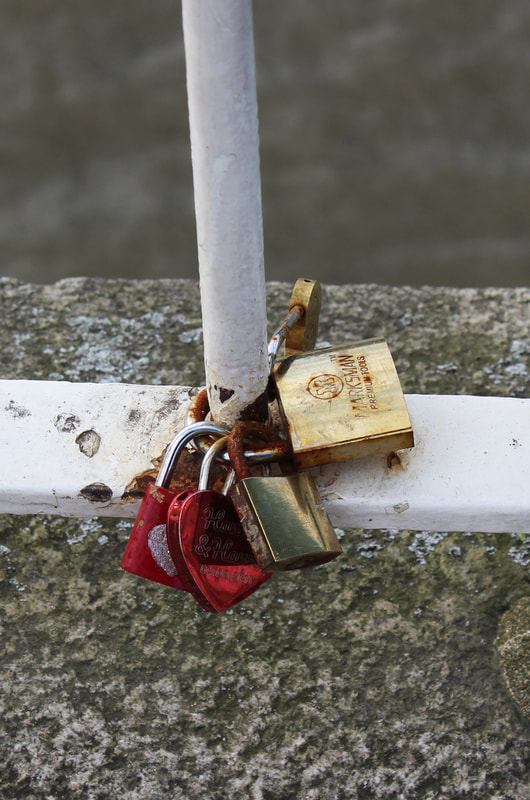
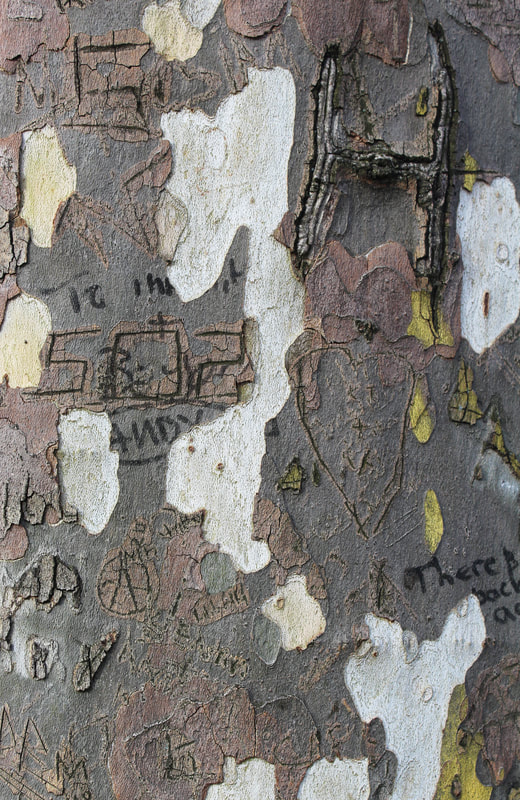
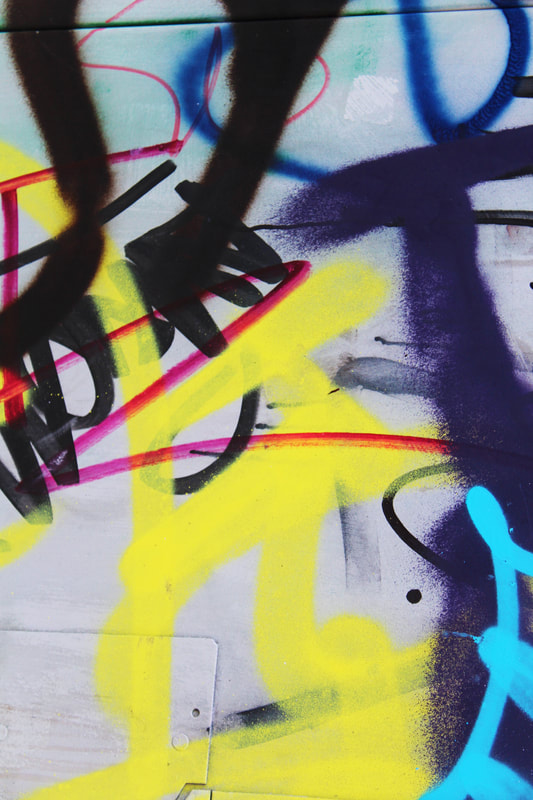
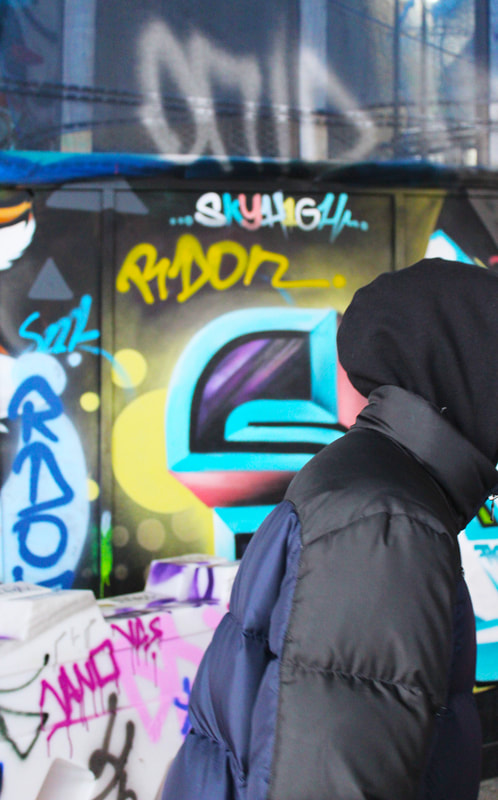
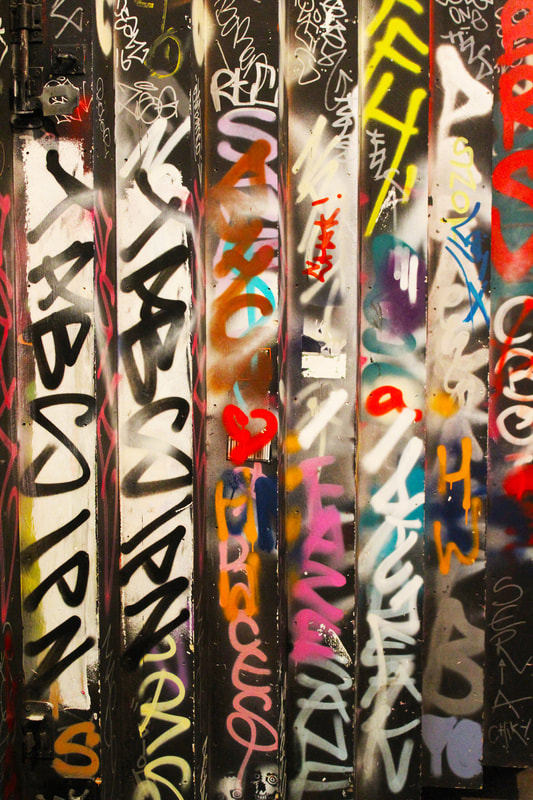
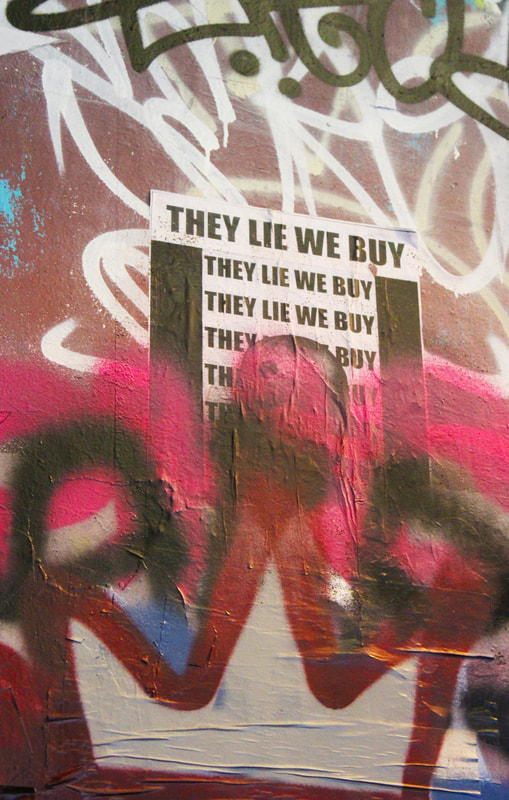
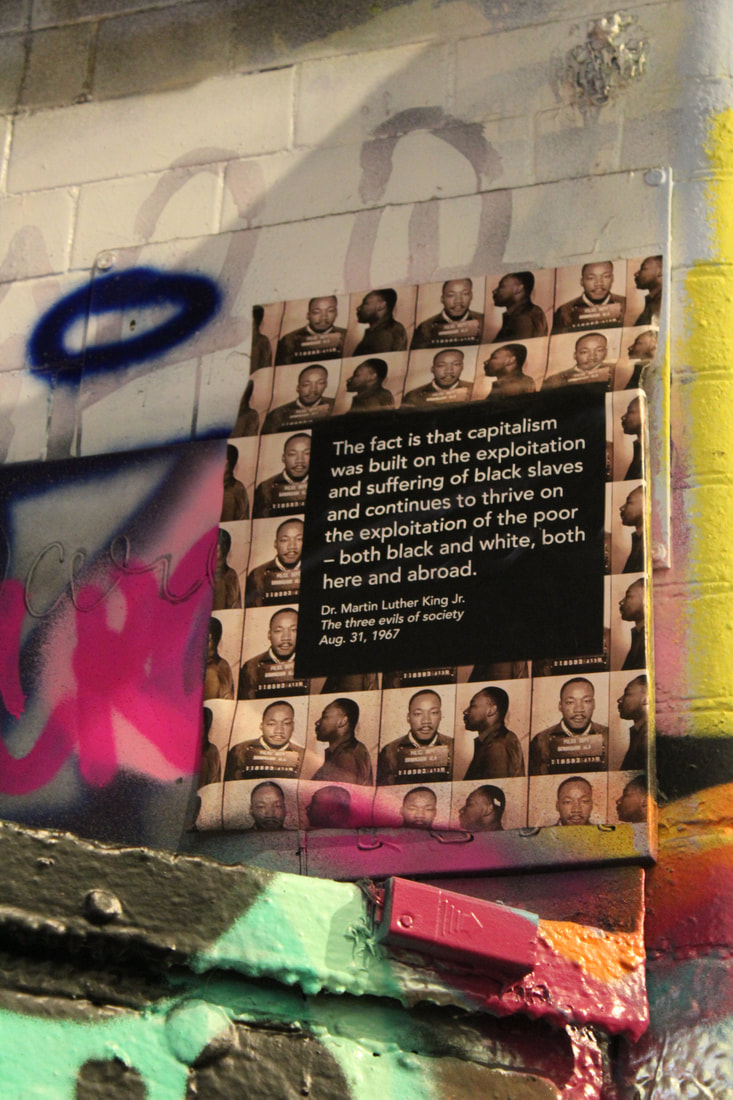
In this task we walked down southbank and were asked to photograph things we found interesting, I tried to look for small details around London that you wouldn't notice on first glance. This links to the exam theme of secrets as the small details are secret from everyone else. I feel that I captured a selection of details and locations around London that are often unnoticed or not given attention. To improve I could take more photos from different parts of central London to maybe find repetition or contrast.

|
|
|
|
|
|
|
|
|
|
|
|
|

|
|
|
www, ebi and potential ideas to develop
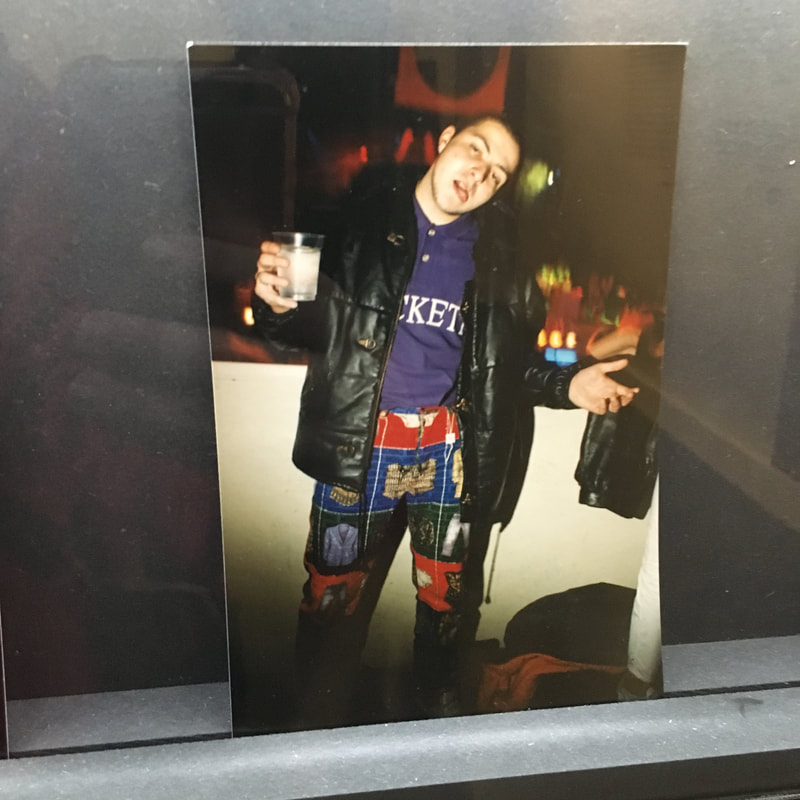
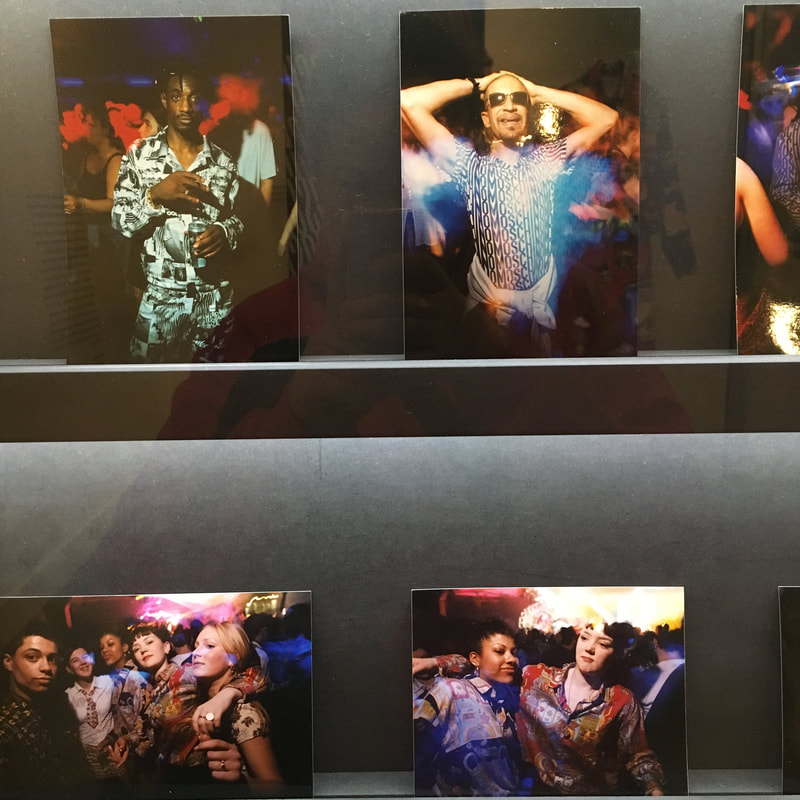
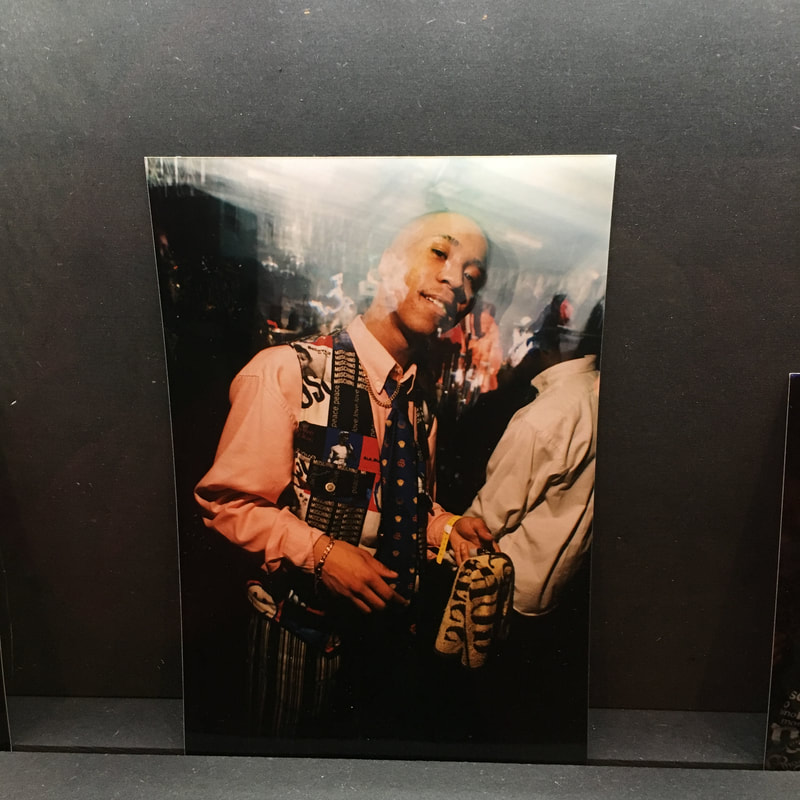
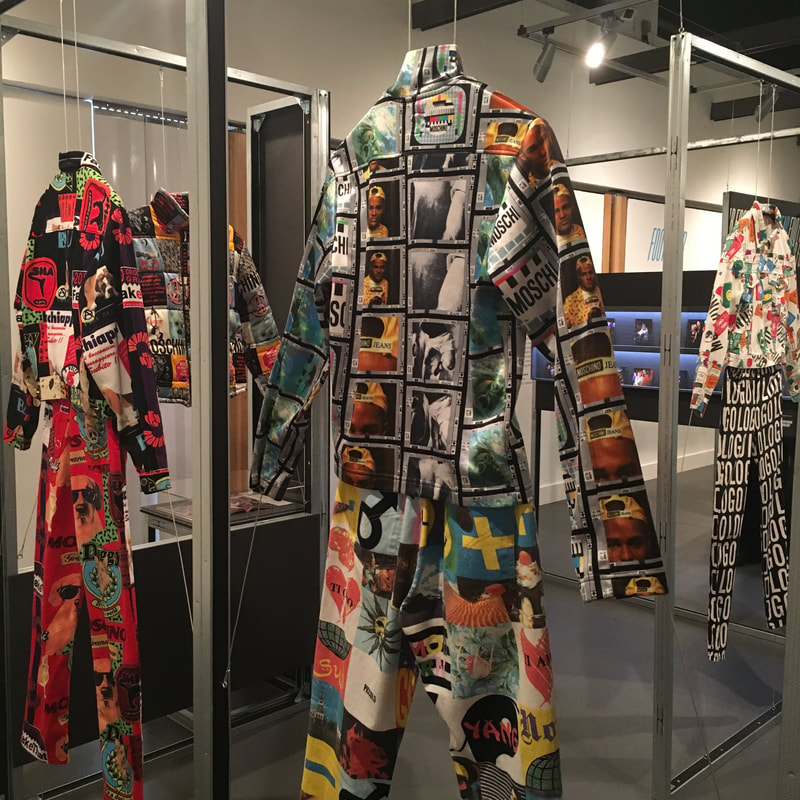
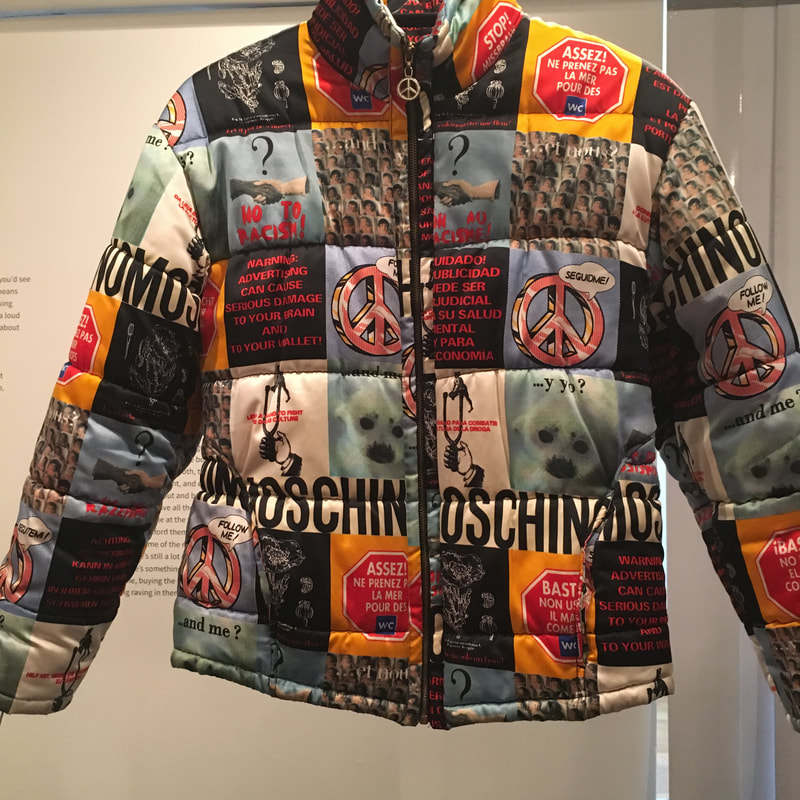
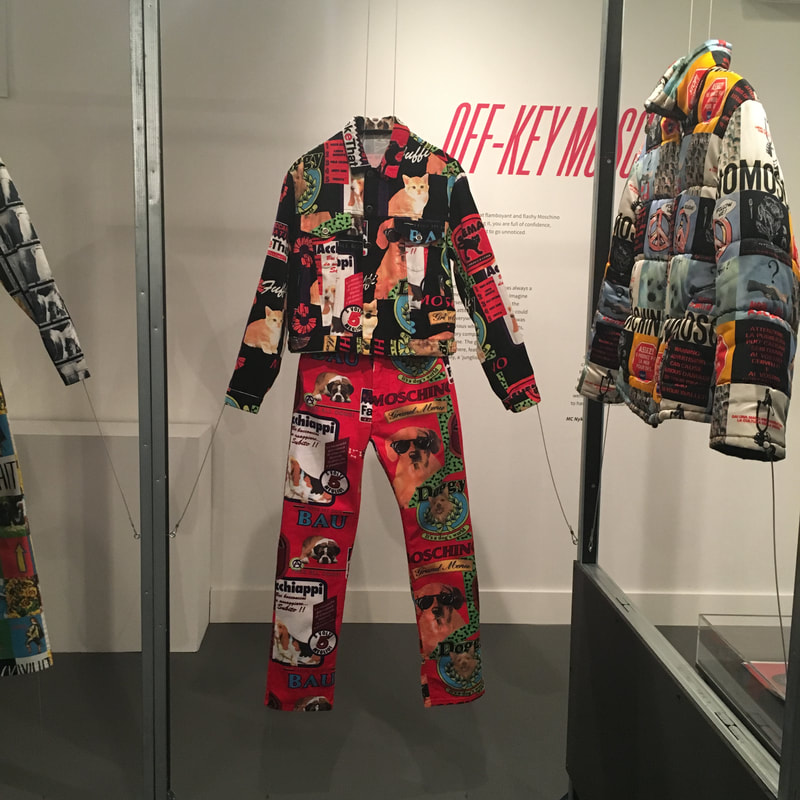
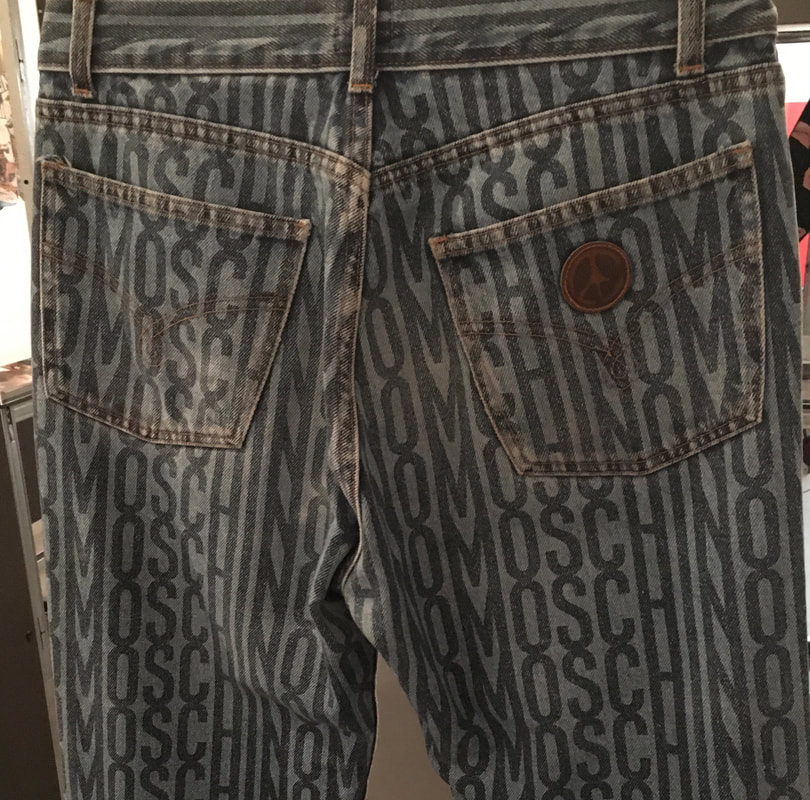
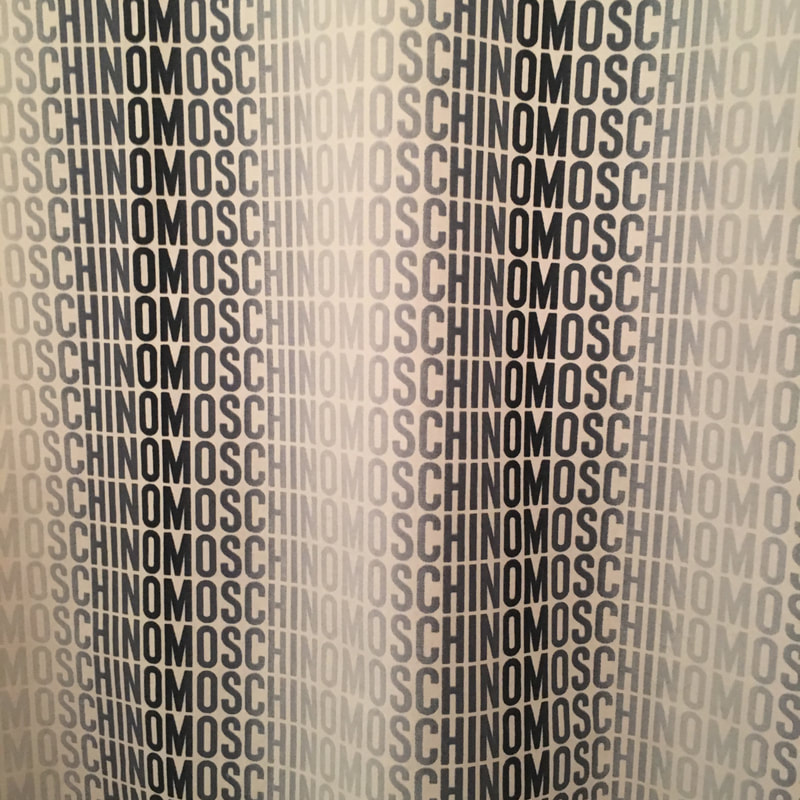
Exhibition visit- Super sharp
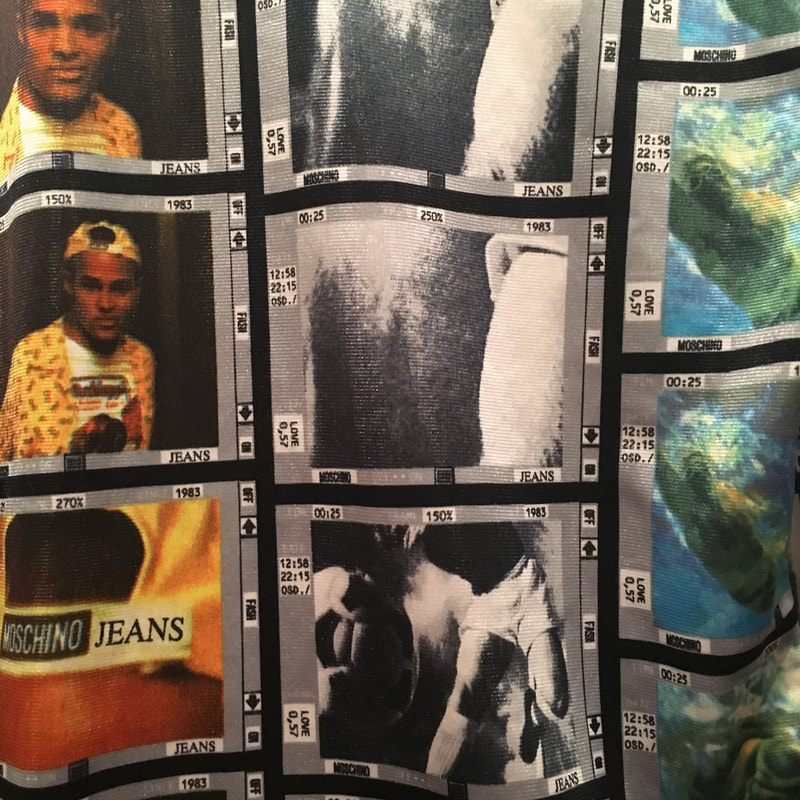
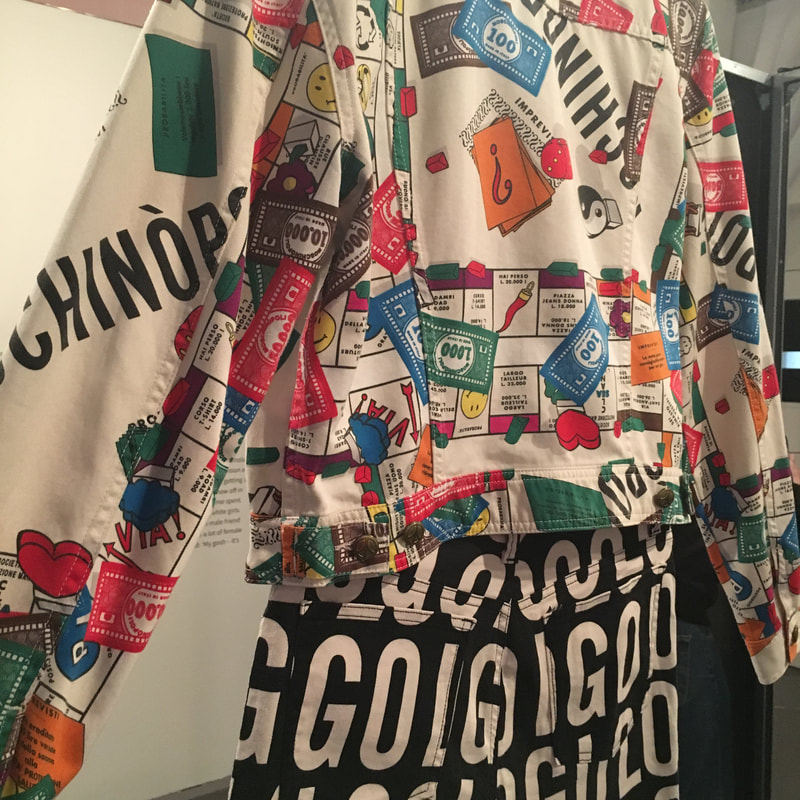
I went to a small exhibition at London College of Fashion called Super Sharp. The exhibition looked at Italian designer brands, appropriated in underground music scenes of jungle and UK garage. Moschino in particular became synonymous with the look of that era, other brands including Versace, Iceberg and D&G. The title of 'Super Sharp' embodies their attitude to dressing. The exhibition aims to highlight the voices of those there at the time, their personal memories and experiences. I found the exhibition interesting because of its documentary aspect in capturing people's personal experiences and lives as well as the collective subculture and their own 'dress codes'. This is something I would like to look into.

|
|
|
|
|
|
|

|
|
|
|
|
Secret locations -
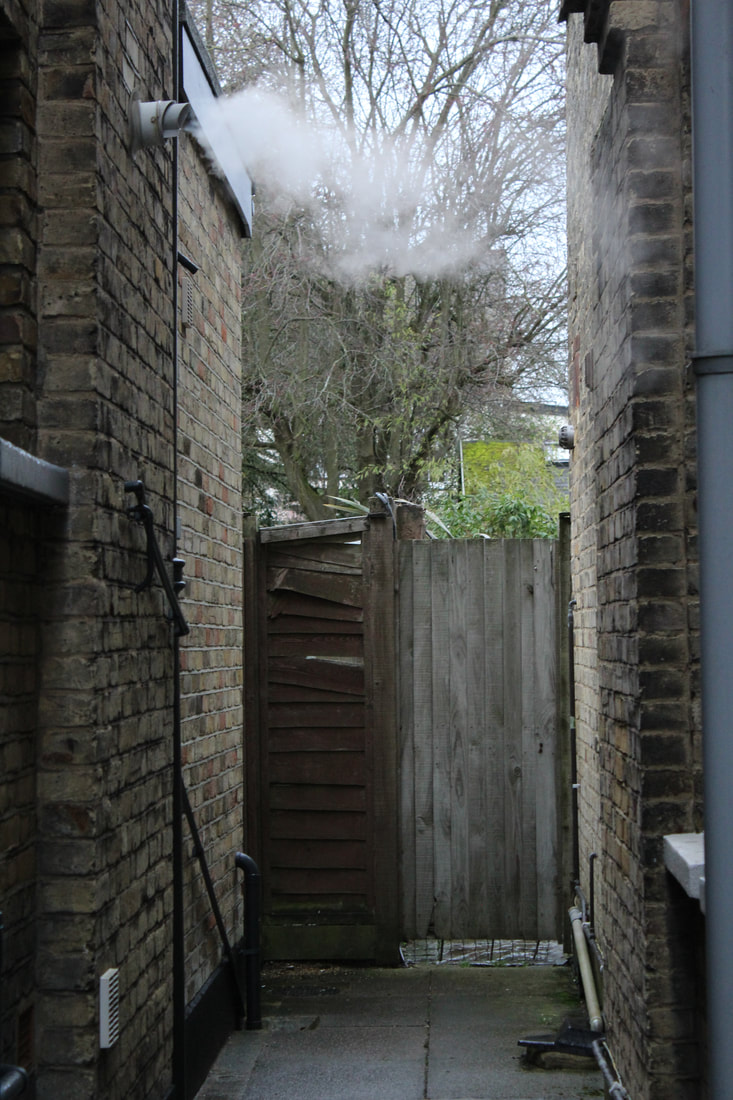
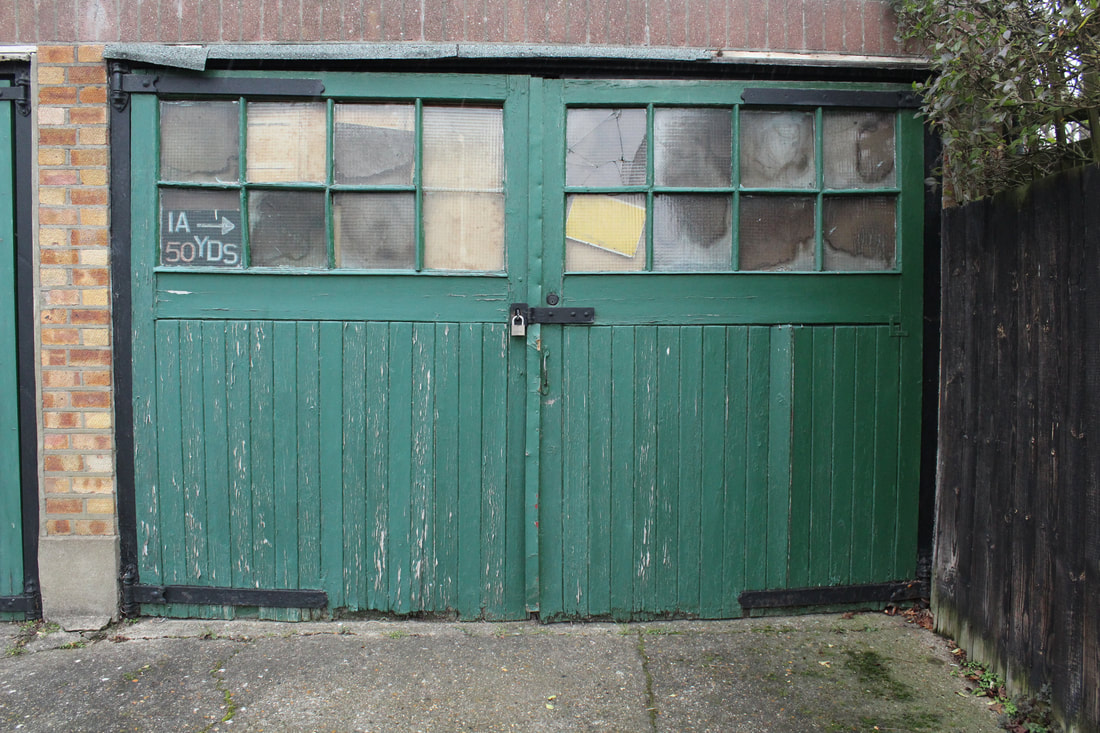
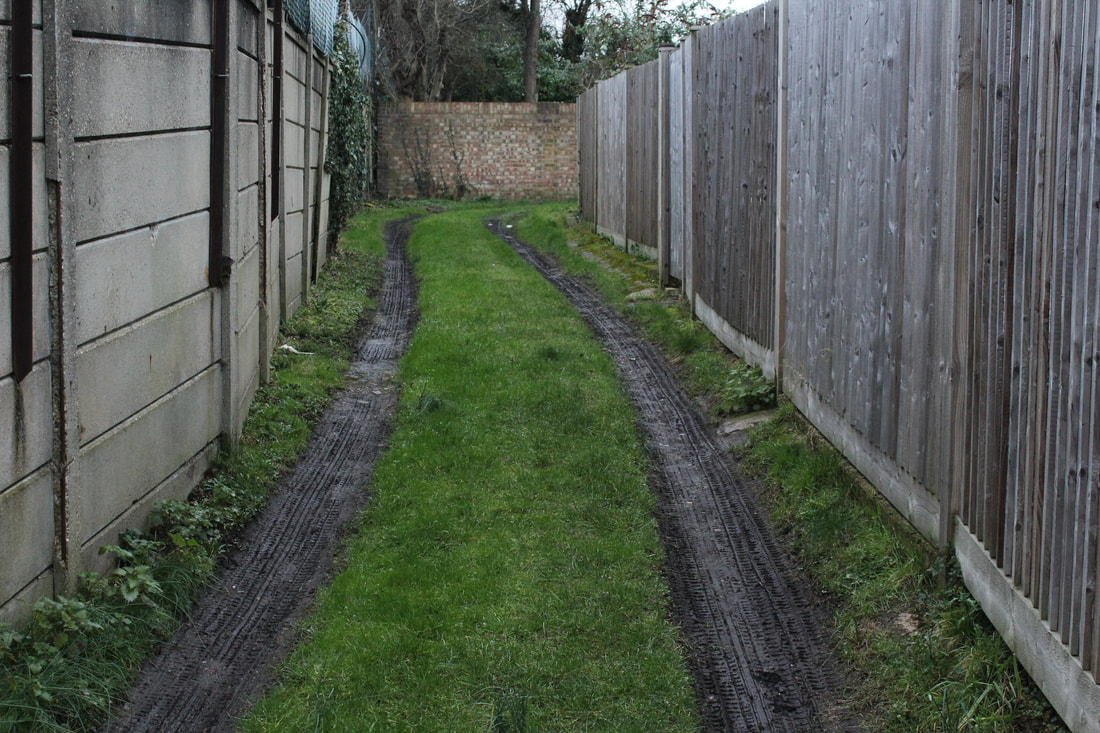
In this task I was asked to take photos of secret locations in my area. I tried to find both small confined spaces such as alleyways, and larger secret locations like grass and woodland areas. If I were to improve I'd focus more on the lighting and composition of the locations to make them look more deserted or hidden. I could also go to different locations to find more varied landscapes and areas, or try taking them at different times of the day.

|

|
|
|
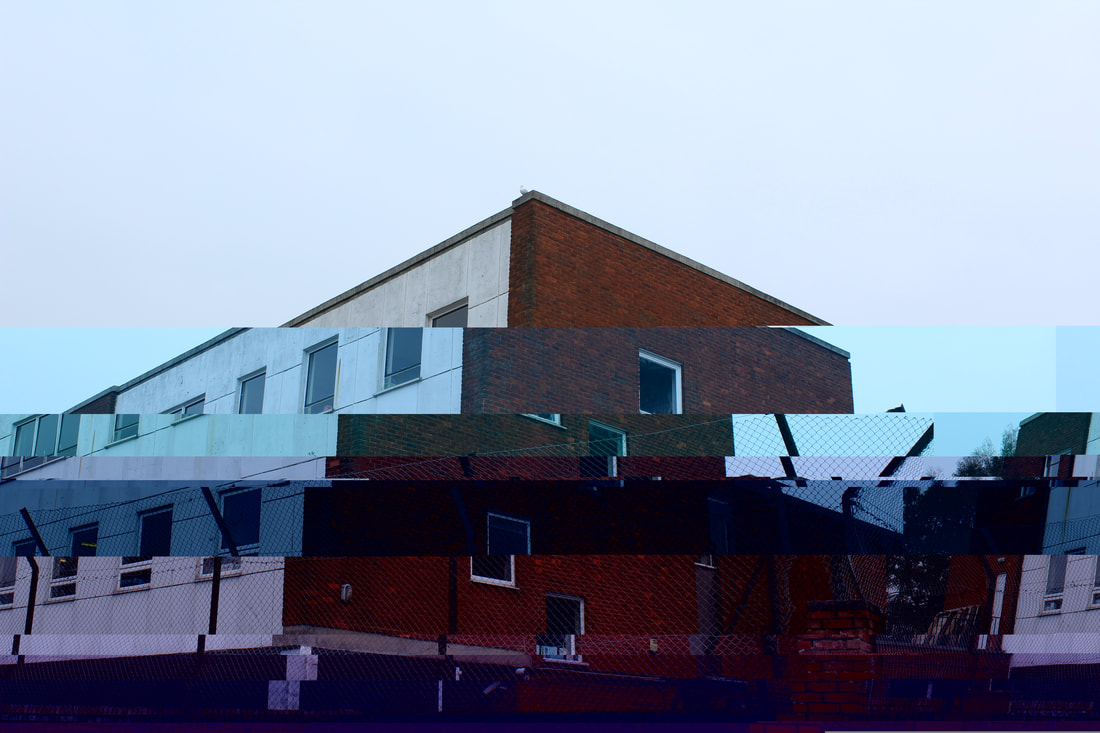
Glitching experimentation
|
Ataxia "Glitch" from bif on Vimeo. |
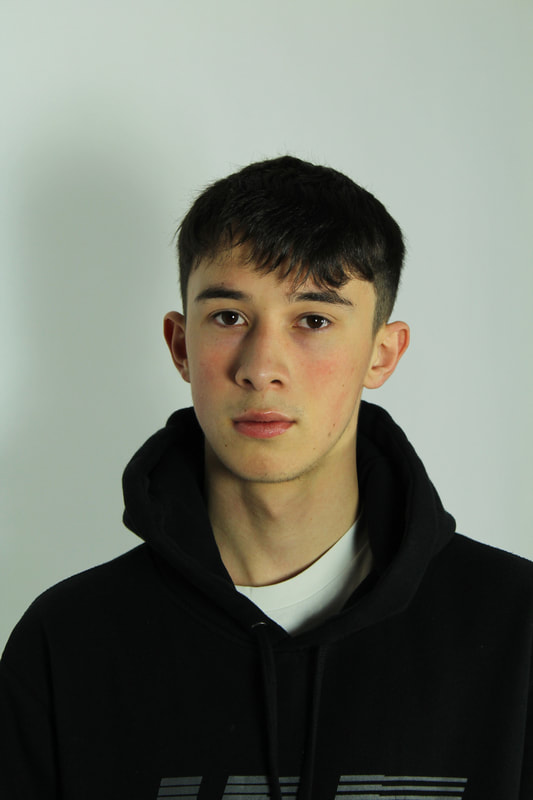
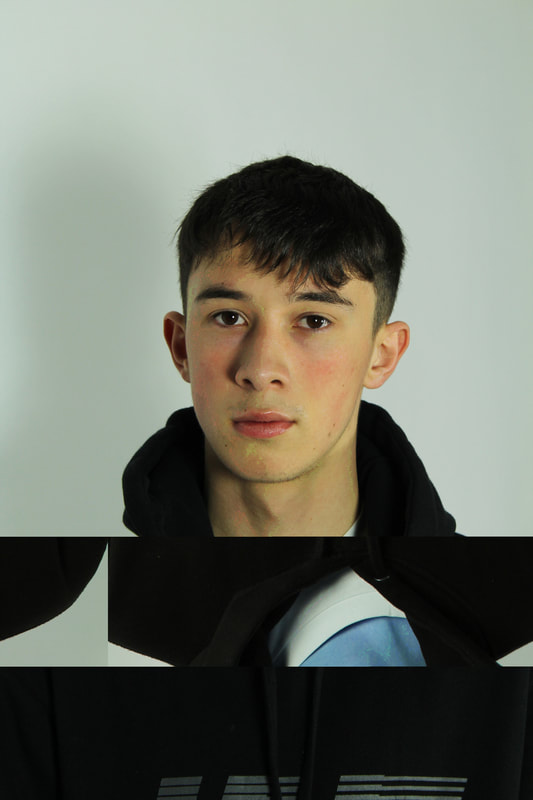
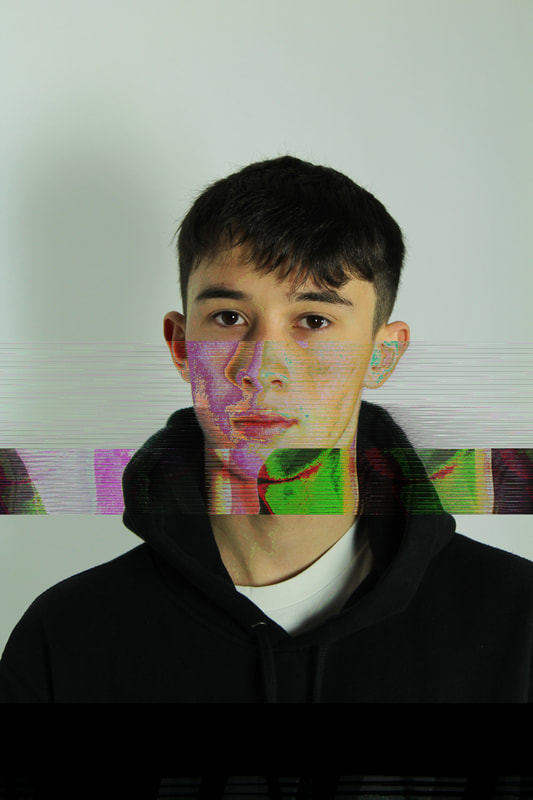
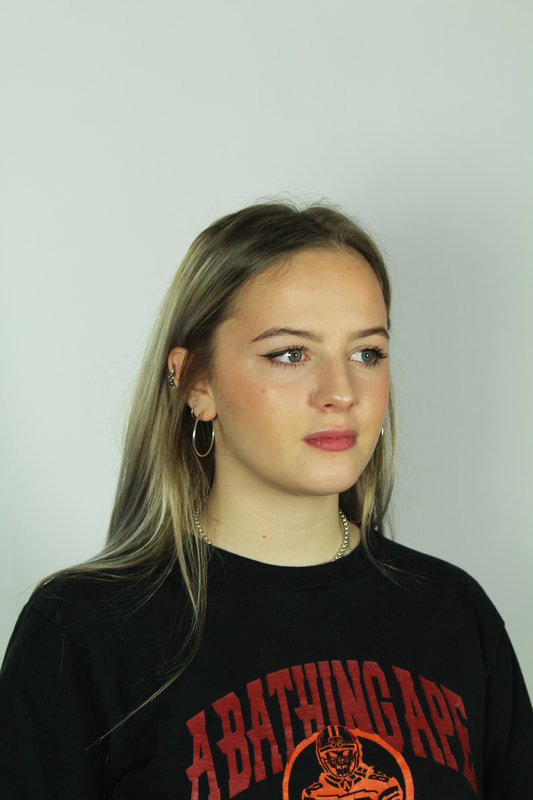
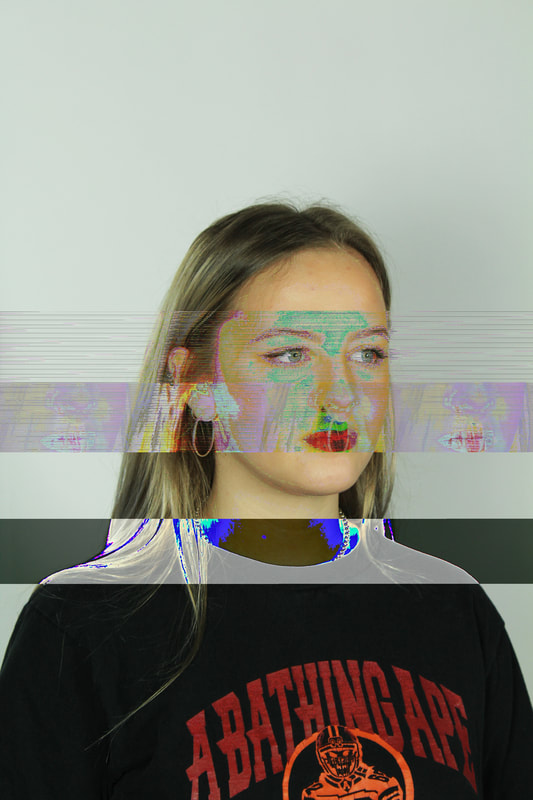
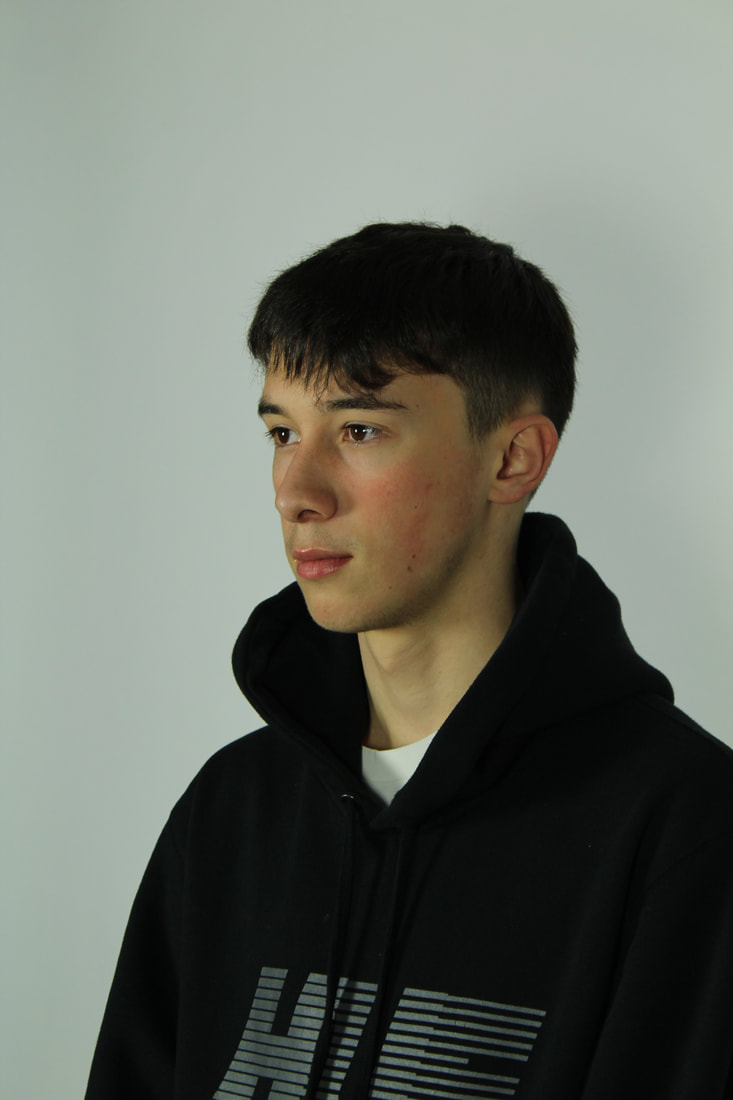
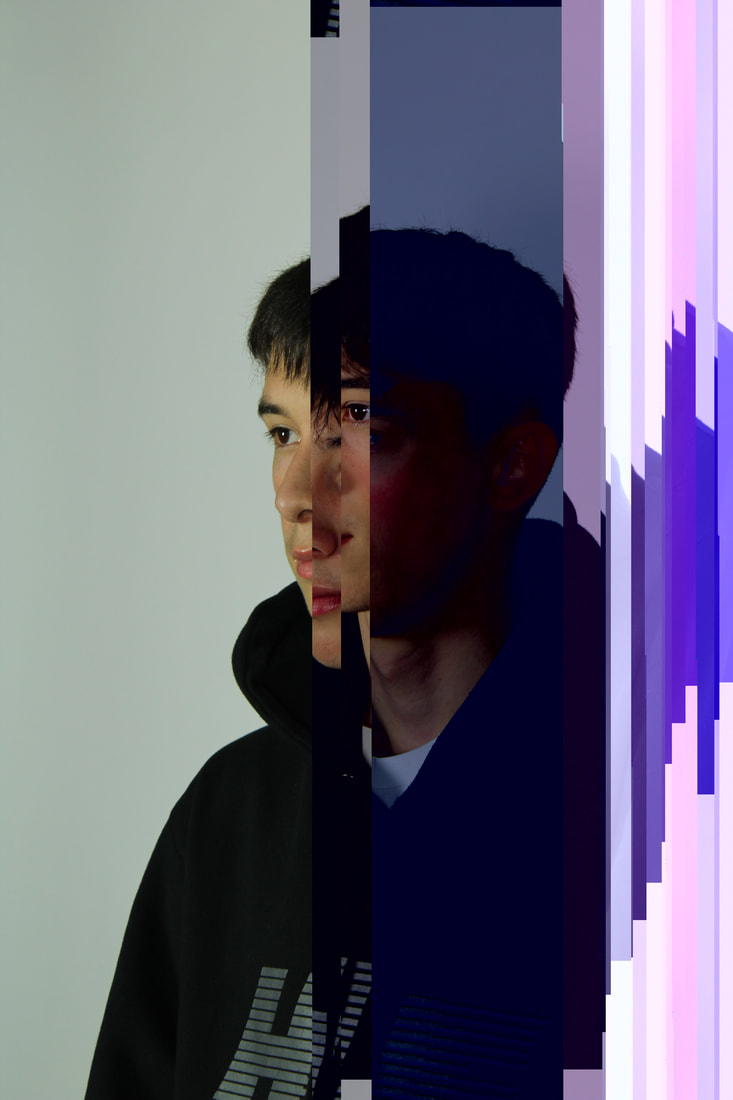
In this task we looked at glitching photos using two applications, audacity and Textedit. We looked at 'Ataxia "glitch" ' a video on vimeo showing the glitch of people's faces. This breaks the conventions of ordinary portraits and facial features. We took our own portraits and then used computers to glitch them with unpredictable effects and outcomes.
On Audacity there are a lot more effects and options for the glitching, and it's easier to control where the glitch will happen on the photo. On Textedit, it's much easier to use but the effects are completely uncontrollable. |
|
|
|
|
|
|
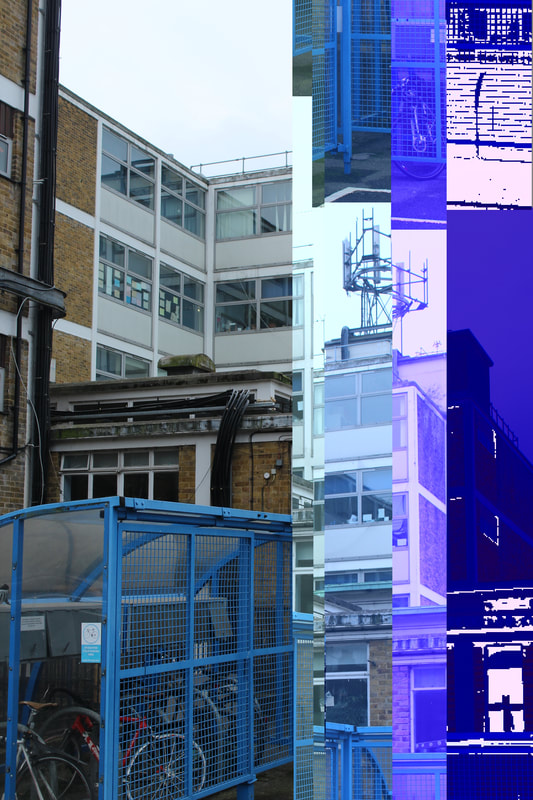
I felt that the audacity edits were very effective in showing different glitch techniques and had consistently interesting and unique outcomes. I would improve the edits by using more effects more sporadically to create a less controlled glitch and to effect more of the photo and cause more distortion. I would also look at photos of other things like objects or buildings.
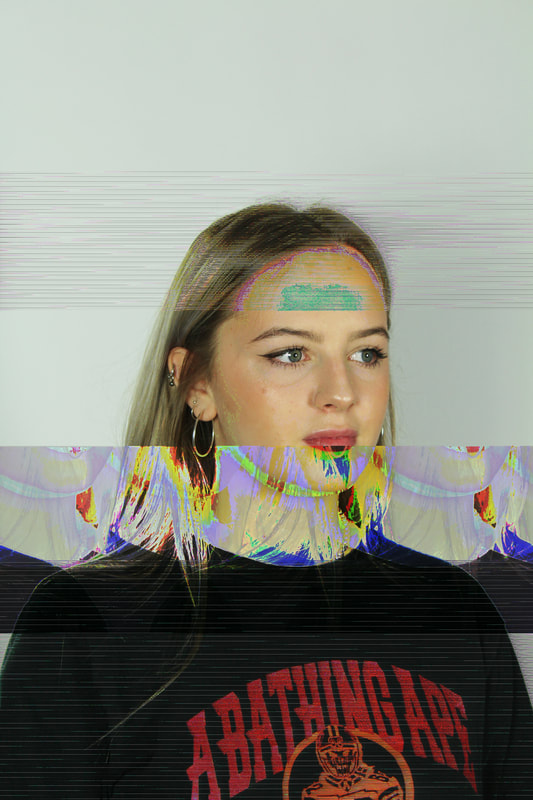
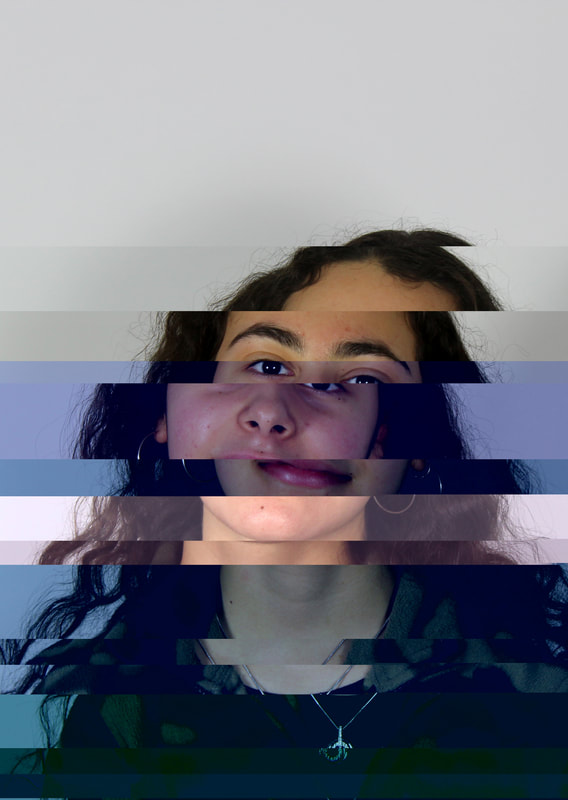
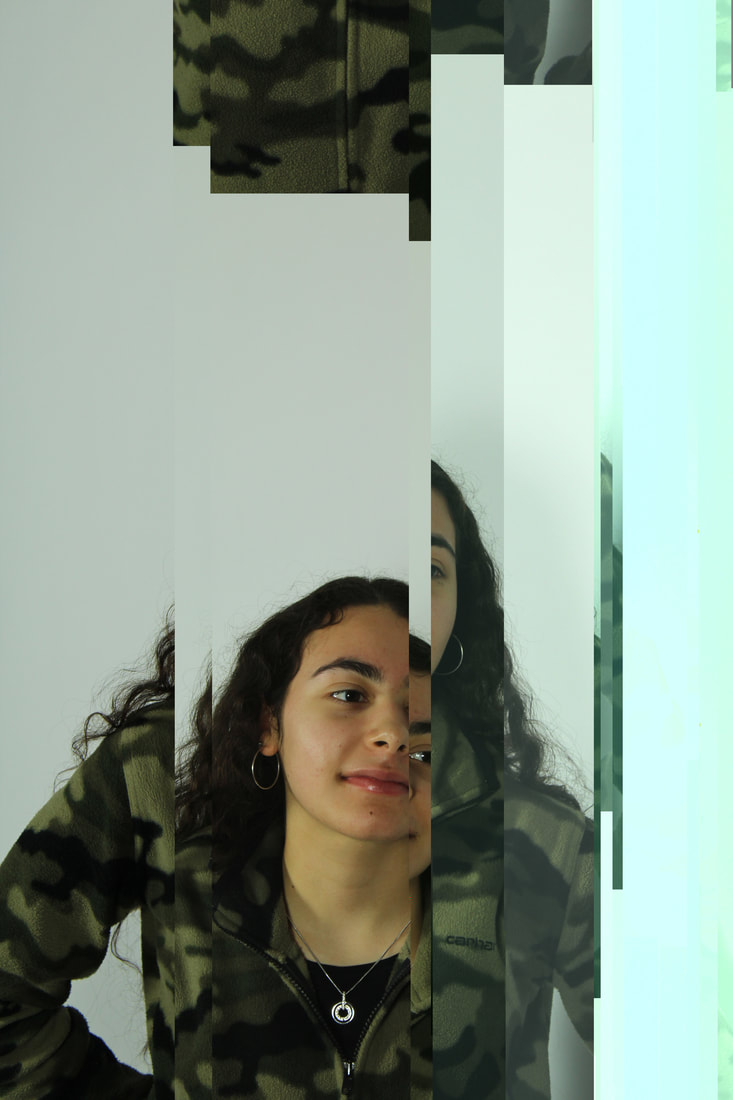
Textedit
|
|
|
|
|
|
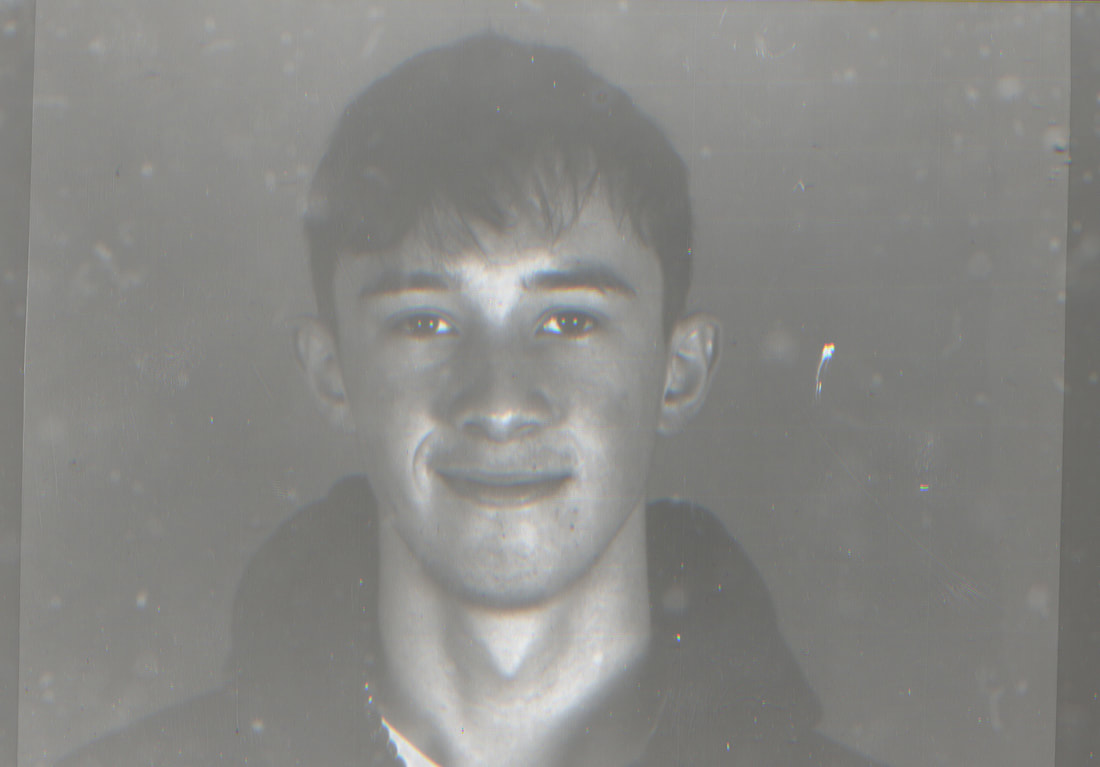
I felt that in using text edit I could control the effects more easily and almost plan out which parts of the photo I wanted to distort. Although the effects were still unpredictable, I could also undo an effect if I didn't like it so I managed to create a cleaner, more repetitive glitch. To develop these I would experiment with more random glitching to make the photos more abstract or even finer more controlled glitching.
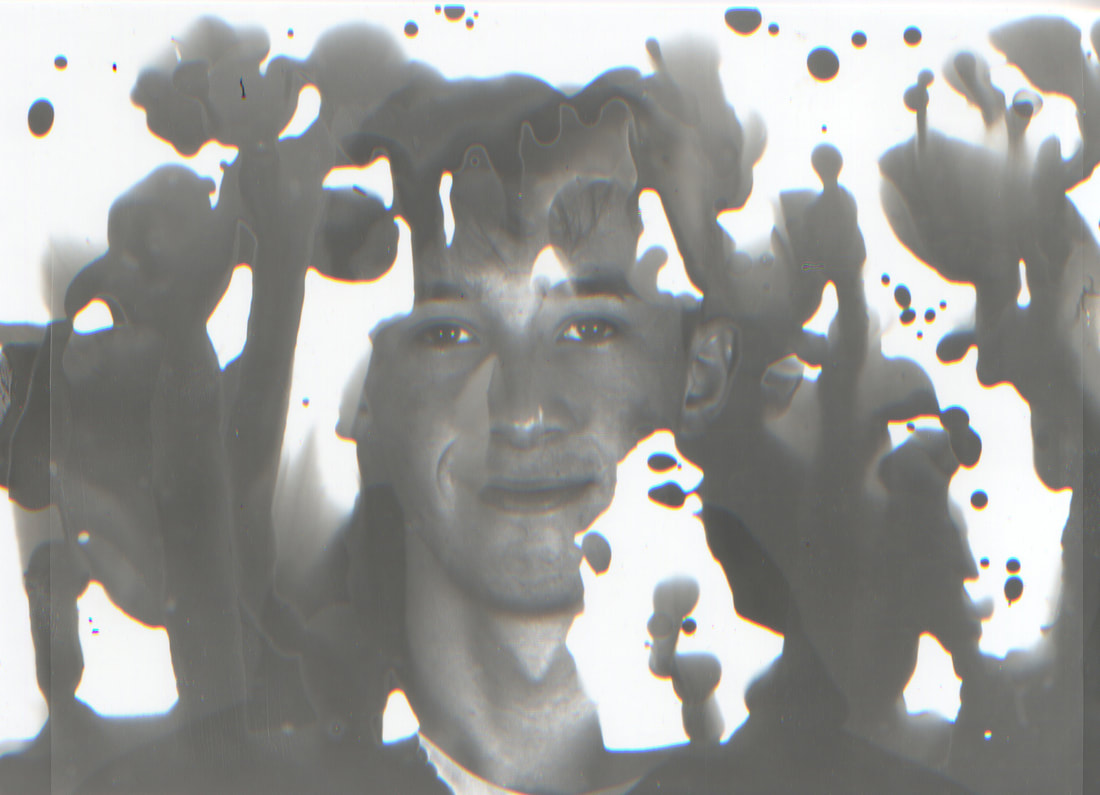
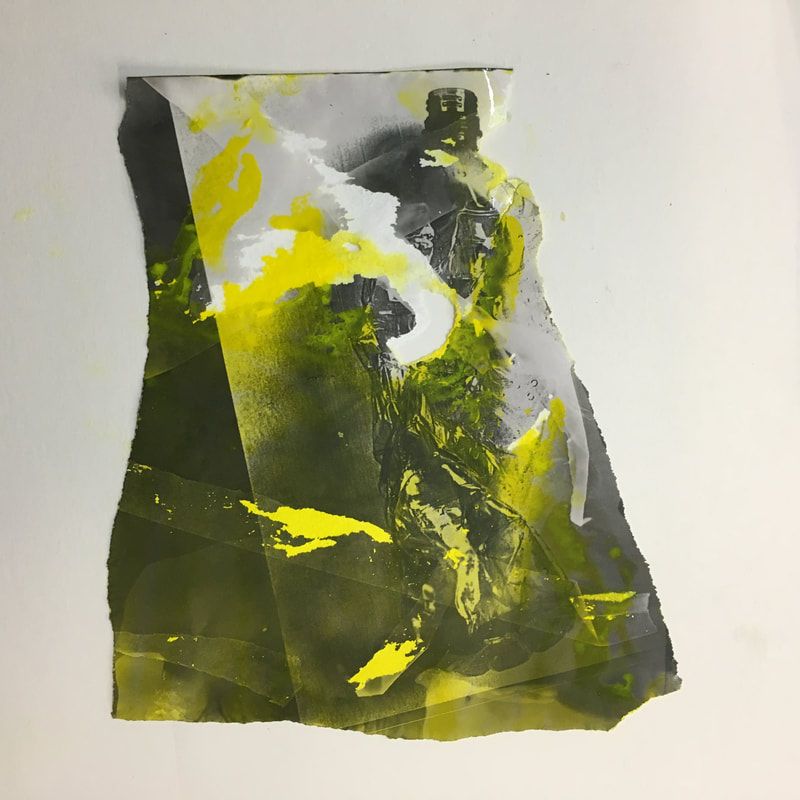
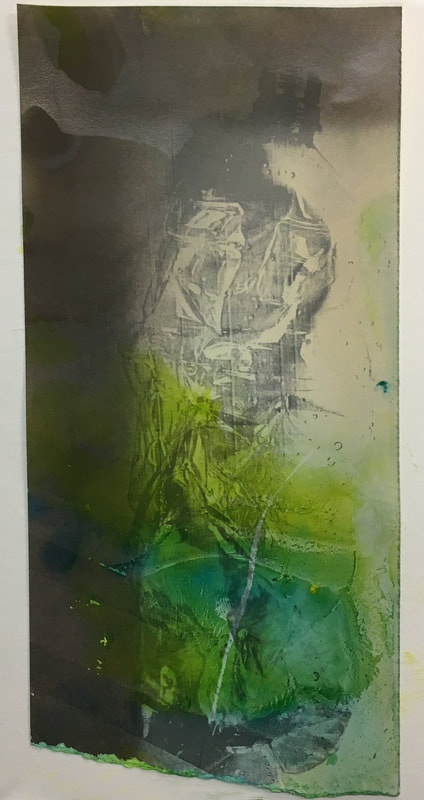
Darkroom glitch
|
|
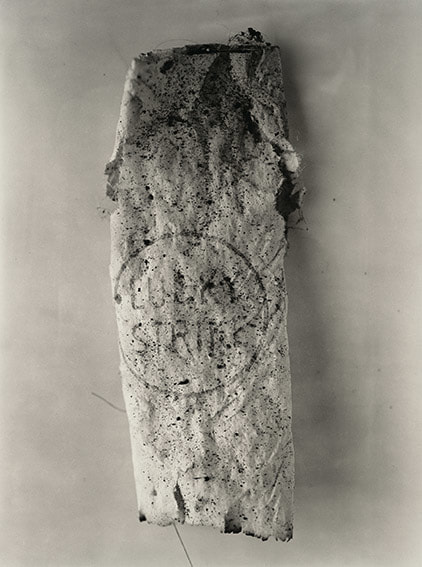
Hidden beauty - beauty in the imperfect
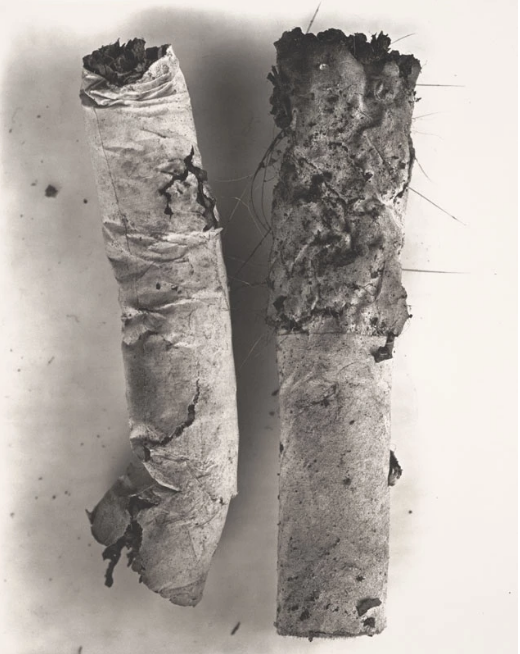
Looking at the theme of Conventions, we responded to the work of Irving Penn. Irving Penn photographed a series of cigarette butts, rather 'ugly' everyday objects, in order to make them look 'beautiful' or put them in a different context. This breaks the conventions of what we'd usually find beautiful and the subjects used in photography.
Irving Penn
|
|
|
|
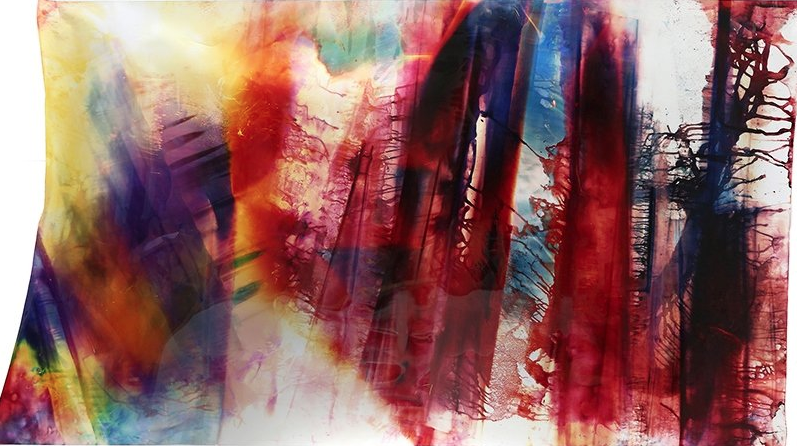
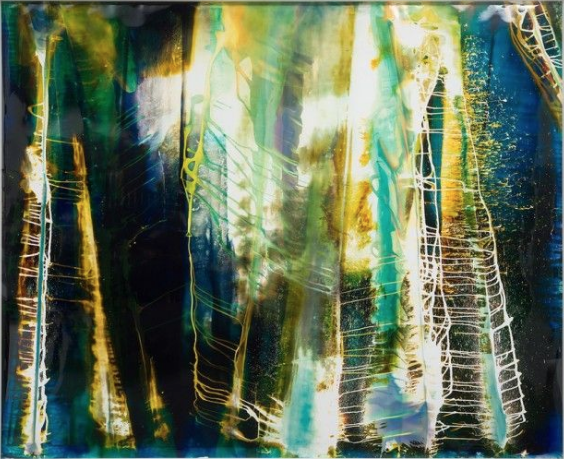
Mariah Robertson
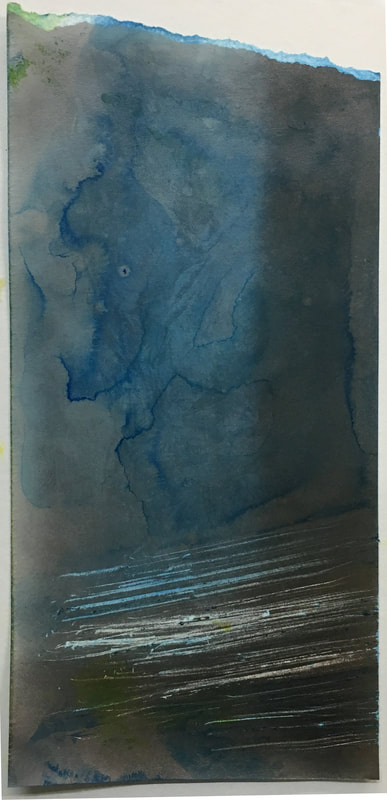
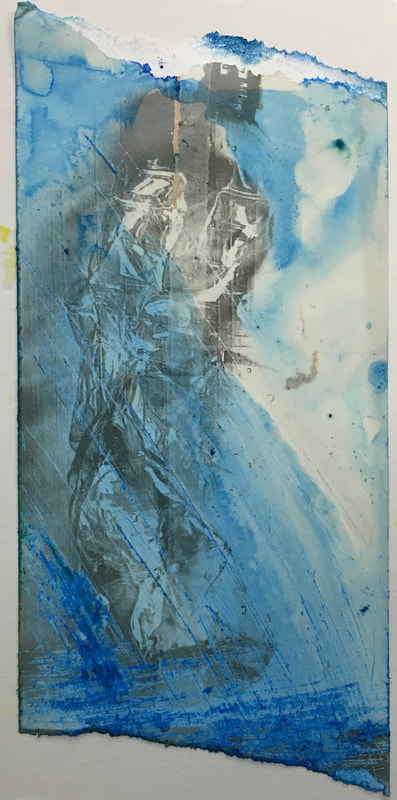
Mariah Robertson uses analog darkroom process to create abstract long pieces that are aesthetically interesting and change the perception of dust marks, scratches and light leaks that are usually faults and blemishes. She uses processes such as placing objects directly onto the paper and exposing them, or dripping/painting coloured chemicals onto the paper. In this task we responded to Mariah Robertson's work by using photos of everyday objects and experimenting on them in the dark room using inks and masking tape and other processes. The ink was very effective in adding colour and enhancing different textures.In order to improve I would experiment with more process and use multiple of them on one piece of paper to layer the effects.
|
|
|
|
|
|
Three Strands
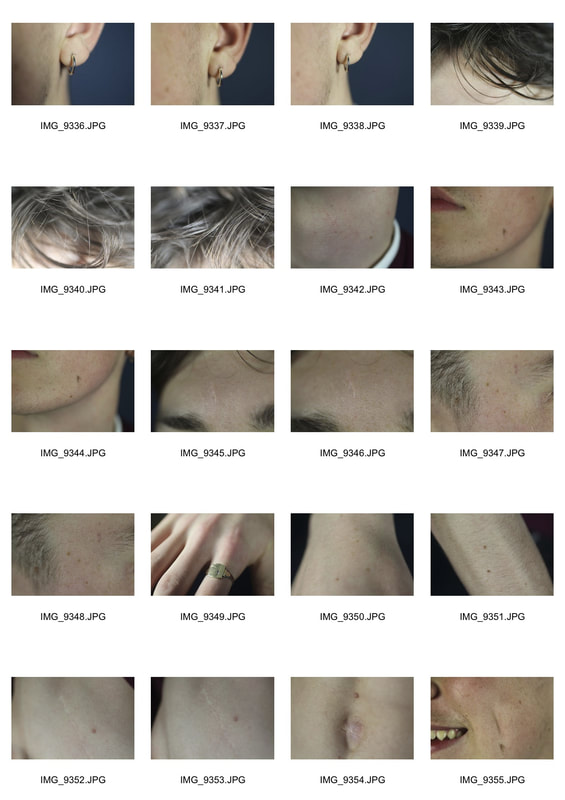
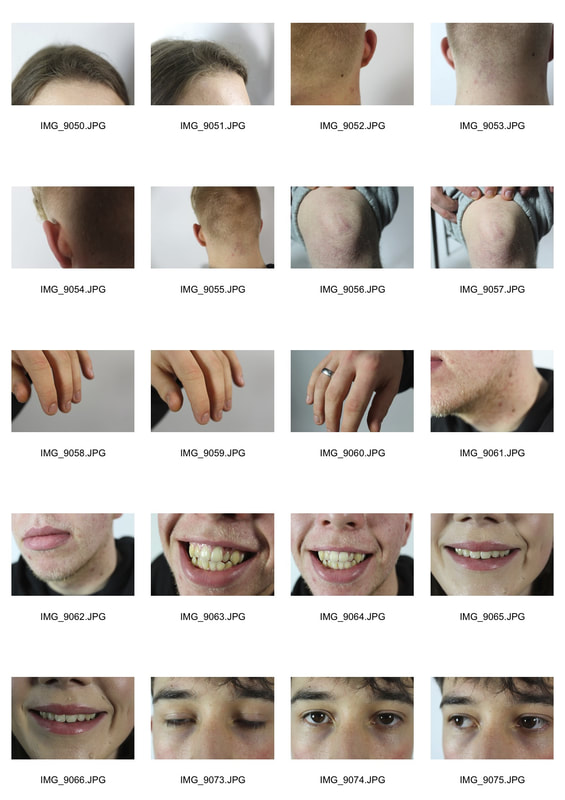
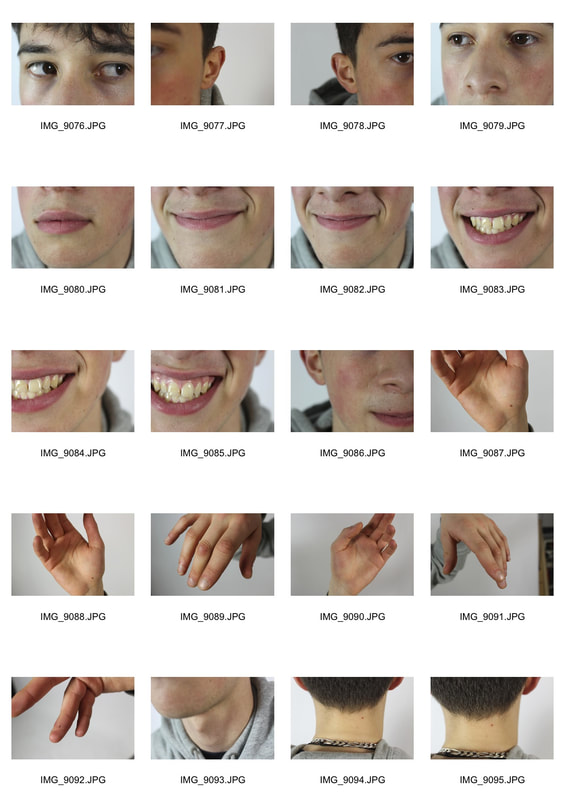
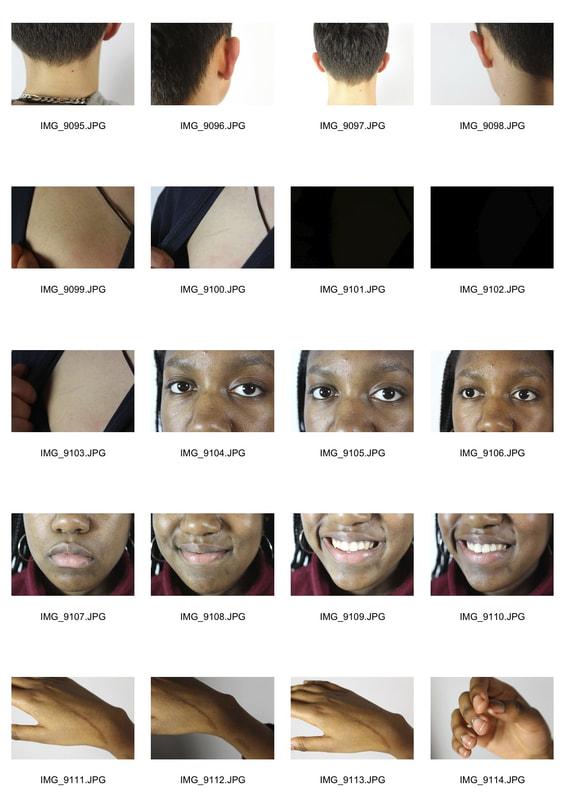
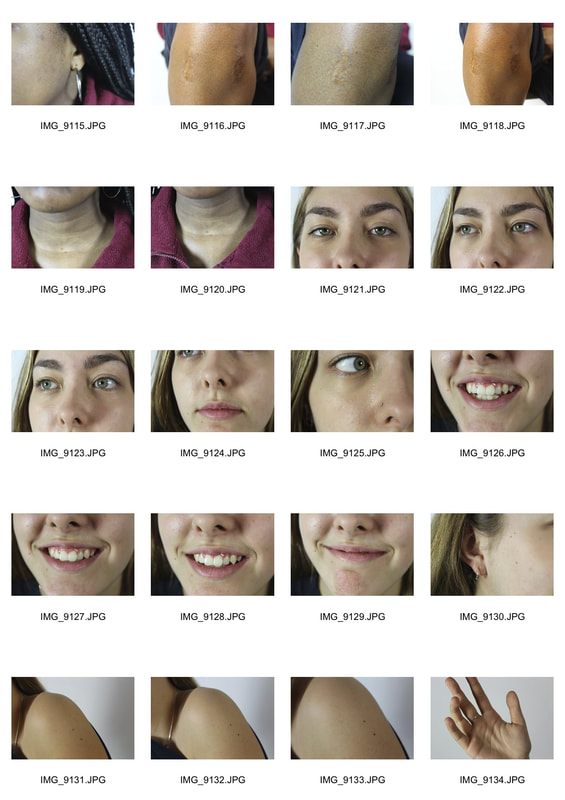
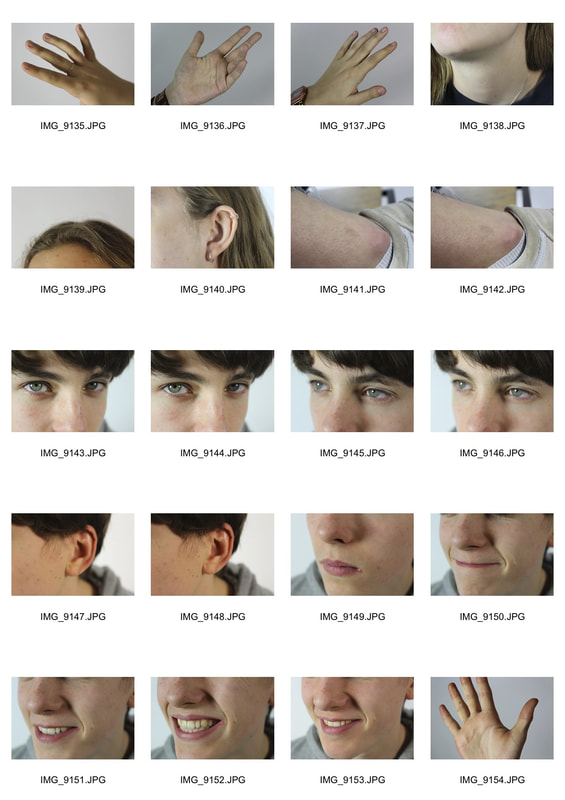
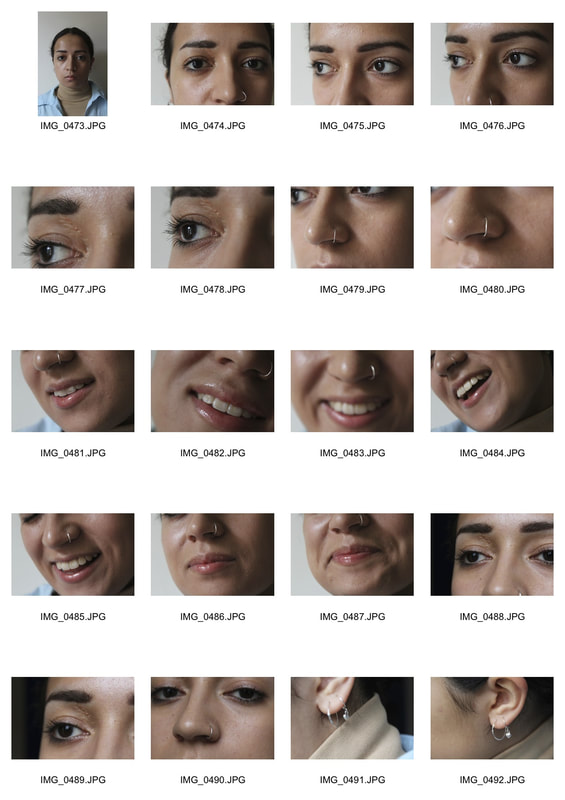
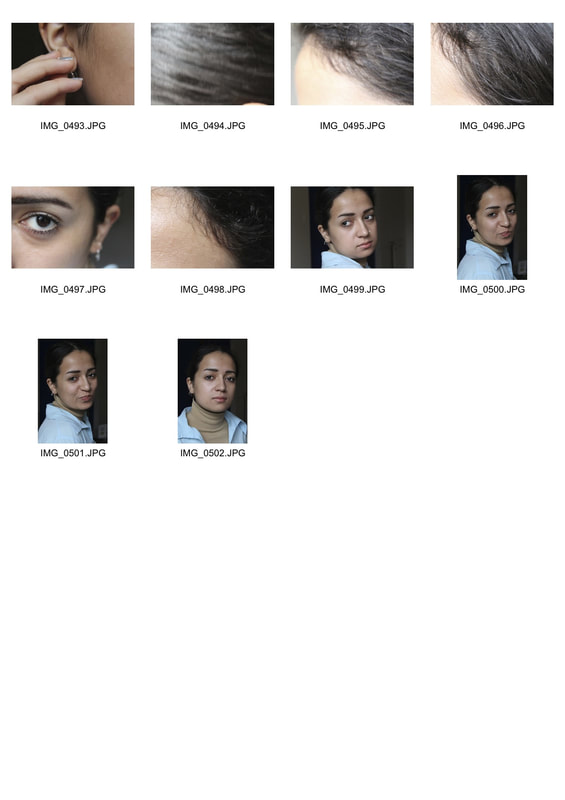
First Strand : personal identity
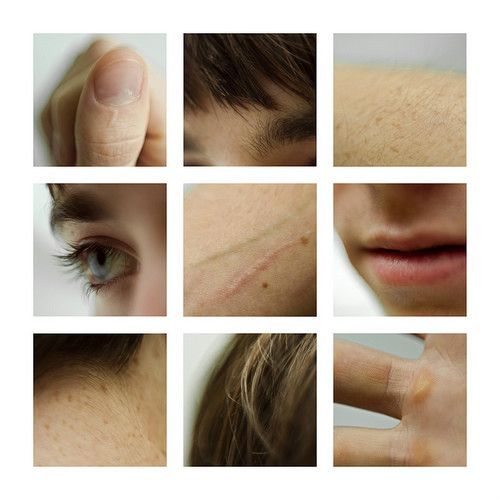
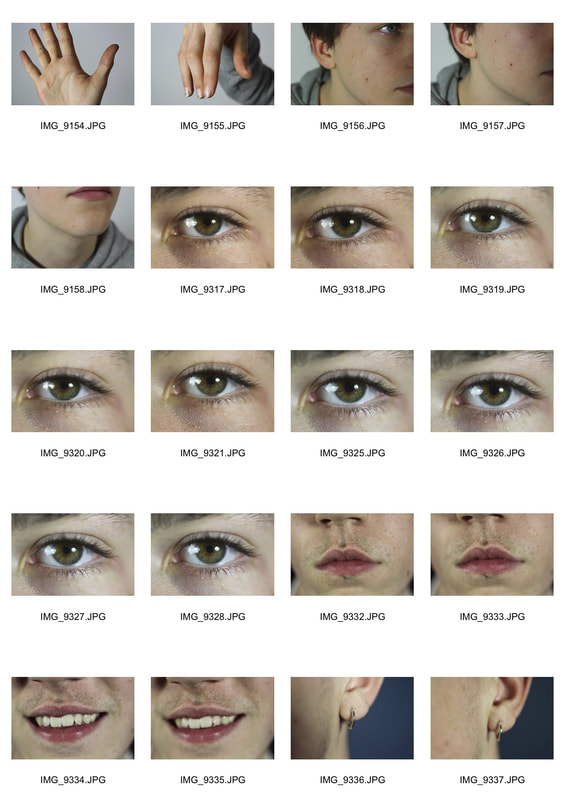
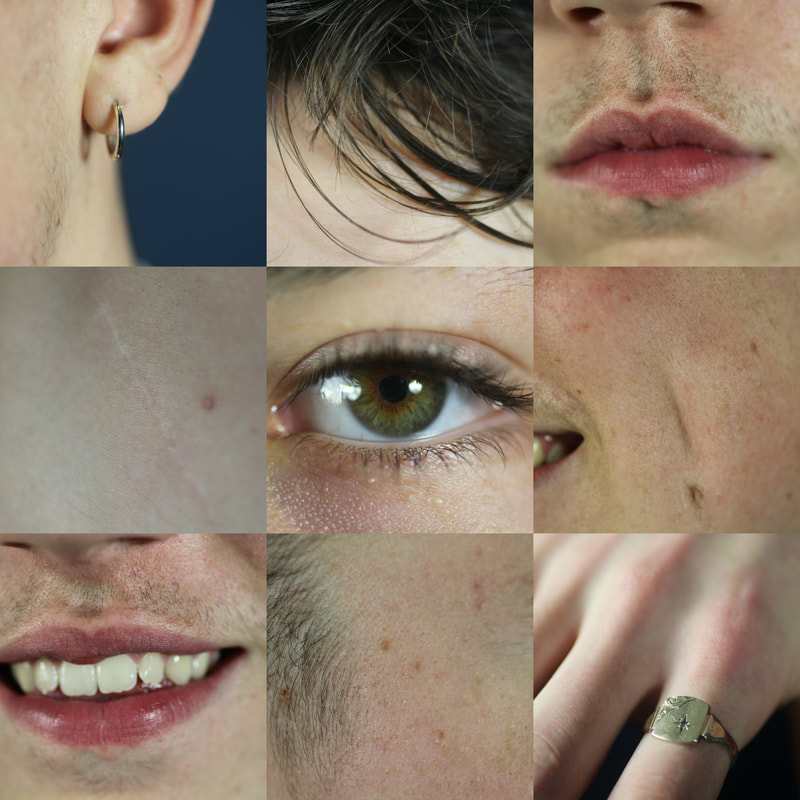
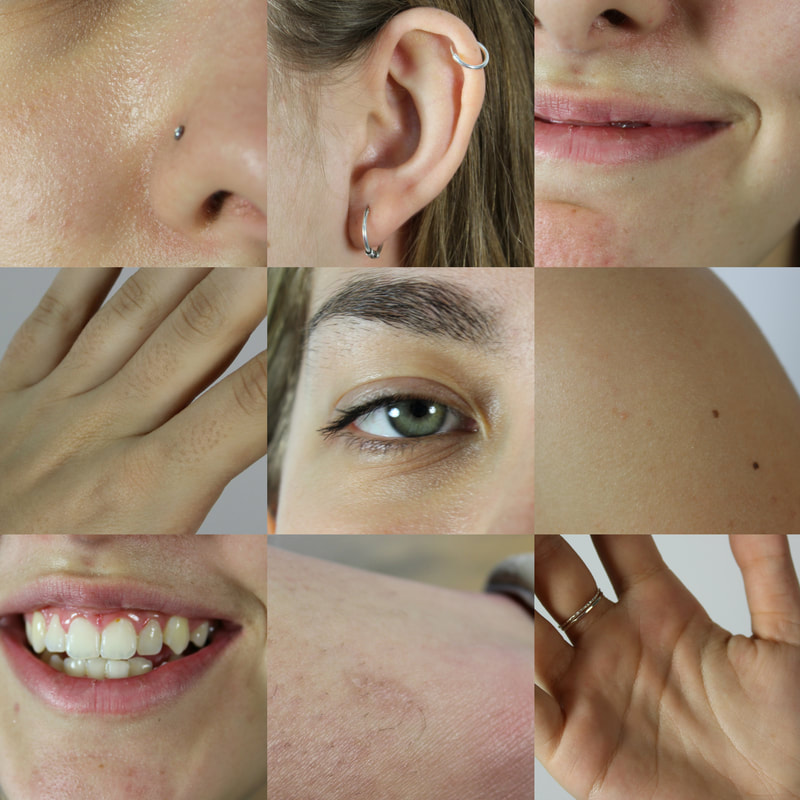
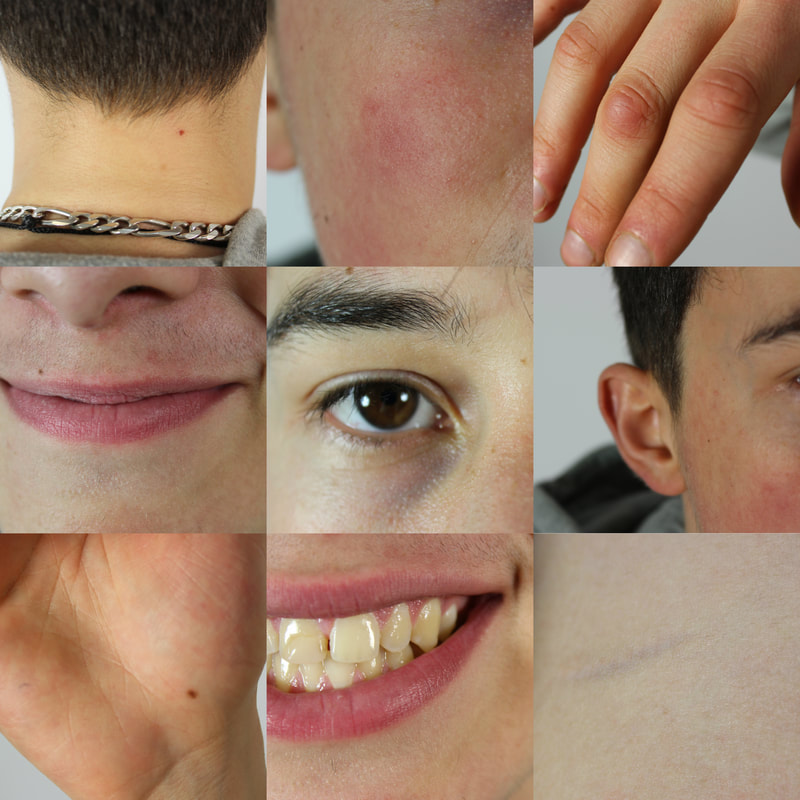
In this strand I looked at the parts of people that make them unique, or unconventional. I wanted to capture a person's identity and individuality in a portrait that isn't just a photo of their face. I looked at the photographer Lauren Marek who created a series of grid collages of small details on people's body that are secretly unique, for example; scars, freckles, eye colour, hairline or teeth shape. I used a number of people and took photos of the most unique features we all have; such as eyes and smiles, and then asked if they had any scars or other features that made them unique. I then laid them out in 9x9 collages like Lauren Marek. When looking at the series of final collages, it is interesting to see how these features can make up the portrait of a person. I took all the photos with a plain background in order to focus on the features, and for one of the subjects I used a macro lens in order to capture detail more intricately and intensely. In developing this strand I would look into other parts of people that express their identity and individuality like the way they dress and what groups people hang out in.
Lauren Marek
Response
|
|

|
|
|
|
|
|
|
|
Edited
In my grids I tried to maintain a colour palette and display the photos so that they summarise the person and fit well together. I think that I managed to capture natural portrayals of what people see as their own secret features. To improve I would find more people with interesting features and marks/scars. To develop the idea I would next maybe look at one particular feature on a large number of people.
|

|
|
|
Second Strand : hidden portraits
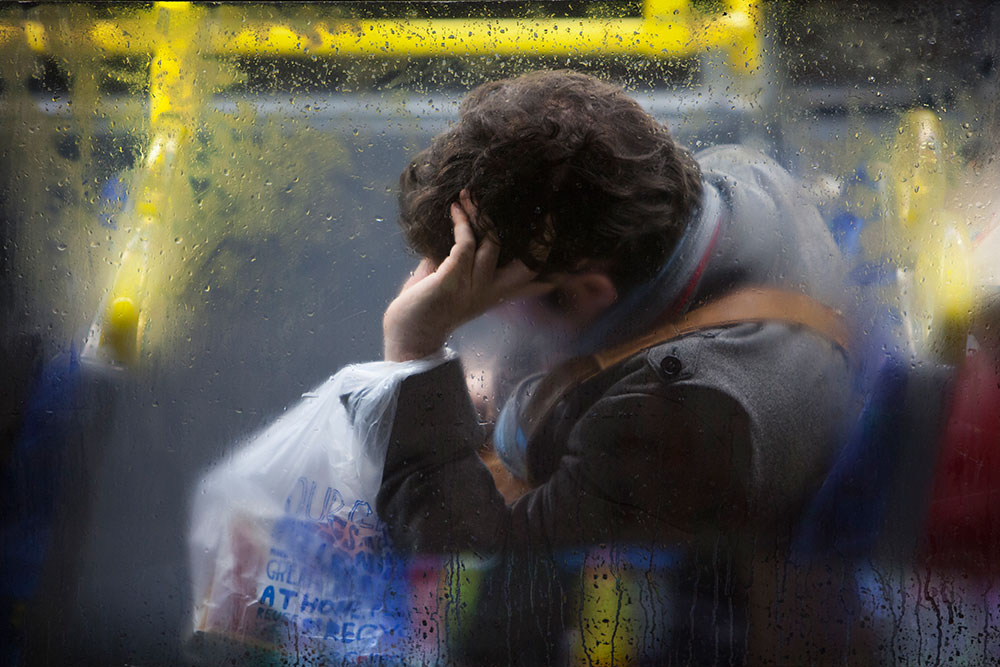
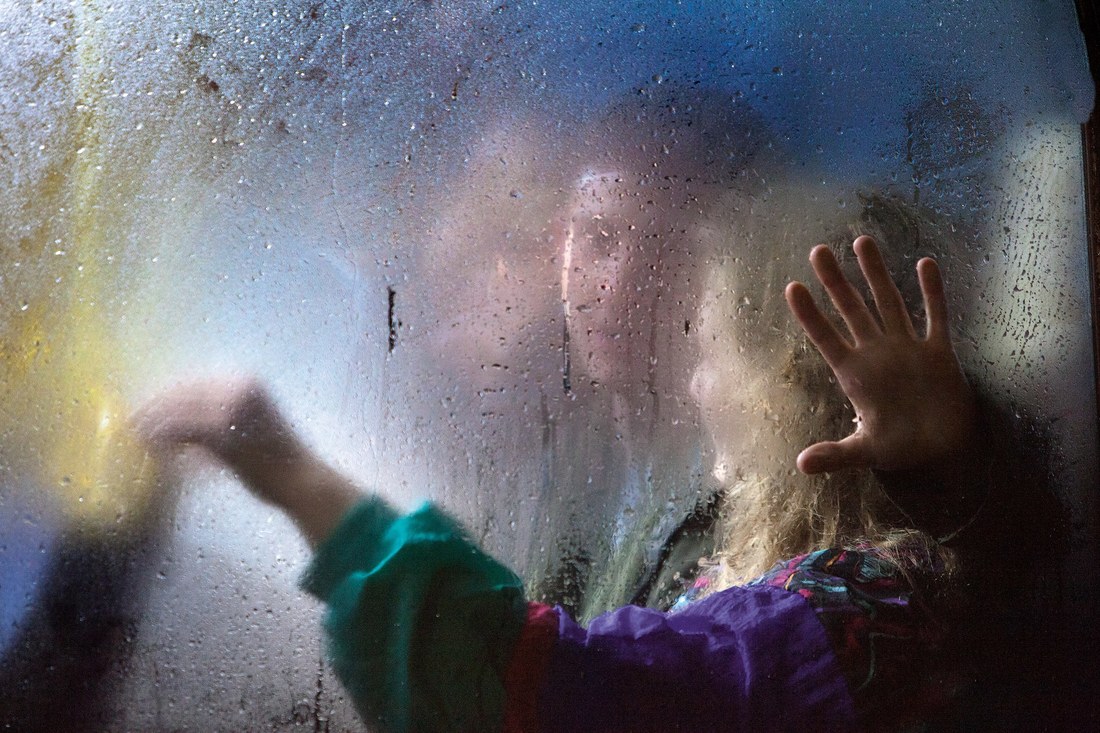
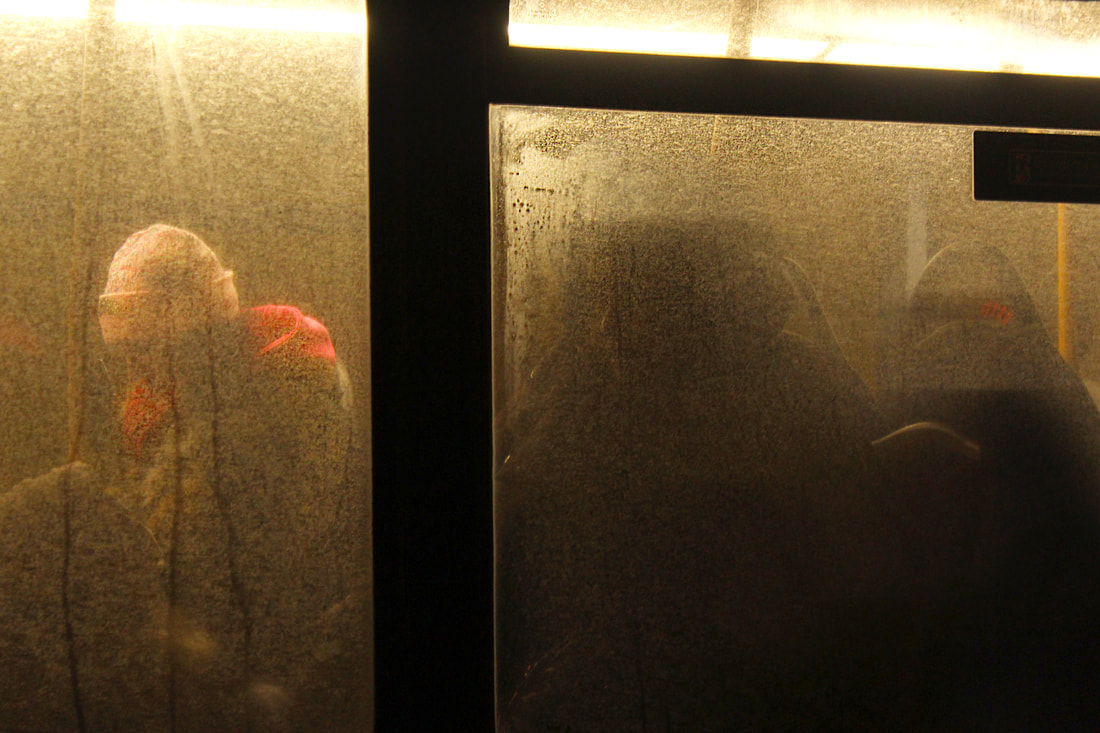
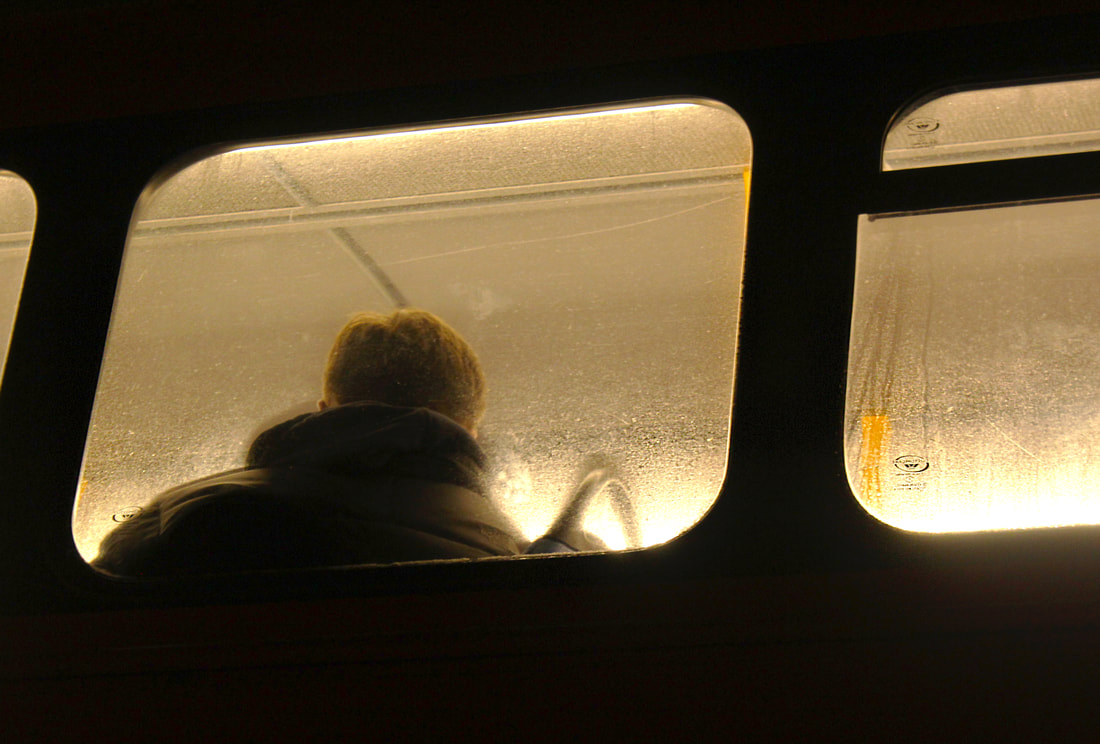
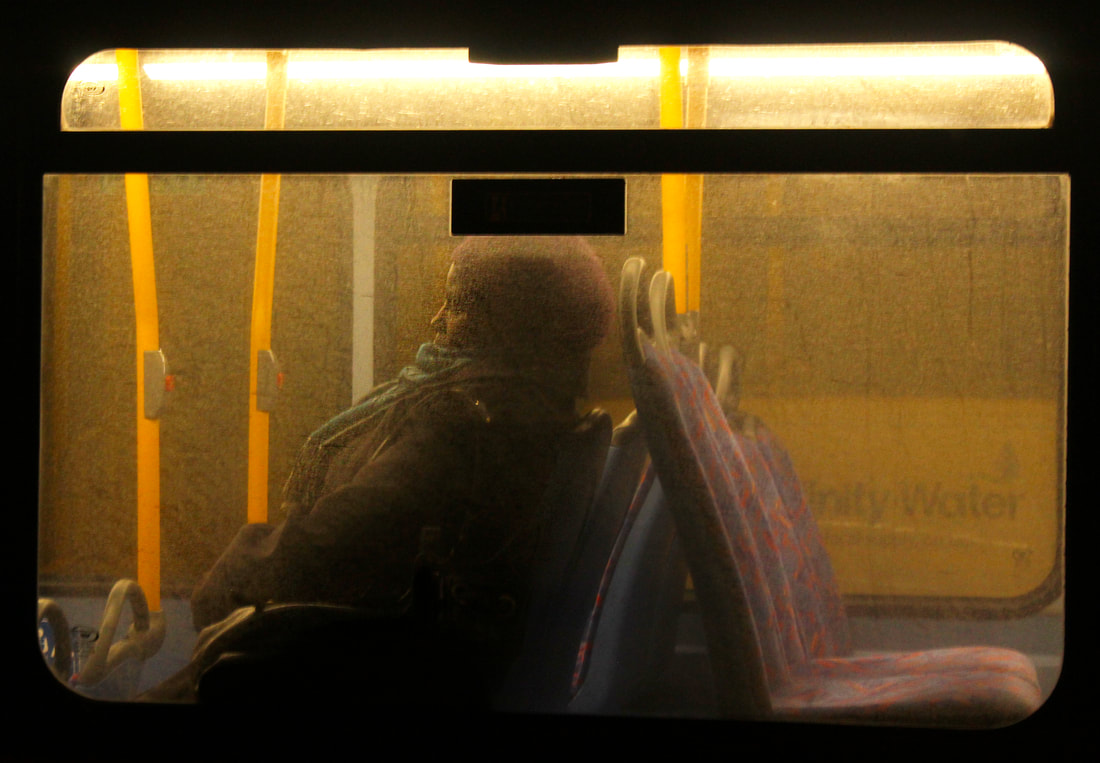
In this strand I wanted to explore the conventions of portraiture, and whether the face needs to be shown in order to capture a person's portrait. I looked at the work of Nick Turpin, who created a series called 'On the night bus', in which he photographed London Night buses in rainy whether to create these fogged photos of commuters, capturing their story and daily life without showing their faces.
Nick Turpin
|
|
|
Response
I attempted to capture commuters on the bus home on a snowy night, which did not cause the desired effect influenced by Nick Turpin's work. It was very difficult to find a subject, focus and take the photo when the bus only stops for about 10 seconds. I would love to take these photos again on a more rainy night and focus on composition. I would also develop this idea further in the studio with a more controlled setting. I would like to look at hiding the face in portraits and different methods of doing so.
|
Third Strand : street codes
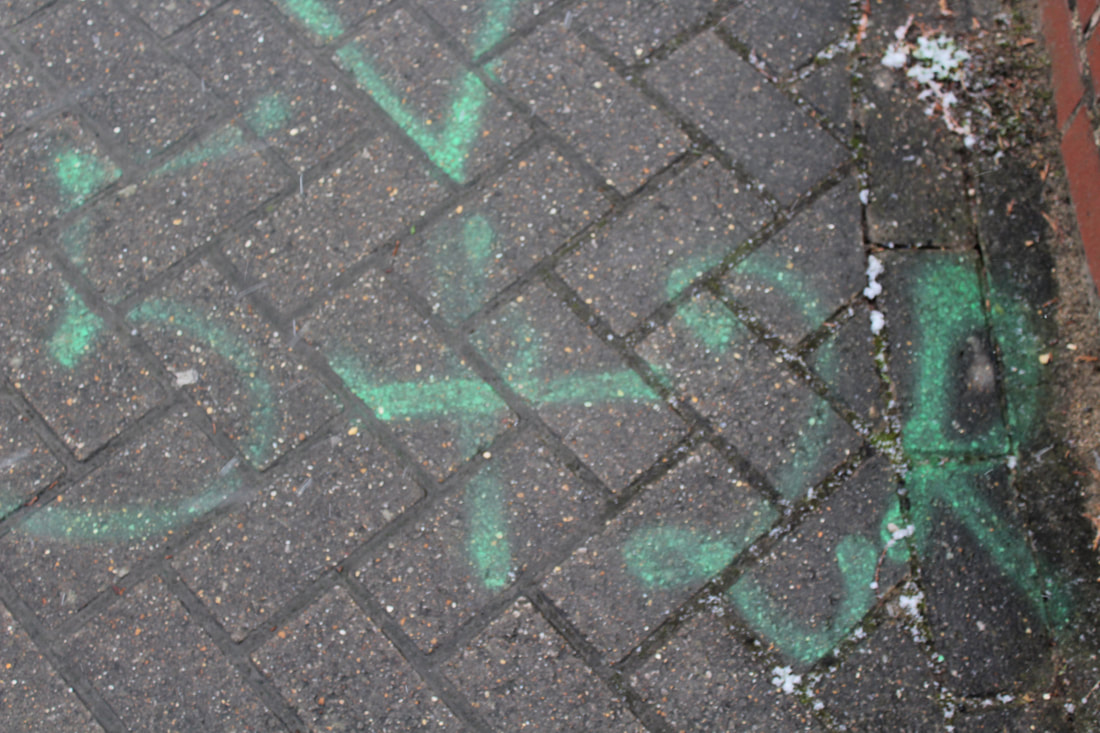
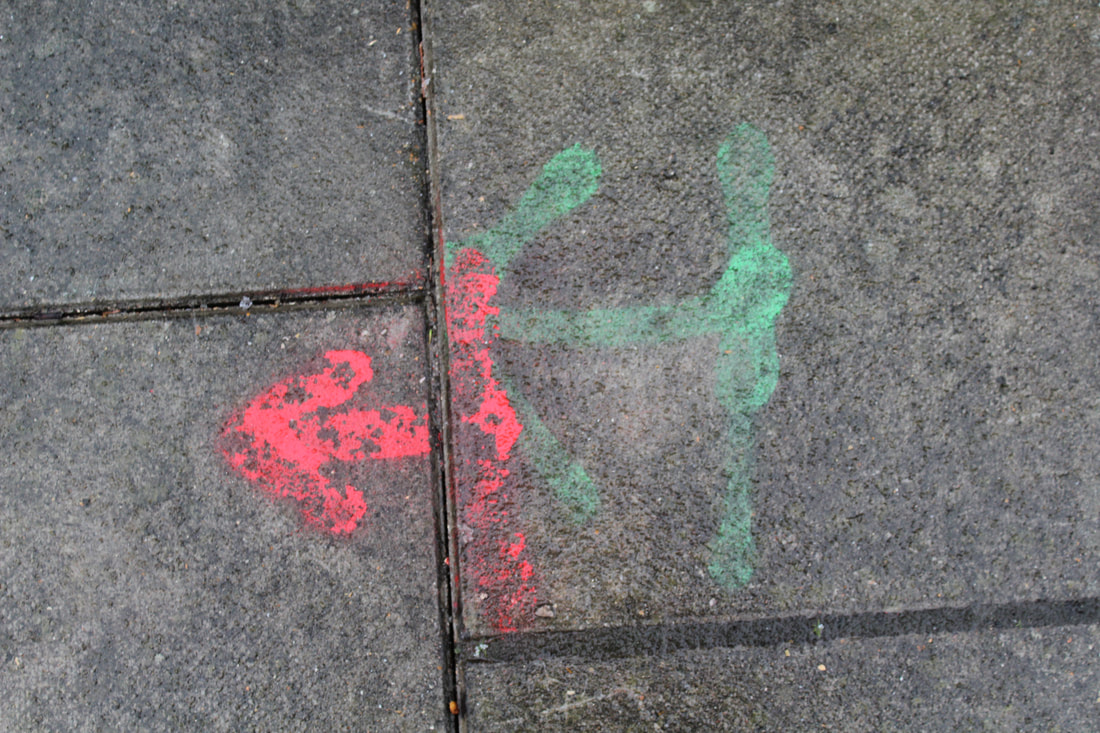
In this strand I decided to look at codes on the street which we pass by and see everyday but barely notice and don't know the meaning of. I looked at a video made by Frank Lebon, a stop motion video showing a series of graffiti made by builders . This is something we see everyday, but in a video like this which draws attention to the variety of colours and shapes, it leads me to wonder what they mean. I tried to find builder's graffiti around my local area and photograph it. I managed to find some and the colours were vibrant in the rain which made them stand out. I would improve these photos by going and collecting more of them. In developing this strand, I would like to work with stop motion and look at other street codes and symbols like on signs for example.
Frank Lebon
GRAFEETI from Frank Lebon on Vimeo.
|
|
Chosen Strand- Hidden Portraits
Strand Development:
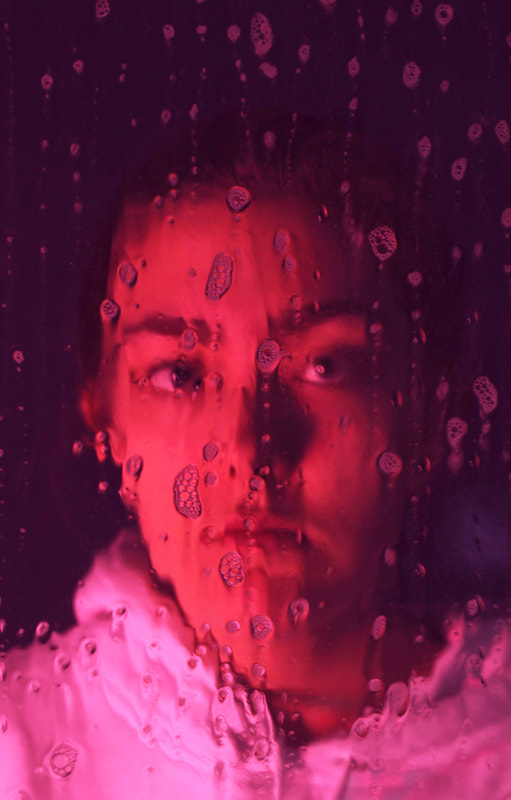
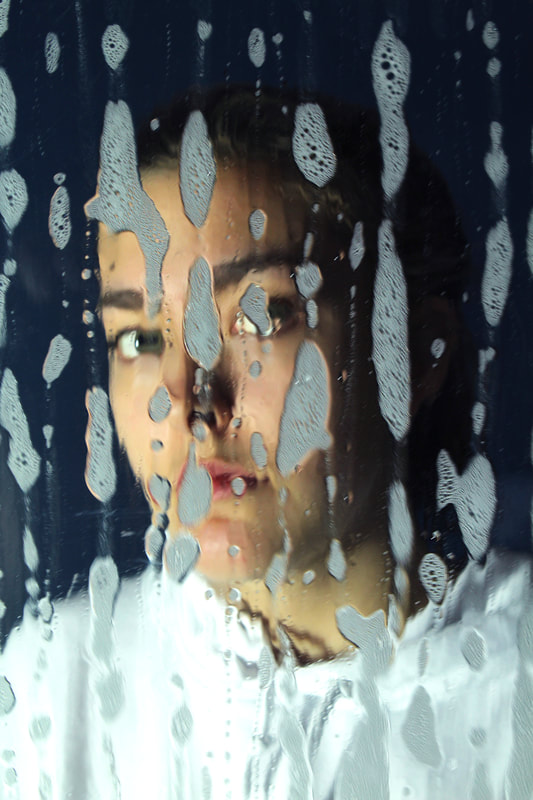
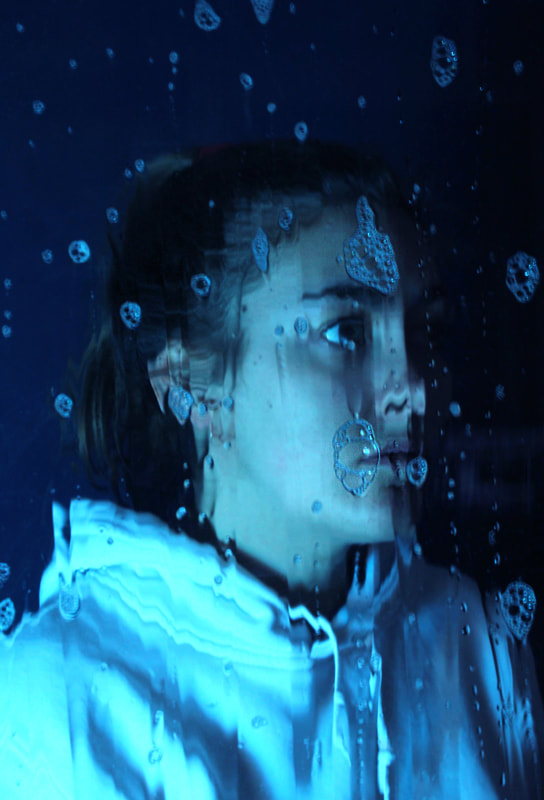
Portraits behind glass
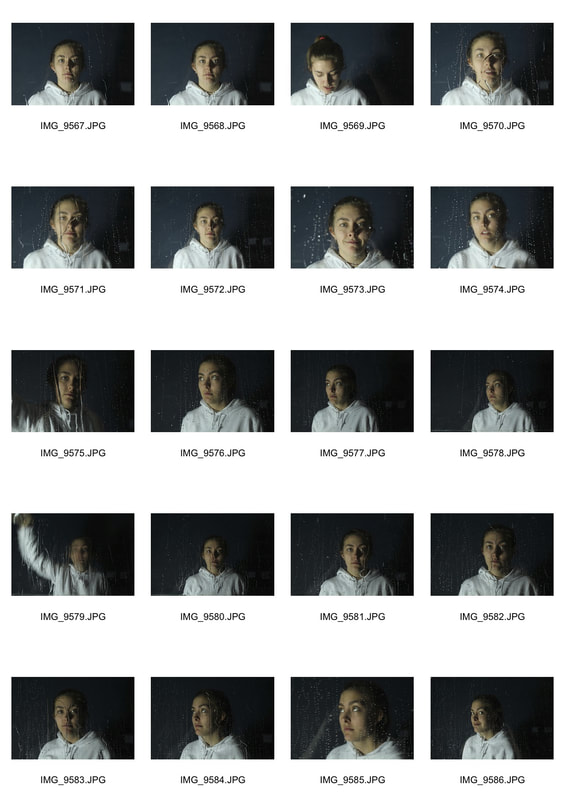
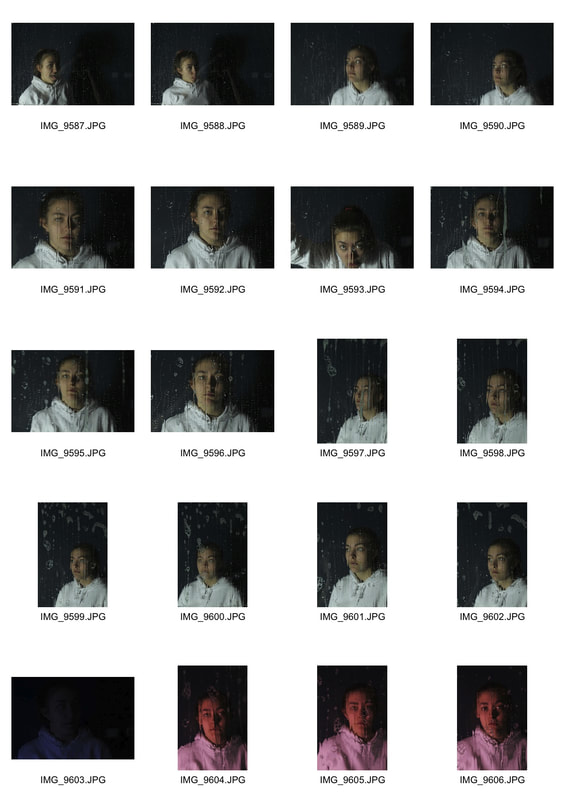
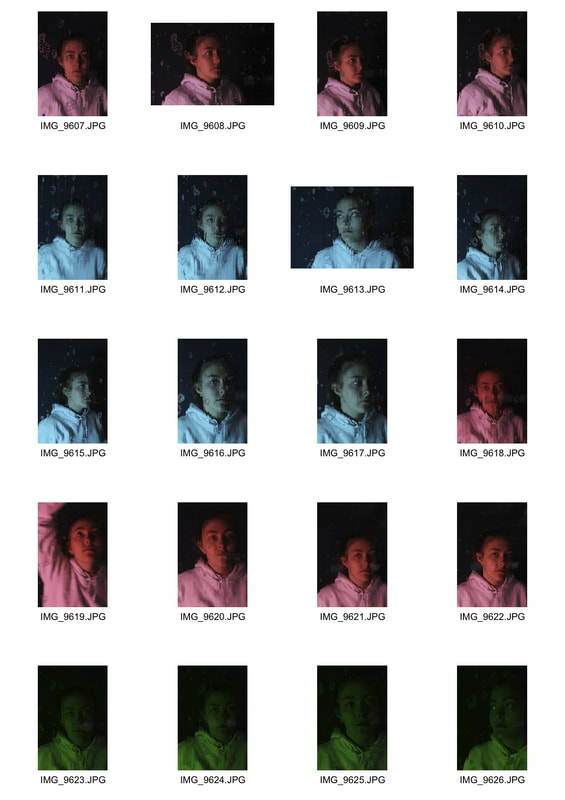
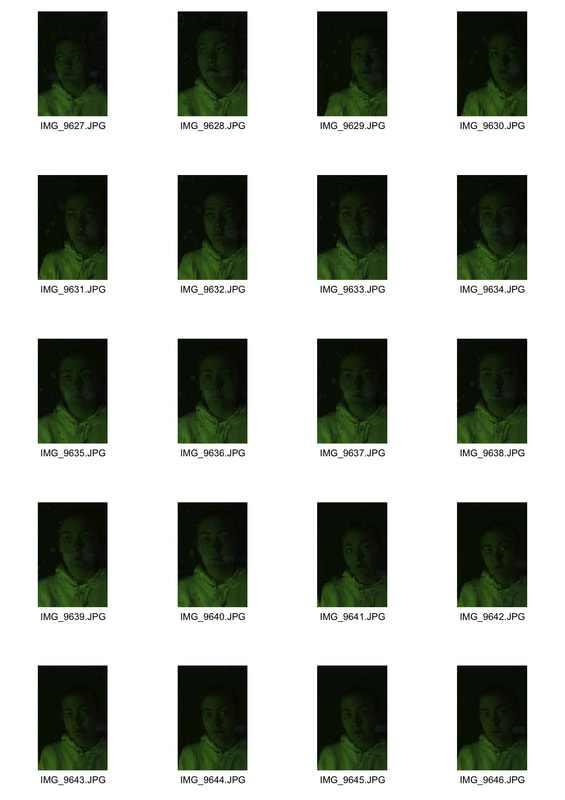
After looking at steamed up bus windows, i chose to develop the idea of a screen between the camera and subject. I got a large transparent pane and poured water and washing up liquid down it to create a distorted image of the subject. I lit the subject from one side to maintain the contrast and emphasise the shapes of the face once distorted by the soap. I also experimented with coloured acetate pieces in front of the light which worked very well. I then took multiple frames in a short space of time as the soap fell fast, so I could create a GIF. I liked the effect of the distortion in motion. If I were to do this shoot again, I would get the subject to wear a darker colour so the focus is on the face. I would like to develop this idea by looking at textured glass in order to distort the portrait.
|
|
|
|
|
|
|
|
|
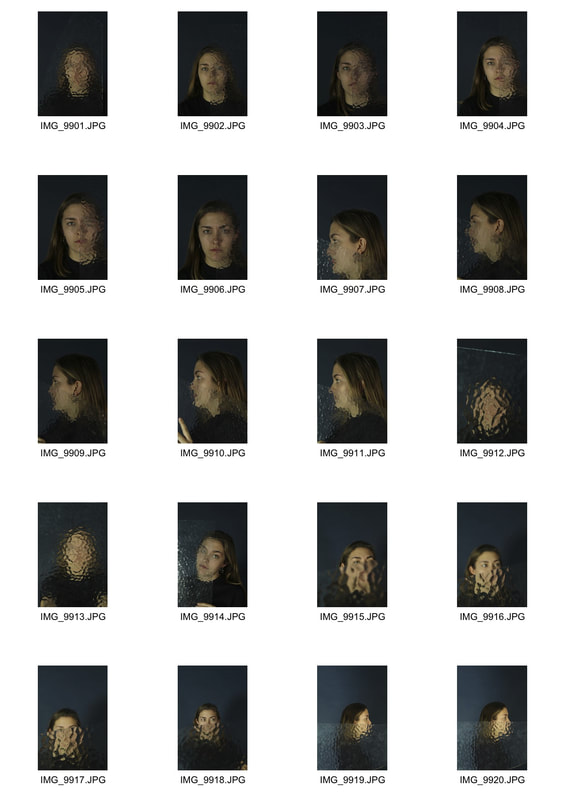
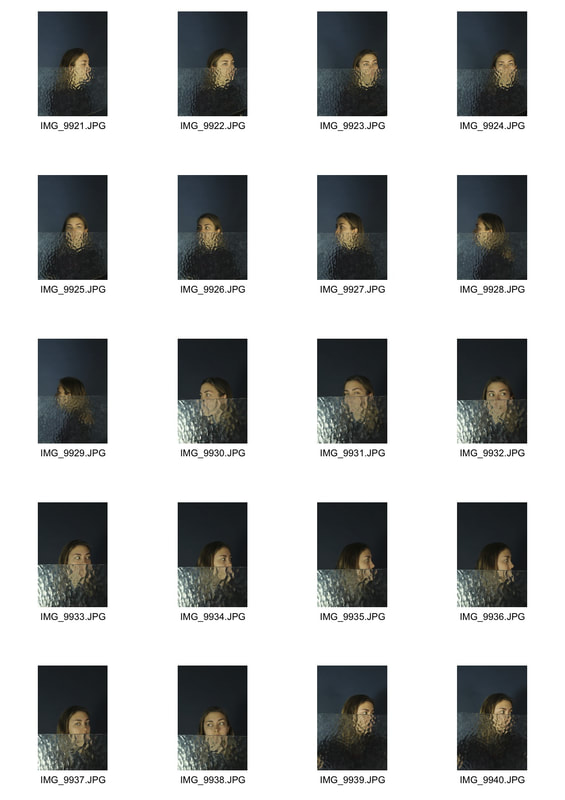
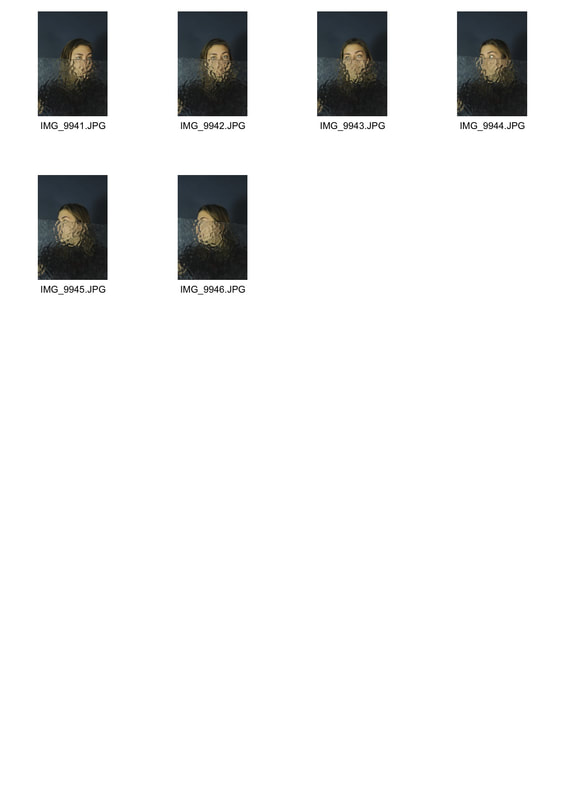
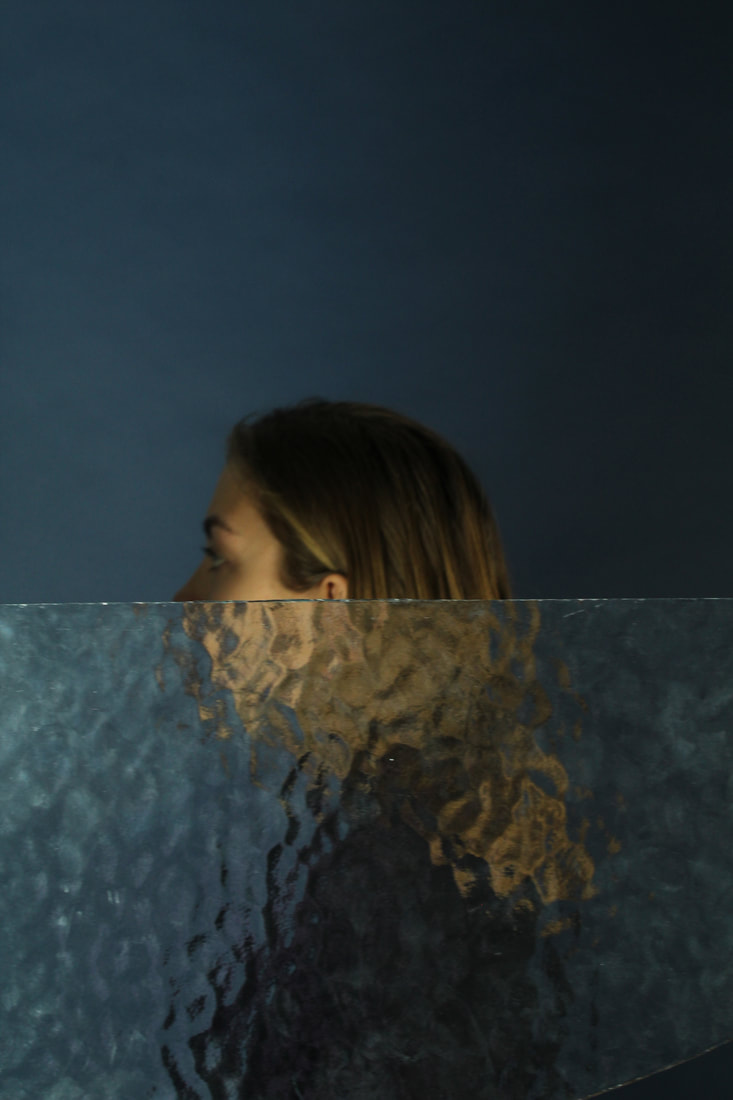
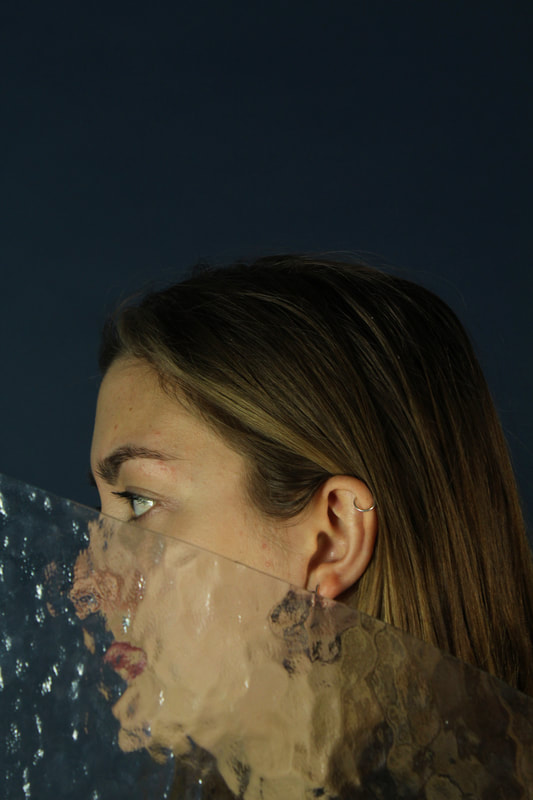
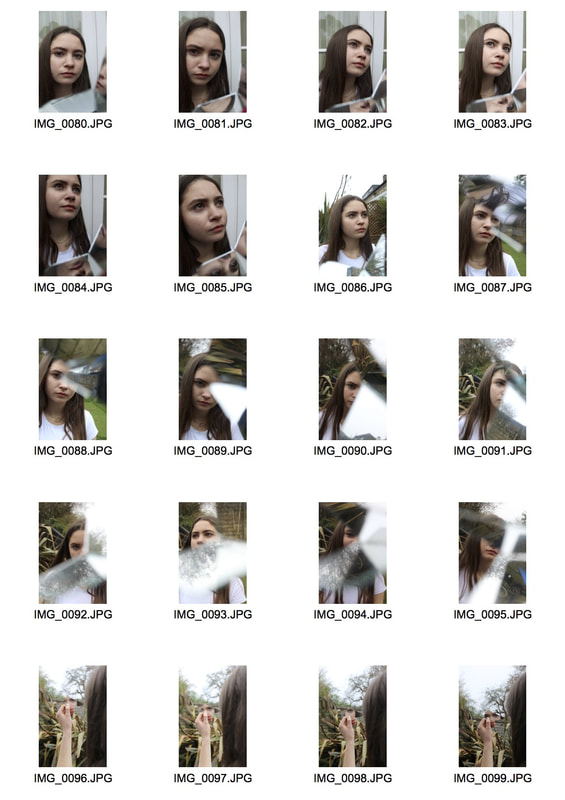
Strand Development 2: Textured glass
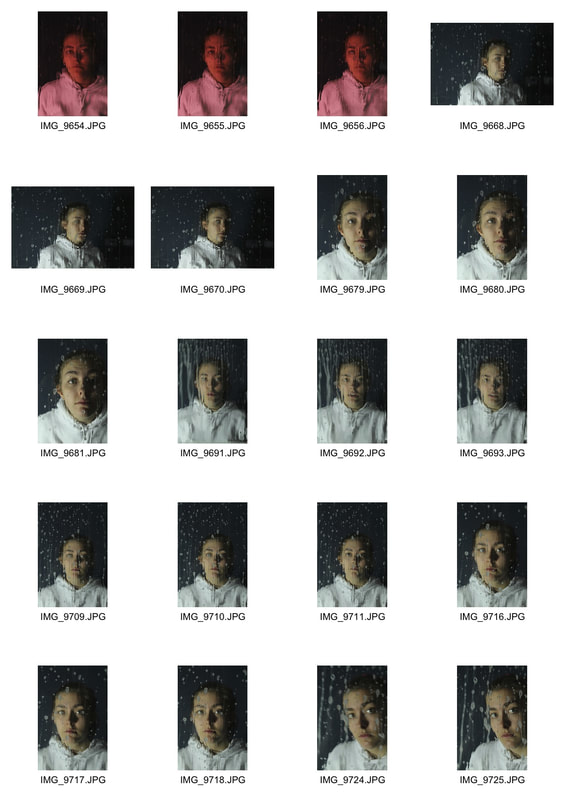
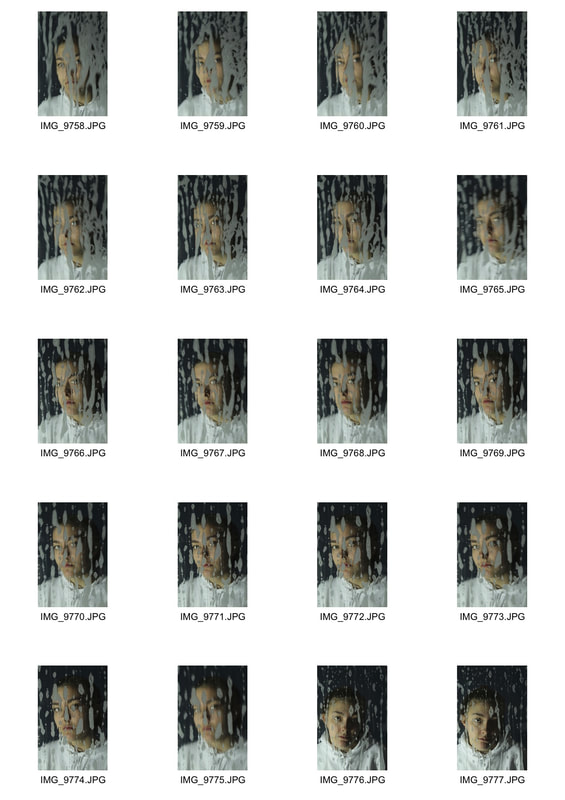
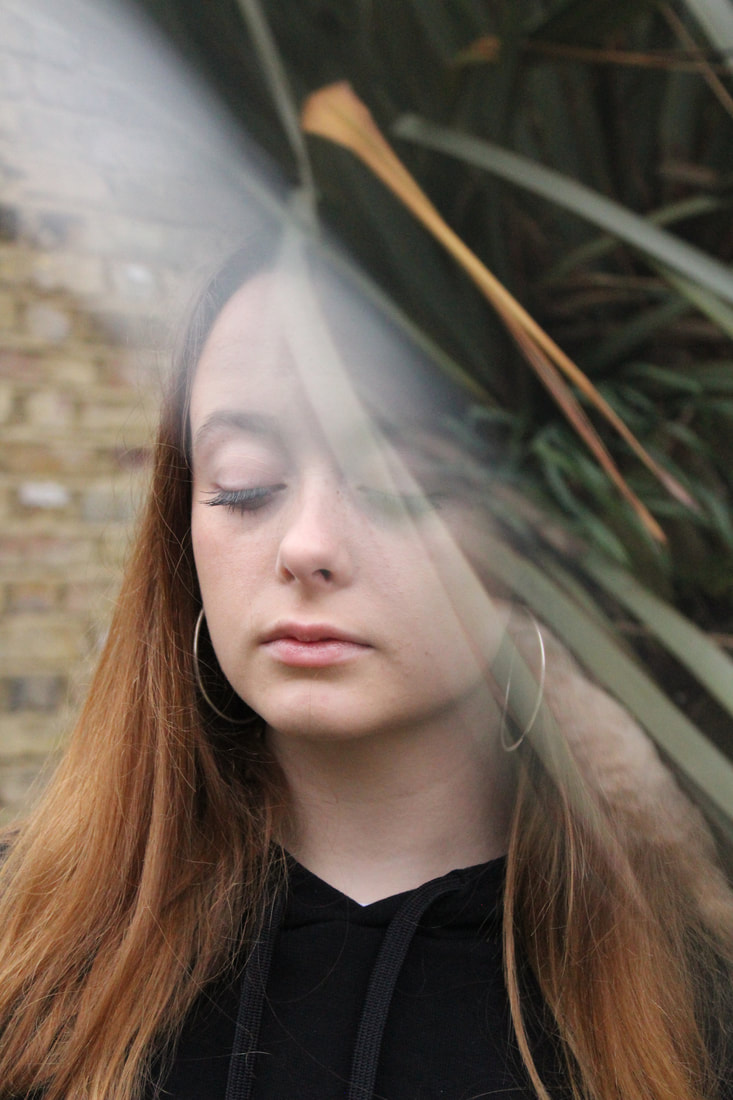
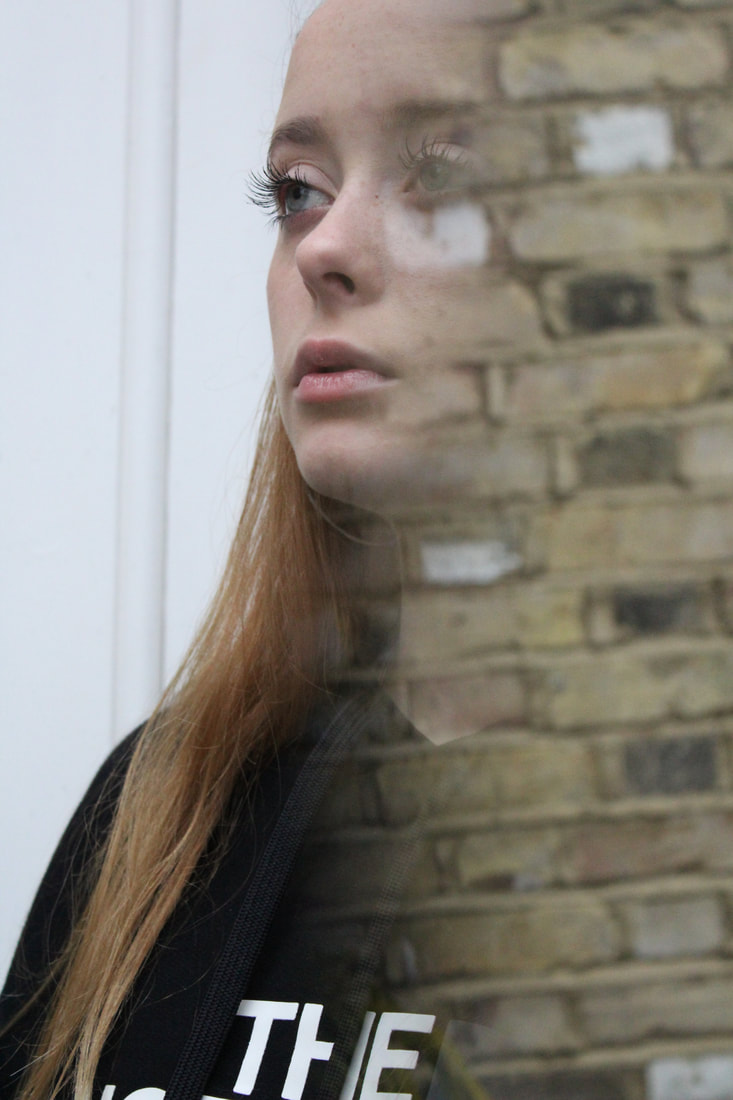
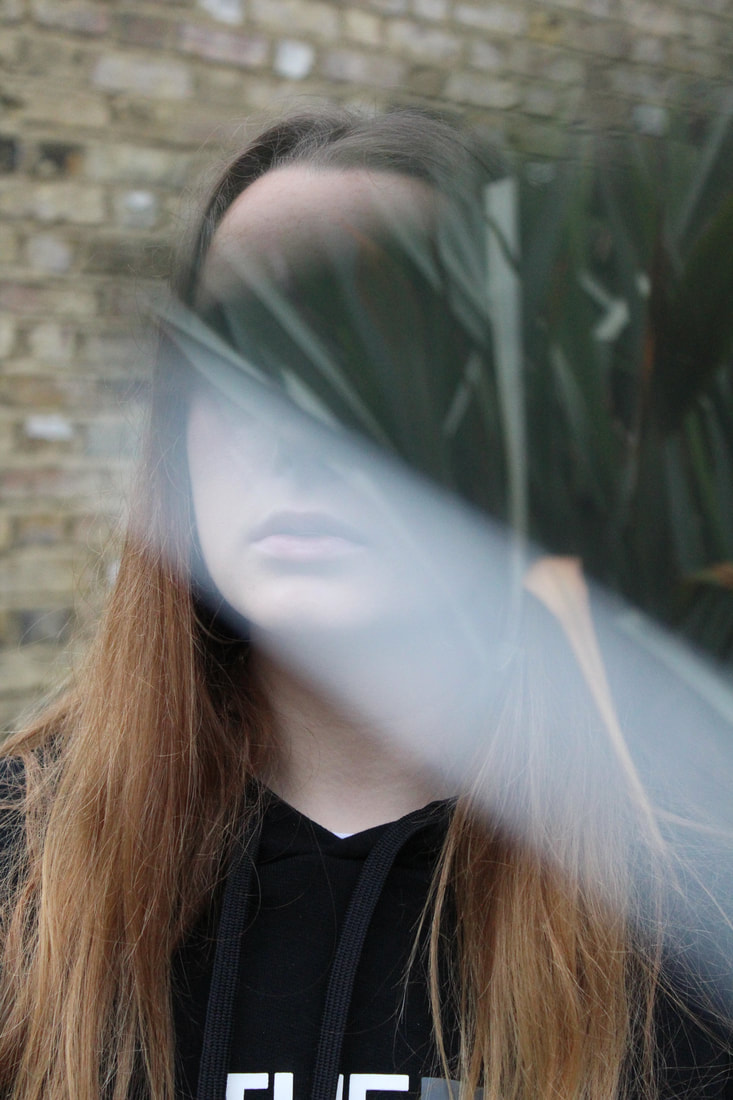
Developing my idea of facial distortion behind glass, I used a fragment of rippled textured glass and experimented placing it in front of the subject and in front of the lens, creating different effects and distortions. I preferred placing the glass in front of the lens so that the edge of the glass was softened and the ripples are larger and more abstract, creating a more distorted and hidden portrait. I also experimented with focusing on the subject and then on the glass, I preferred focusing on the subject to prevent complete abstraction of the portrait and maintain some focused features in order to emphasise contrast. To improve this shoot I would use different shapes and sizes of glass shards to create different facial distortions and hide different parts of the face. Going forward I would like to look at steaming up glass to hide parts of the face.
|
|
|
|
|
|
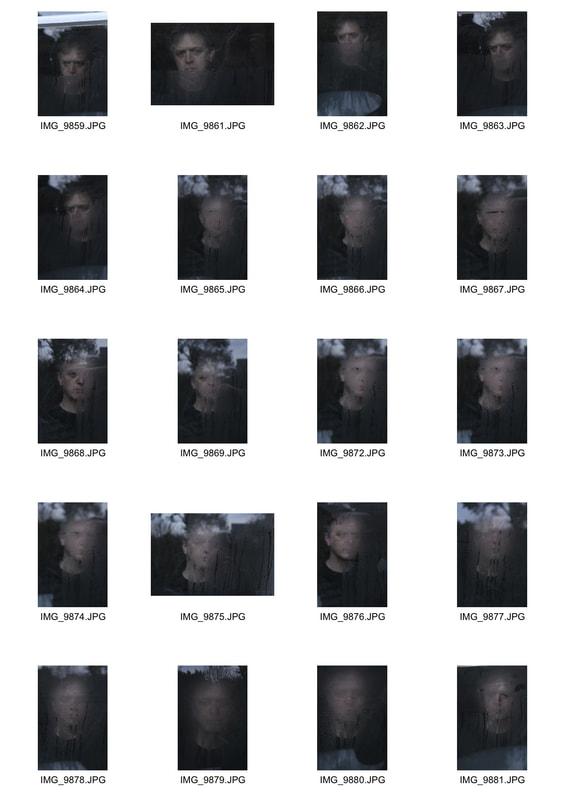
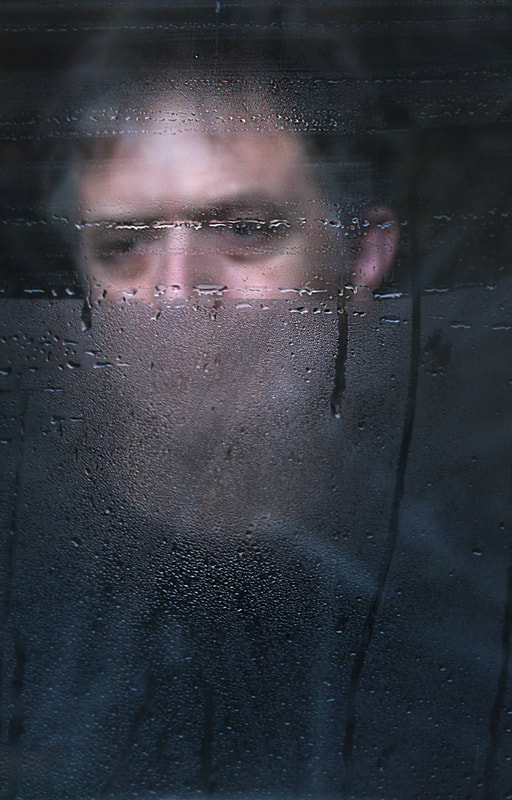
Strand development 3: steamed glass
To develop my initial responses to Nick Turpin and my work using glass in front of the subject, I wanted to look at steaming the glass between the subject and camera to conceal and expose chosen parts of the face.
Saul Leiter
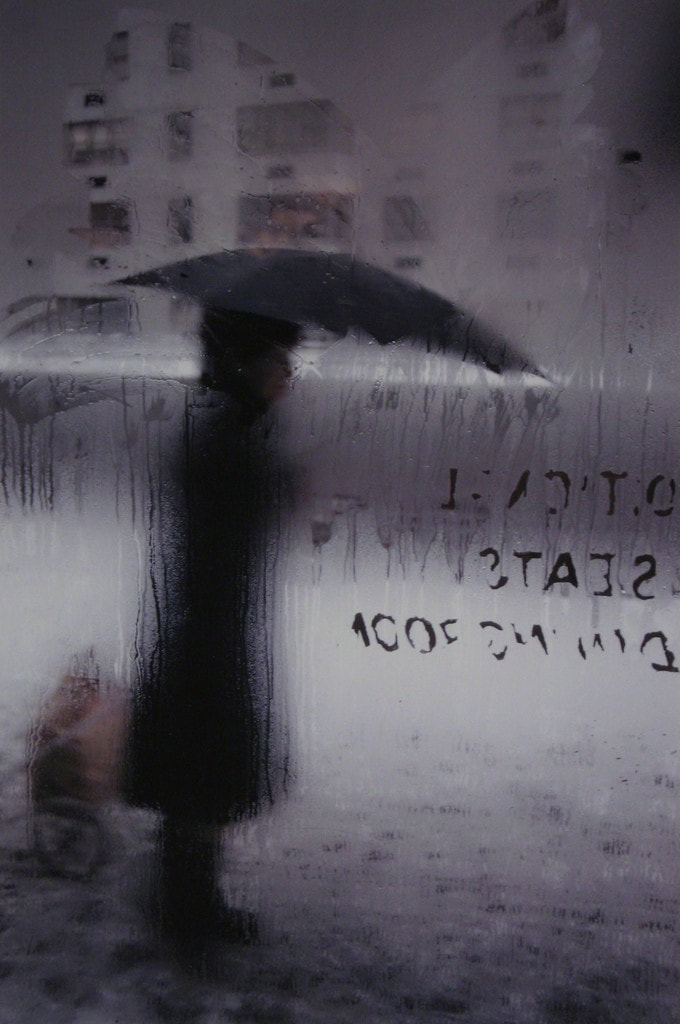
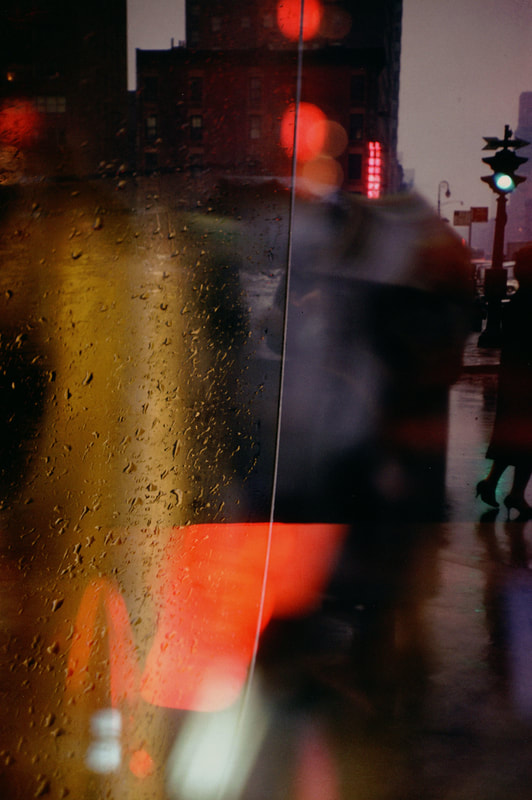
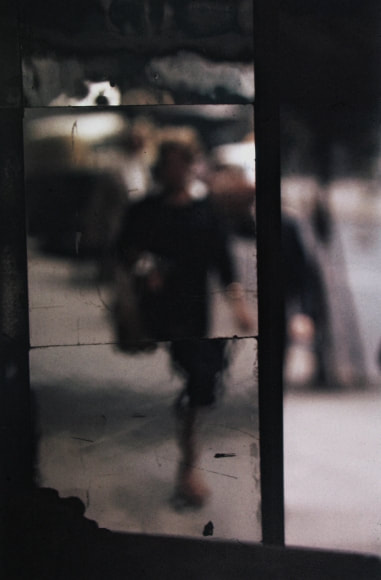
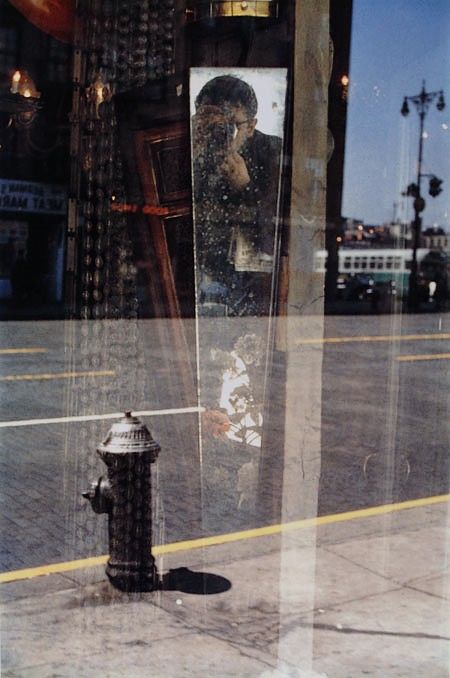
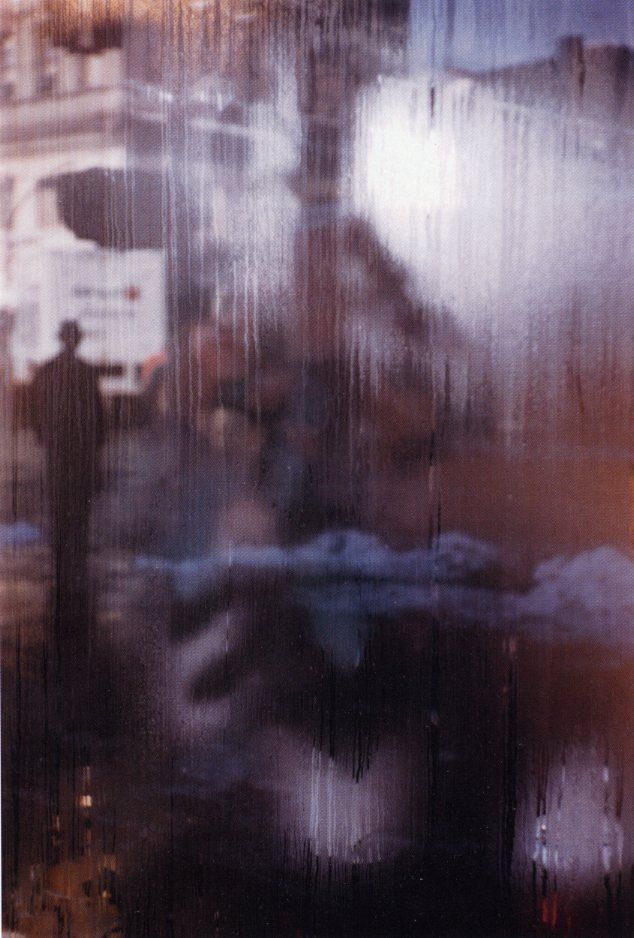
I looked at the photos of Saul Leiter, especially his renowned steamed window photos of pedestrians and normal civilians around new york.
Leiter creates abstracted portraits, verging on painterly, that focus mostly on the posture and body language of the subject to describe who they are. He does this by photographing people on the street from inside a shop or caffe where the windows have steamed up due to condensation and the features of the subject are hidden and distorted. In these photos, Saul Leiter breaks conventions of portraiture, leading us to consider what represents a person and if the face has to be shown in order for a documentary portrait to be taken. He abstracts the images but only to an extent where the subject is distorted, the minimalistic abstract makes the image look natural and implies every feature of the composition is meant to be there.
Saul Leiter was famous for his photojournalism and black and white photography, not so much for fine art photography. The coloured photos I have looked at are photos that Saul Leiter took for himself, they were not for his work. These were a chance for him to experiment and create pieces of art. This body of coloured work was discovered in the 90s as unpublished work and broke the conventions of photography because of his use of abstraction and clever colour choices. He shot only on film and experimented pushing the boundaries of what was possible with colour and film. His process was less to do with accuracy and a clean shot, and more to do with experimentation and pushing photographic boundaries.

|
|
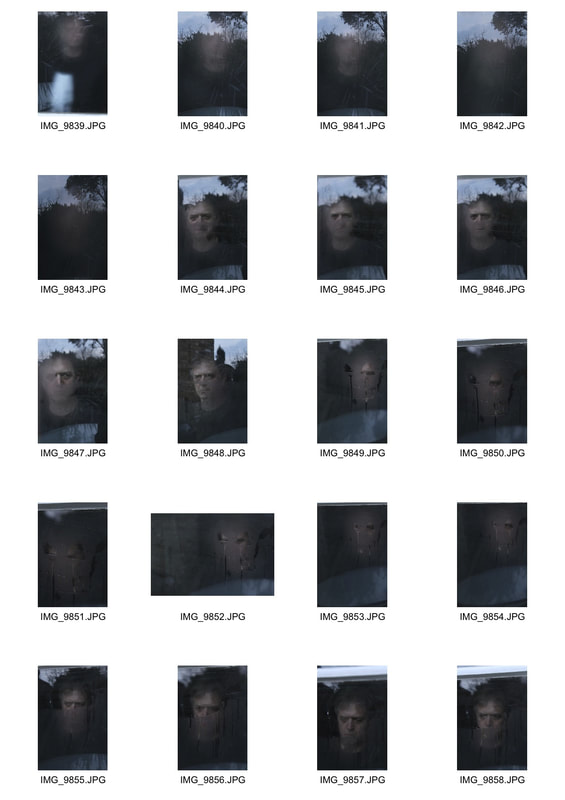
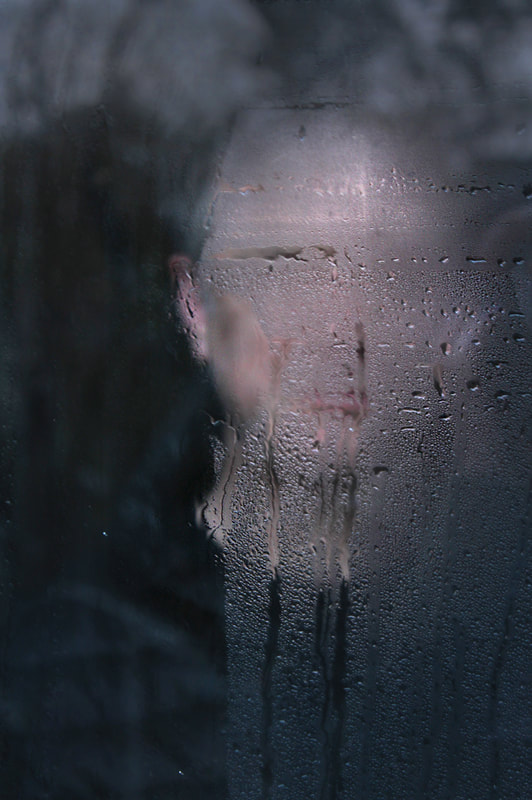
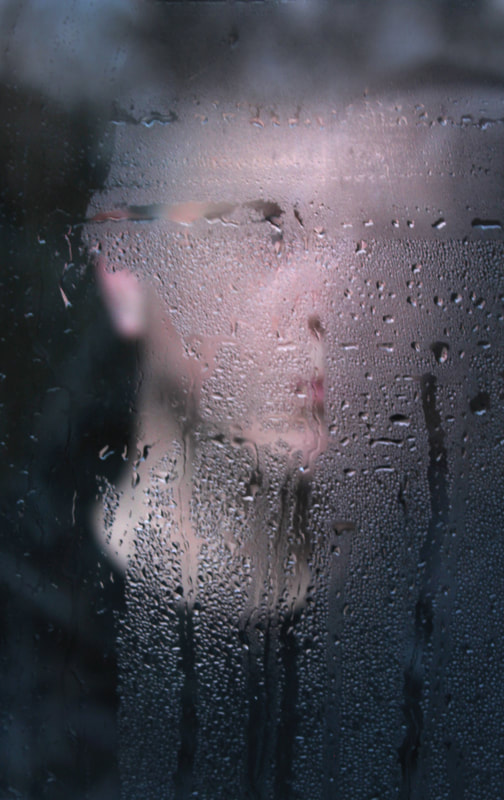
Response
In this development I wanted to experiment with steaming up windows in order to expose and hide different parts of the face and create a barrier between the subject and viewer. I used a steamer to fog up the whole window before asking the subject to wipe part of the condensation off to create small windows of clear glass. In editing I tried to darken the reflections and brighten the subject in order to make the face stand out and create a clearer image. I was very happy with the outcome of these photos, I tried to shoot different parts of the face in focus and different angles to vary the portraits and showcase the subject in different ways. I feel that the contrast of the colour of the subject is effective against a dark background and the pale condensation in the foreground. I also think the use of the steam is a perfect material for hiding the subject's face and abstracting the details without completely distorting the portrait. The minimalistic and natural abstraction being influenced by the work of Saul Leiter. To improve I would experiment even more with angles, such as a side profile, and also with which parts of the window are steamed up and the composition of the image. I would also try using a full body portrait with a full length window. To develop I would like to look at partially covering the lens instead of the subject, in order to explore the idea of hiding the face in a portrait.
|
|
|
|
|
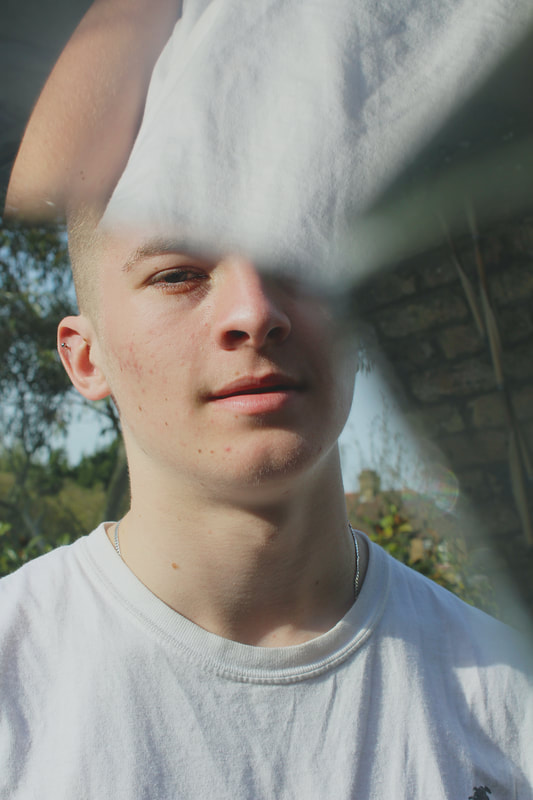
Strand development 4 : covering the lens
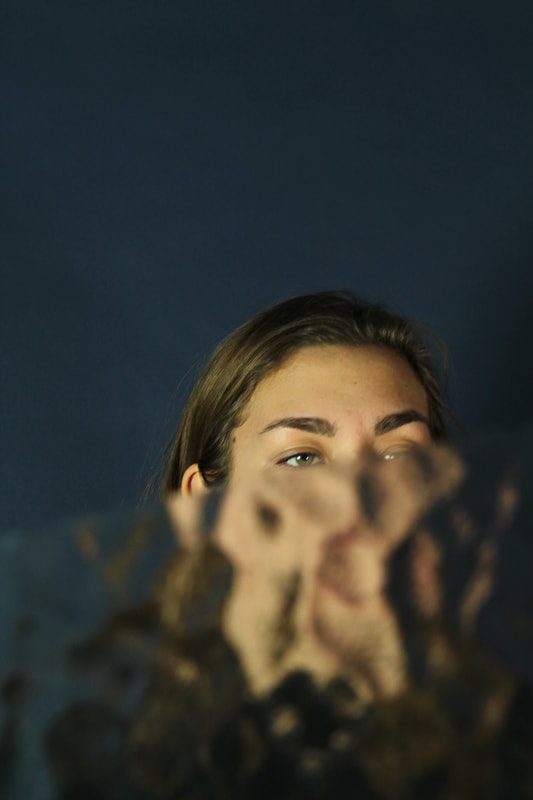
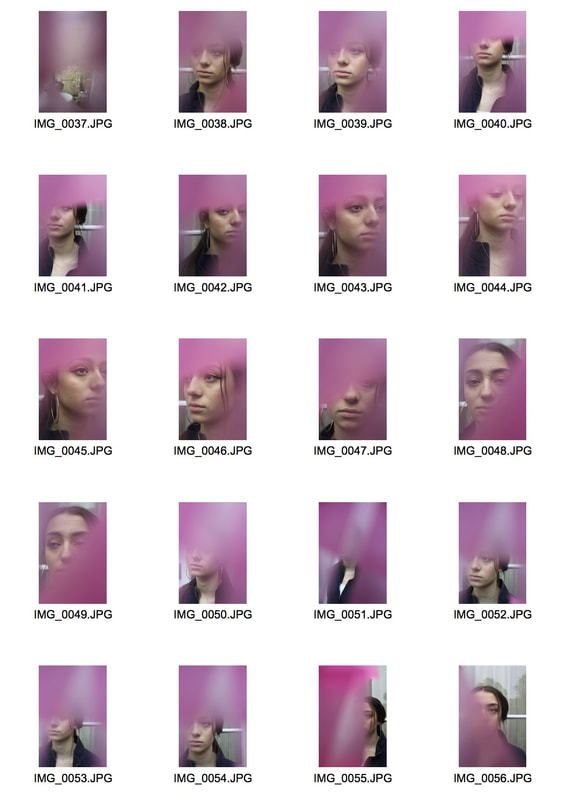
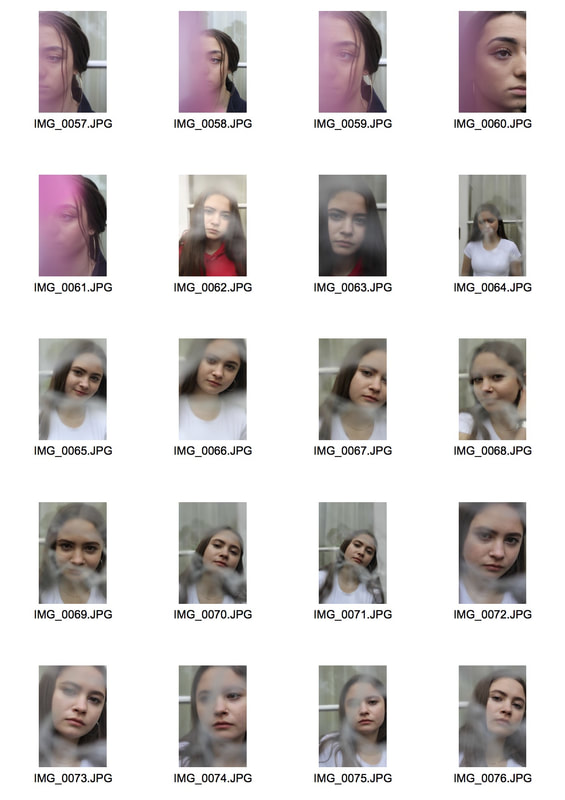
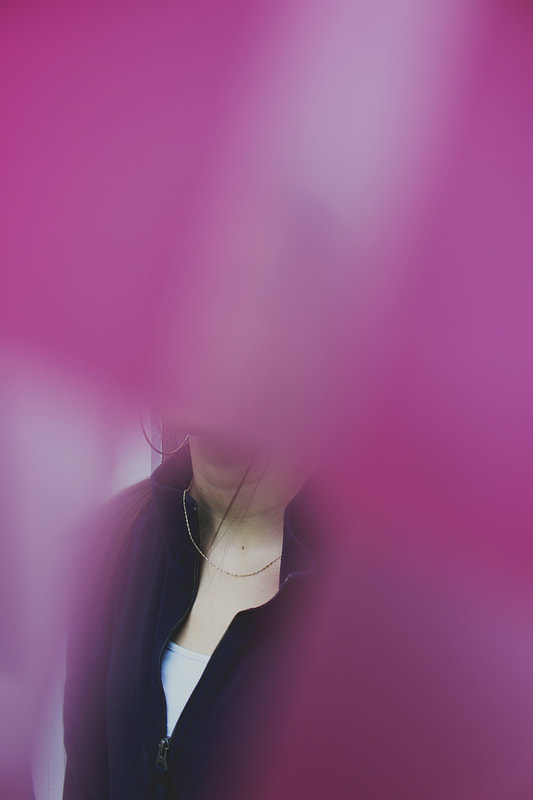
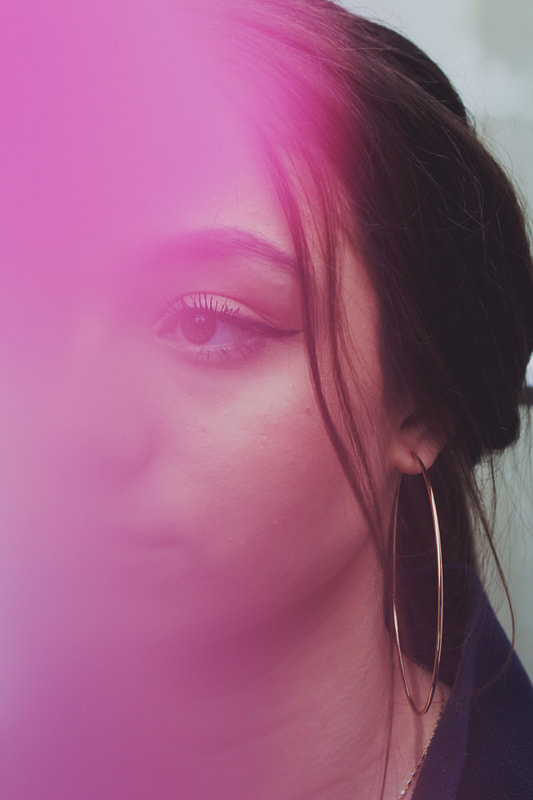
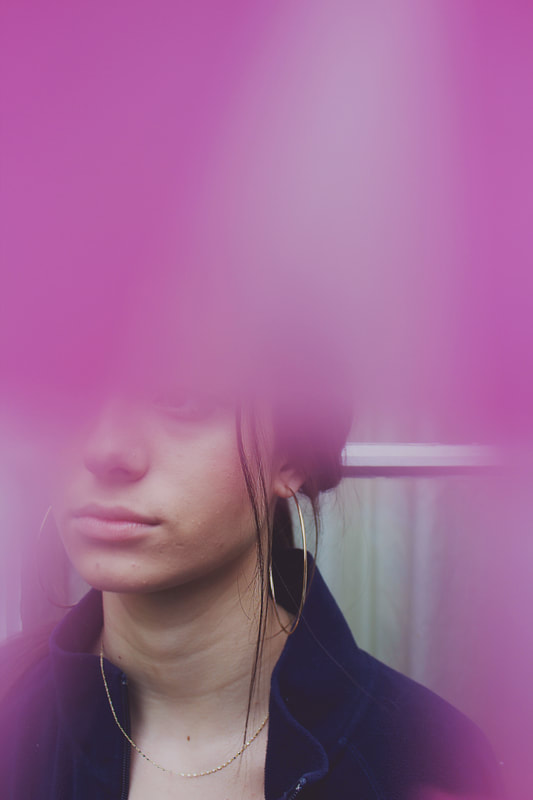
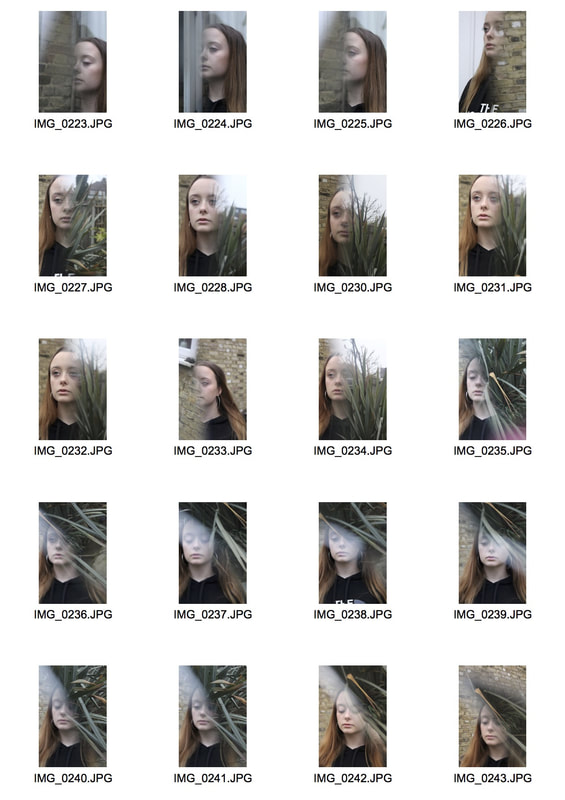
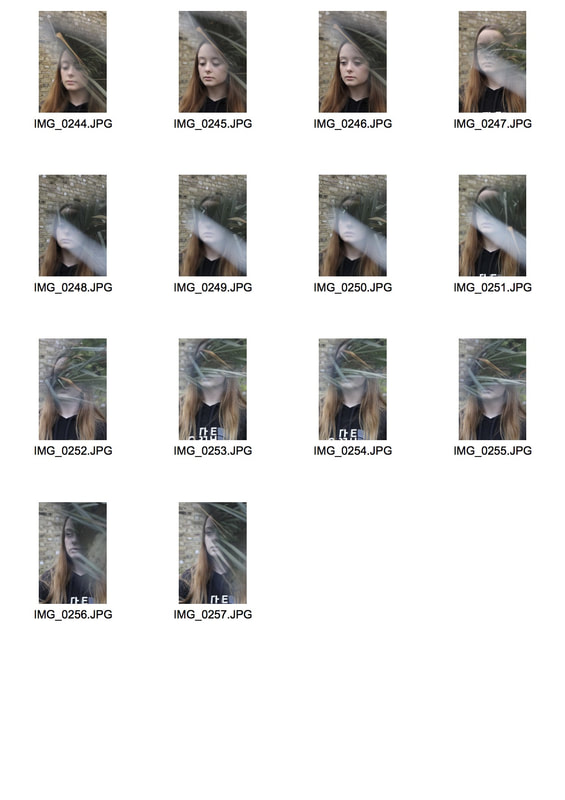
In this development I experimented with placing material on and around the lens in order to cover and distort certain features of the face and create a partial portrait of the face. I wanted to explore capturing a presence and an identity without the full face of a person and how we can identify a person and an expression without all the features.
|
|
I started by using pink tape over the edges of the lens. I experimented with completely covering the face, showing part of the face, and focusing on specific features. The tape added an aesthetically pleasing barrier of colour between the camera and subject which covered her face with softened edges. I used natural outdoor lighting to enhance the natural shadows on her face and make sure there was some contrast amongst the areas of pink. To improve and develop this idea I would like to use different coloured tapes in a series, or to use multiple colours at the same time to experiment with effects.
|
|
|
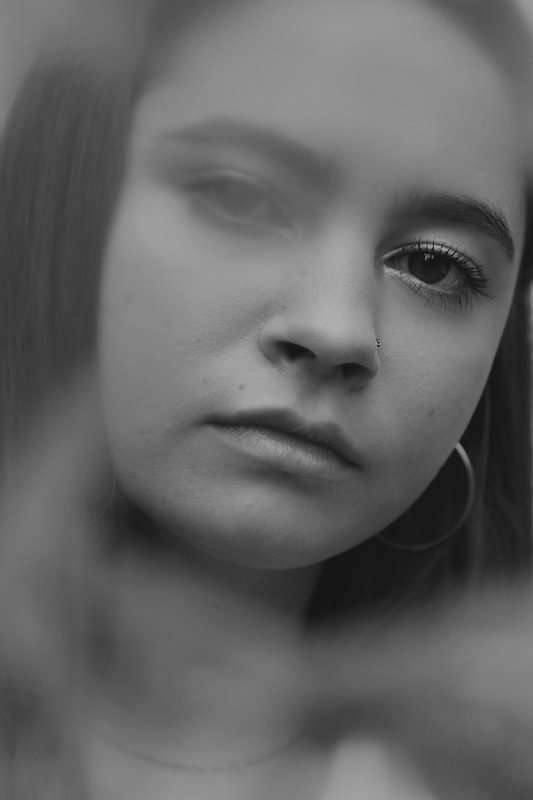
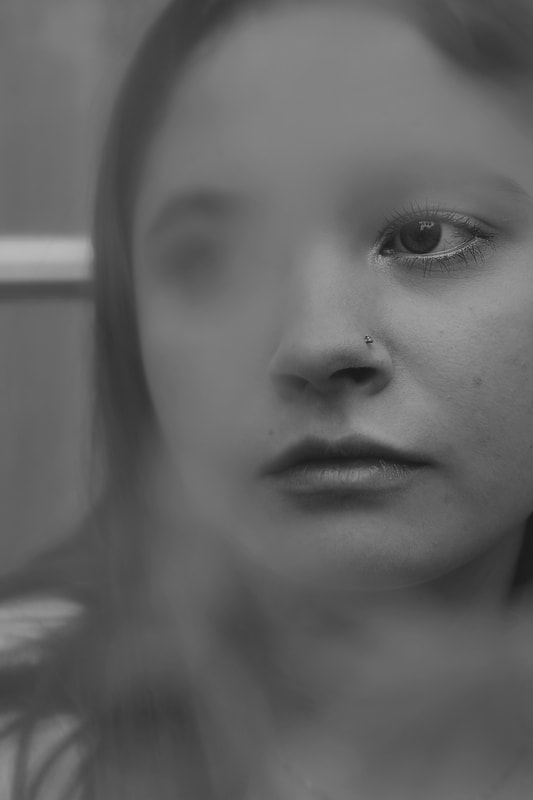
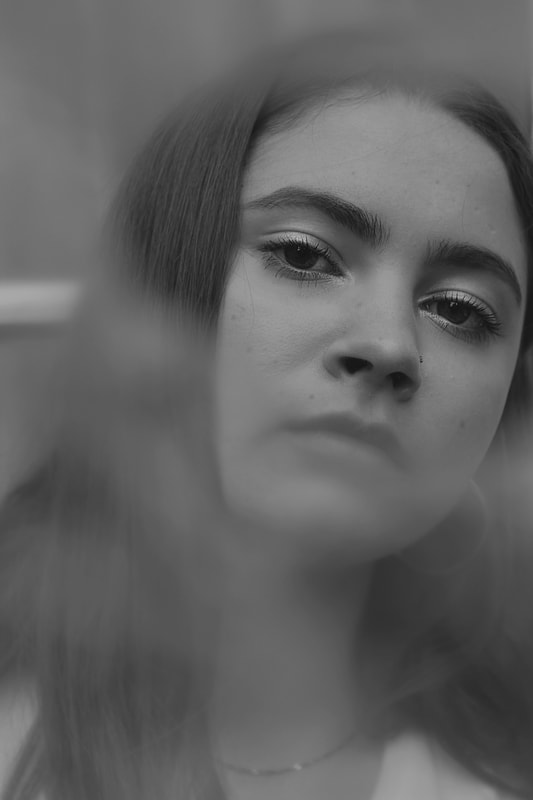
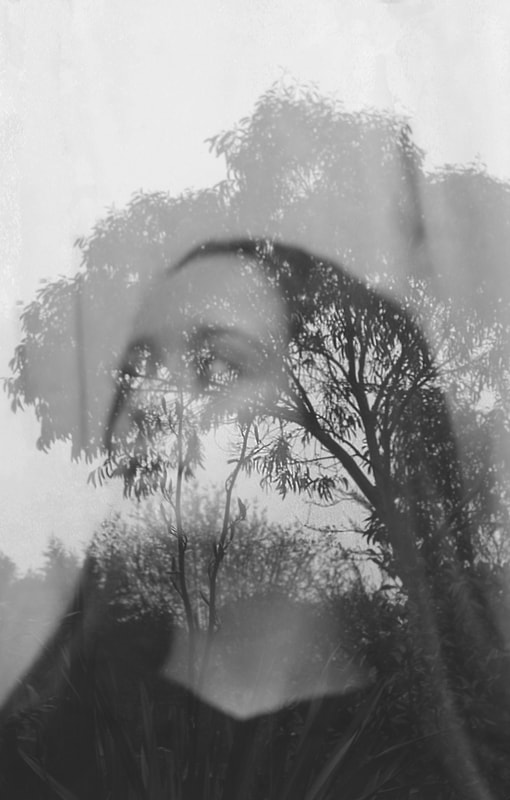
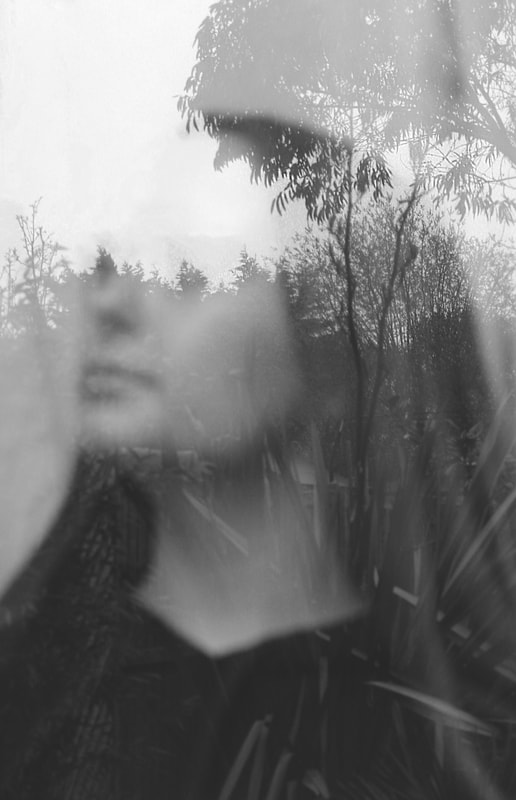
I also experimented with using cling film around the lens. i left a window in the middle and wrapped the film around the lens, creating a kind of tunnel to shoot through. I found it hard to manage the field of focus as the material was so close to the lens, however, once focused I was very happy with the outcome of the photos. I used the window in the middle of the film to highlight and focus on selected parts of the face, which i enhanced in photoshop. In photoshop I decided to make these photos black and white, which I think enhances the contrast of the features and aesthetically, doesn't distract from the subjects face. I really like the idea of fragments of the face being shown and the effect of the clear film resembles shards of broken glass. To develop this idea I would like to experiment using shards of glass or mirrors to cover or hide the face.
|
|
|
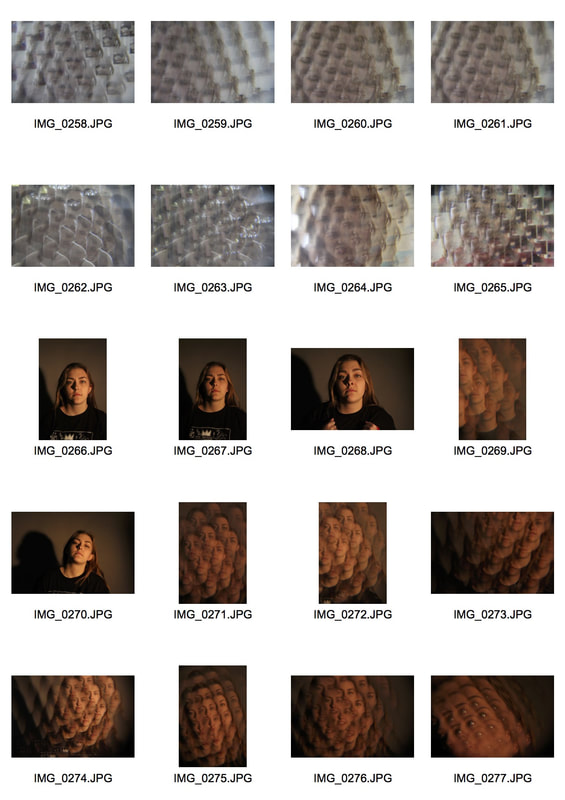
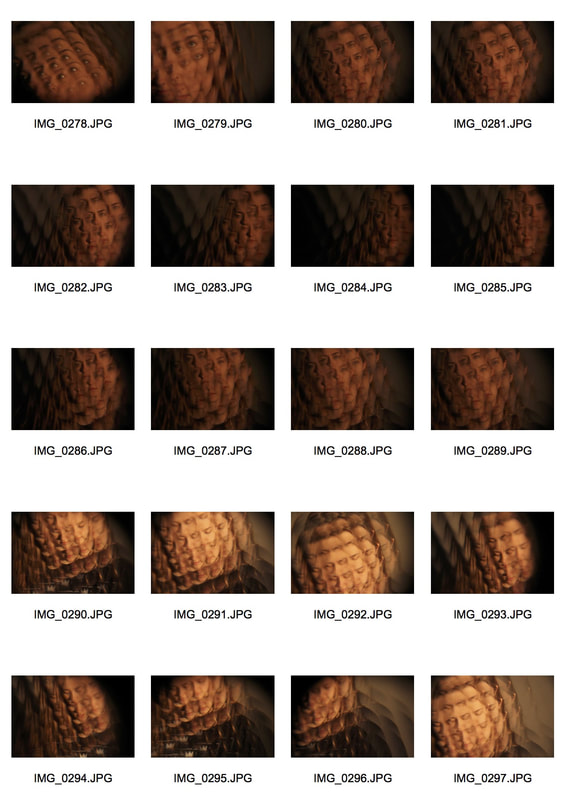
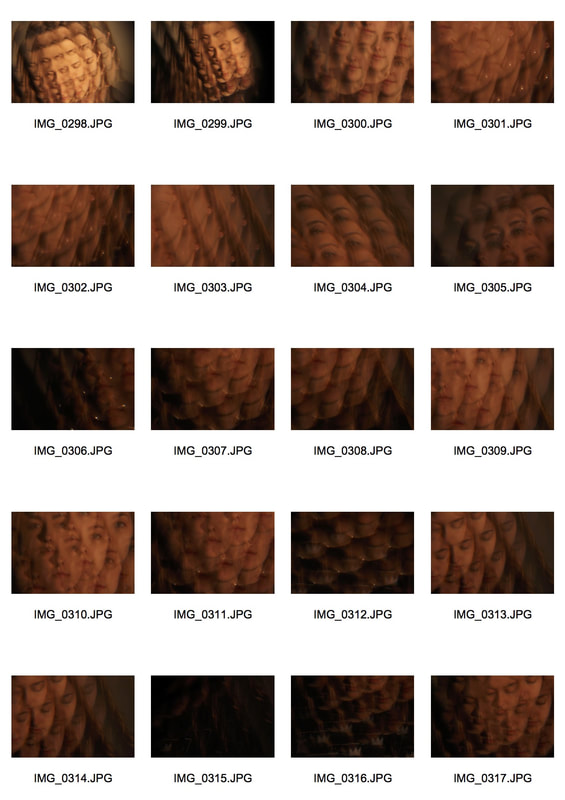
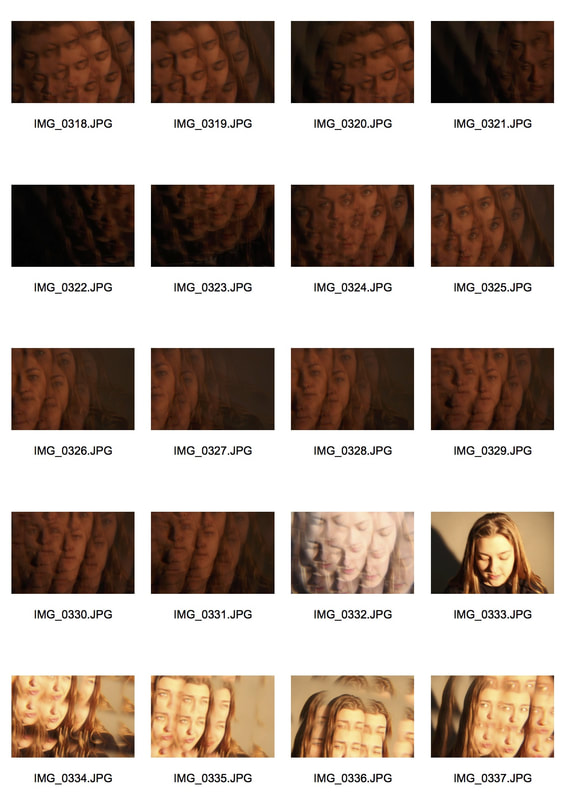
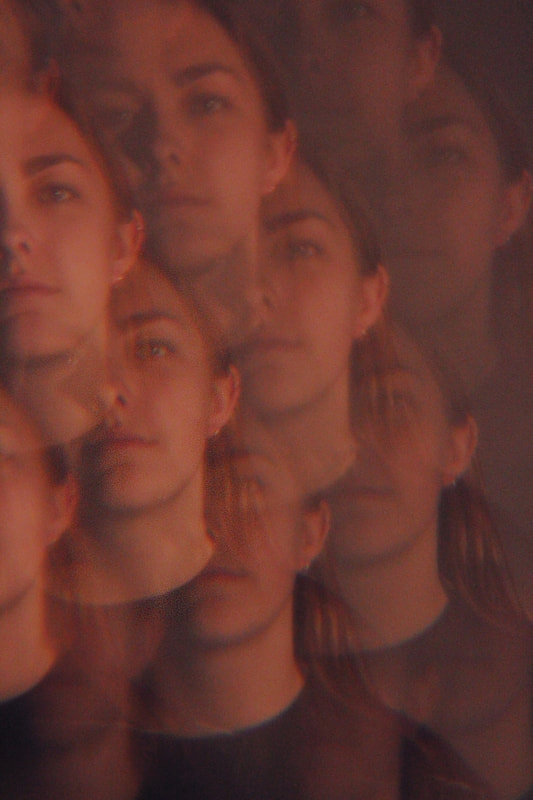
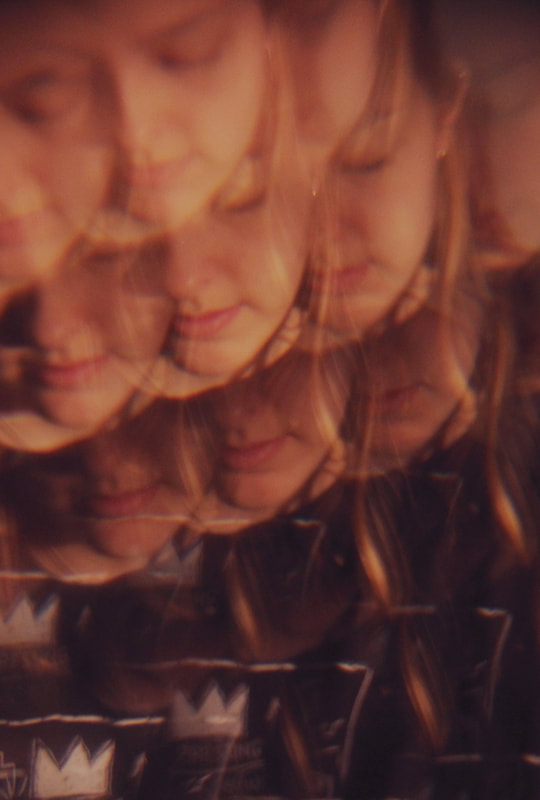
Strand development 5: kaleidoscope
In this development I decided to use a fragment of clear plastic with a kaleidoscope effect to experiment with breaking the face into fragments and repetition of selected features. I wanted to try using a different composition to the standard portrait, instead using an almost gridded effect completely without photoshop, only showing parts of the face.
|
|
|
|

|
|
I found it hard to focus the images behind the plastic but I found the softened lines and colours effective and fluid, the fading fragments of the subject's face imply motion and the outcome was more abstract than i expected. I chose to edit some stills as well as making a gif. I thought the gif was most effective because of the continuous motion and focus on all the different parts of the subject's face, almost creating a full portrait. The transient images of her face makes the details unclear and you never have a completely focused and whole view of the subject. This combined with the muted colour palette and softened lines add to the abstraction of the image. To improve this shoot I would try it with a different background, maybe in an outdoor setting to add variation and colour. To develop this idea I would like to continue looking at how to focus on only selected fragments of the face.
|
|
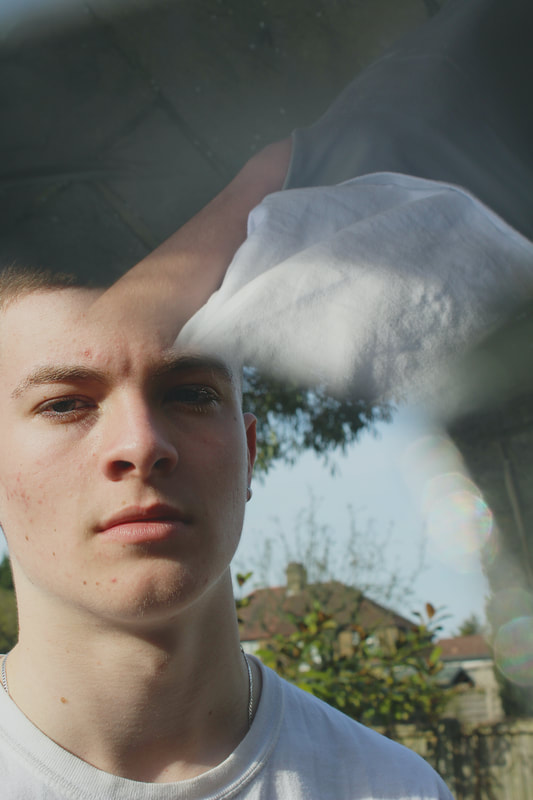
Strand development 6: window reflections
In this development I looked at using the reflections in the window to actually cover or enhance different parts of the face. I tried to experiment with different angles so that in editing I could emphasise different features and fragments of the face.

In editing I made the photos black and white to create more significant contrast between the subject and the background and also the shadows and highlights. I then heightened the exposure and contrast before using the dodge tool to whiten the areas without reflections. This created an organic double exposure effect image, the only fragments of the face visible in the shadows of the reflections. I was very happy with the outcome of these photos because I think the effect and aesthetic value of the images is quite original and the whole idea of hidden faces and breaking conventions in portraiture was really manifested in the edits. To improve I would use different locations in order to capture different reflections and backgrounds. For my next development I would like to further explore the idea of reflections, with mirrors.
|
|
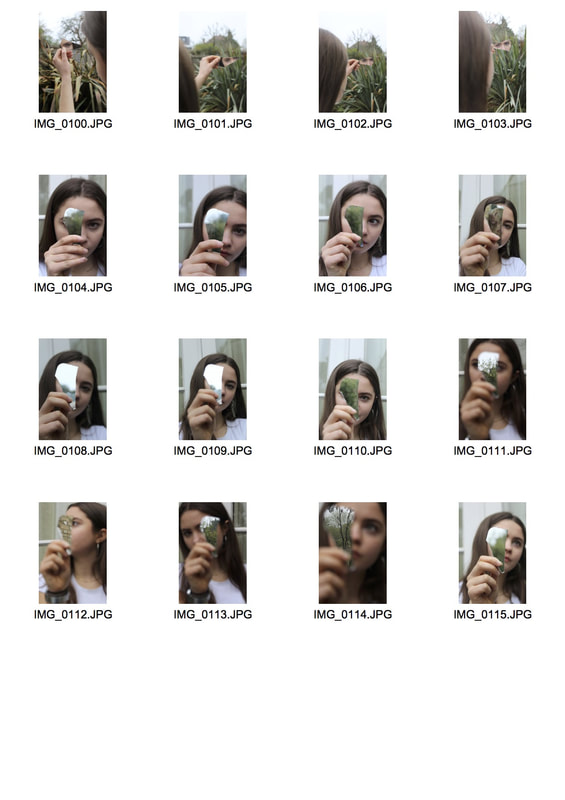
Strand development 7: mirror reflections
In this development I decided to use a fragment of mirror to juxtapose the portrait of the subject with different backgrounds and reflections. I tried to create a more abstract image with the areas of reflection cutting across the face.
|
|
I found the effect made by the mirror very interesting and definitely something I would like to develop. The reflections of different objects are effective way of covering the face and combining multiple images into one. To improve this I would use more contrasting colours and maybe include the fragment in the photos. To develop this idea I would like to experiment with the subject holding the fragment of mirror.
|
|
|
Strand Development 8 : experimentation with mirrors
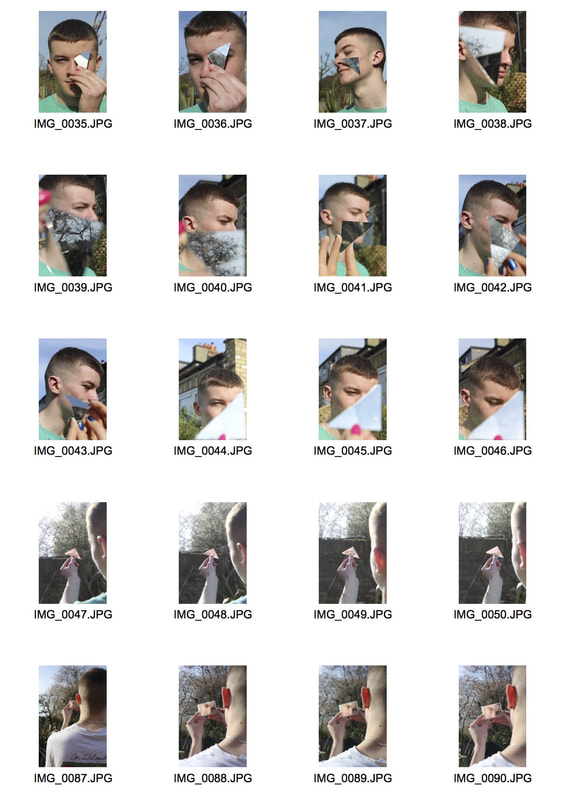
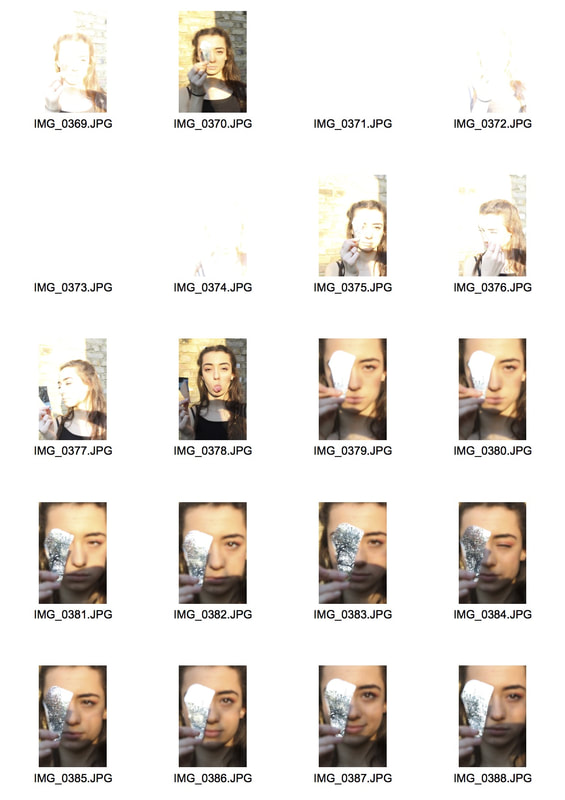
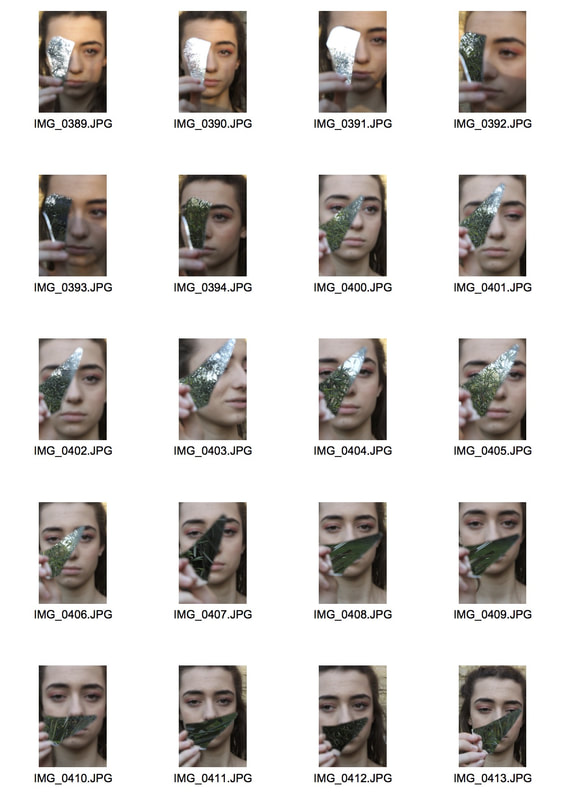
Developing my idea of using mirrors and reflections in portraits, I experimented with a fragment of broken mirror. I first had the subject hold the fragment over their face to reflect the background which although worked effectively, I would like to try with a larger fragment of mirror so that it is easier to old and reflects more of the background. I also tried putting the fragment just at the edge of the lens so that shards of reflection cut through the photo. I like this effect as the face remains in focus while the edges of the reflection are softened and add abstraction to the image. I also tried having the subject face away from the camera and look into the lens through the mirror. I like this effect as it's an inverse version of having the mirror cover a fragment of the face, instead only showing a selected fragment of the subject's face in the mirror. The sunny weather conditions definitely improved the photos as the colours were brighter and more aesthetically pleasing. I made a gif with multiple frames of the mirror reflection to add motion and to incorporate the aspects of the kaleidoscope development that I liked. I would definitely like to develop all of these techniques with more careful or abstract composition and a bigger shard of mirror. I would like to try taking the photos much closer and with a tighter crop around the face so the focus is on the subject, I would also like to use the reflections more to cover the face rather than add a feature.
|

|
|

|
|
|
|
|
|
|
|
Strand development 9: further experimentation with mirrors
Saul Leiter work
To develop my idea of using mirrors to both cover the face of the subject and abstract the portrait, I looked back at the work of Saul Leiter; this time at his more experimental, abstract pieces. Saul Leiter consistently used mirrors and windows throughout his work as a method of organically superimposing photos together and creating double exposures by reflecting different backgrounds and objects. In his self portrait below, he keeps the focus on the shard of reflection in the middle, depicting himself taking the same photo. Although there is lots of objects, textures and other background noise, the central fragment is very bright in contrast to the rest of the photo and he uses the composition of placing himself in the middle to draw attention to this point. Saul Leiter's use of focus in these photos is interesting and makes the photos different. In some photos, he will keep the majority of the photo abstract blurred and abstract, with careful choices of colour, and then choose to focus on the window or reflective material used. In the photo below only the water droplets on the window are clean and in focus but in the photo next to it, it's only the outline of the glass that is in focus with the subject reflected still blurred. As a consequence, we never have all the information in the photo, we are limited to what the photographer has chosen to show us. This may be based on what Saul Leiter wanted to portray as the focal point of the photo, or another technique he used to naturally abstract his photos and develop his own abstract expressionism.
|
|
|
|
Response
In this development I wanted to really work on focal points and being more careful with the coverage of the face and the objects reflected. i tried to develop all of the previous methods of using the mirror that were effective including; having the subject holding the fragment, and using the fragment on the edge of the lens. This time I used a bigger fragment of mirror which worked much more effectively. In the photos with the subject facing away and looking in the mirror I tried to focus on the eyes by improving my framing of the subject and editing the sharpness on photoshop. I definitely think that these photos are better than the previously taken series as they are effective in selective focusing on just a fragment of the face. I would improve these photos by using different locations and backgrounds.
Another technique I tried was having the subject hold the mirror fragment in front of their face. With the larger fragment it was much easier to control what I wanted to reflect and which parts of the face I wanted to cover. I chose to focus on the reflection and keep the face blurry, to soften the outline of the fragment and take inspiration from Saul Leiter's work. I was very happy with the outcome of these photos as I think they perfectly capture what I wanted to achieve with my initial idea of hidden faces in portraits and breaking conventions of traditional portraiture by abstracting the image slightly and changing the focus. To improve these photos I would be more thoughtful with the composition and crop of the photo and focus on what's reflected. I would like to develop this idea by using different locations in the reflections, I would like to explore both the man made and natural.
Lastly I developed my idea of the mirror used alongside the lens to create these shards of reflection cutting across the photo. This time I really tried to cover the face, leaving just a section and crop the photos closer to create abstract portraits with multiple images put together. I am happy with these photos and I think the use of focus on the facial features, contrasted with the blurred different areas of colour and texture, create a visually interesting and aesthetically pleasing photo. To improve these photos I would create a series of gifs like the one I made before, and look at reflecting different colours.
|
|
|
|
|
|
|
|
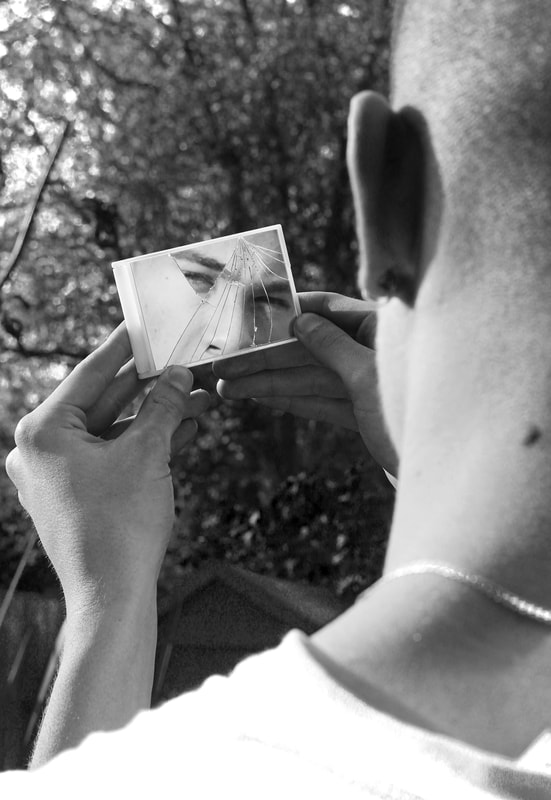
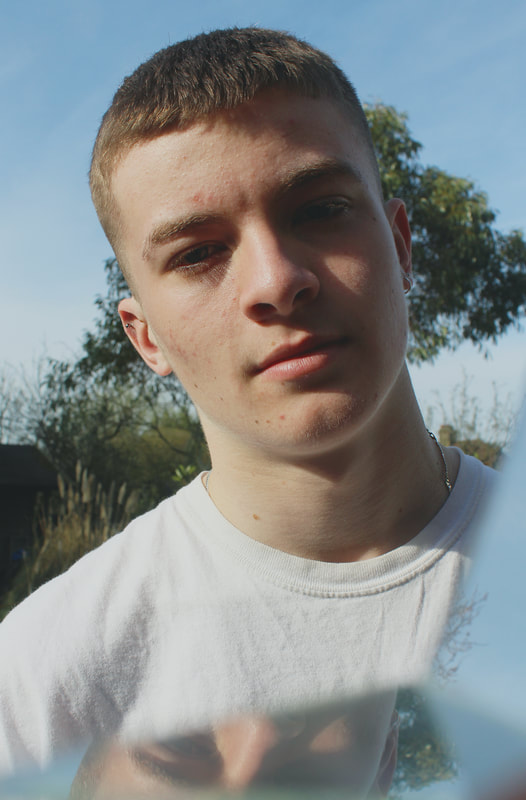
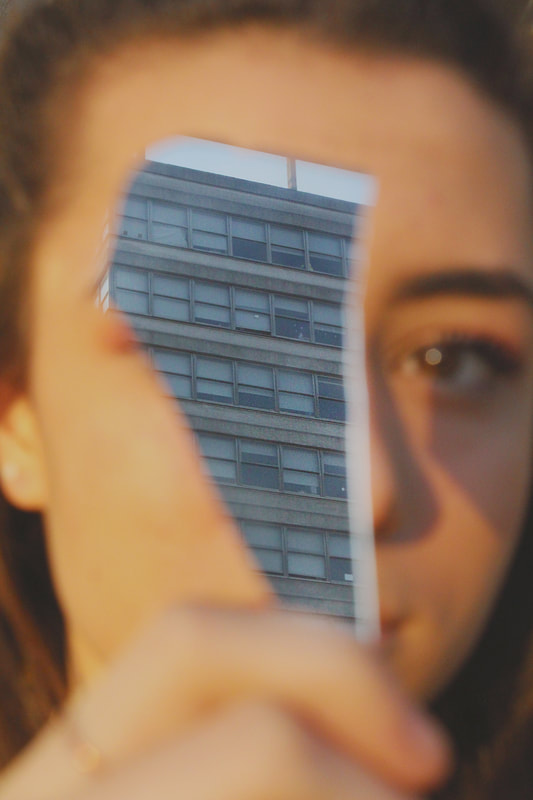
Final Piece
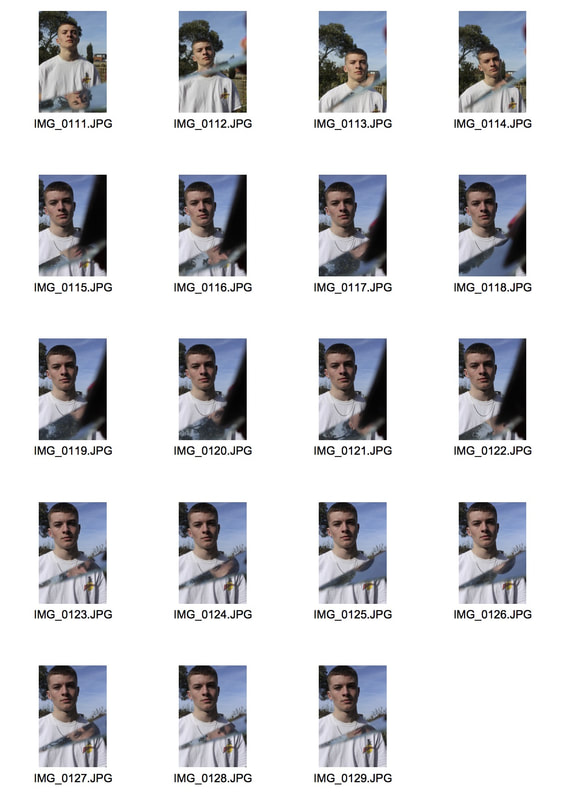
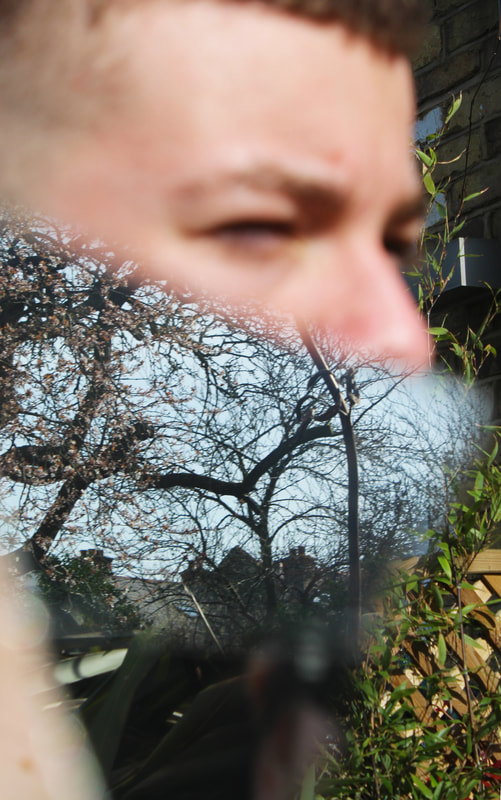
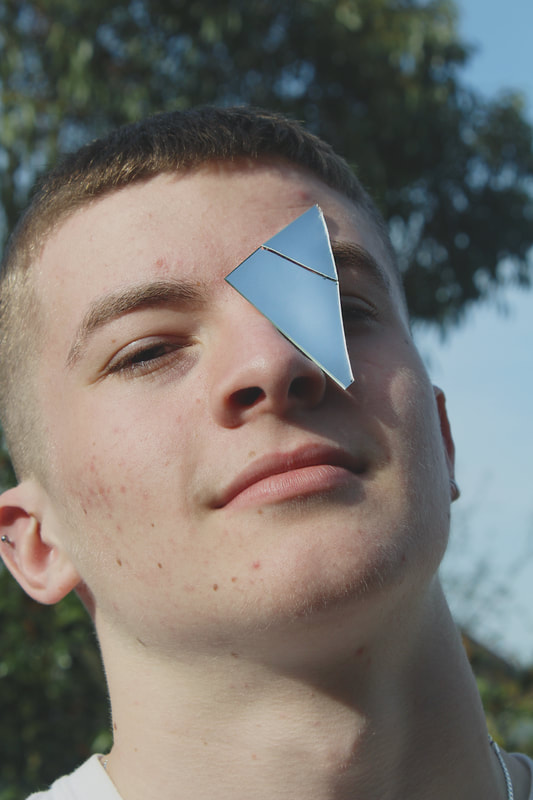
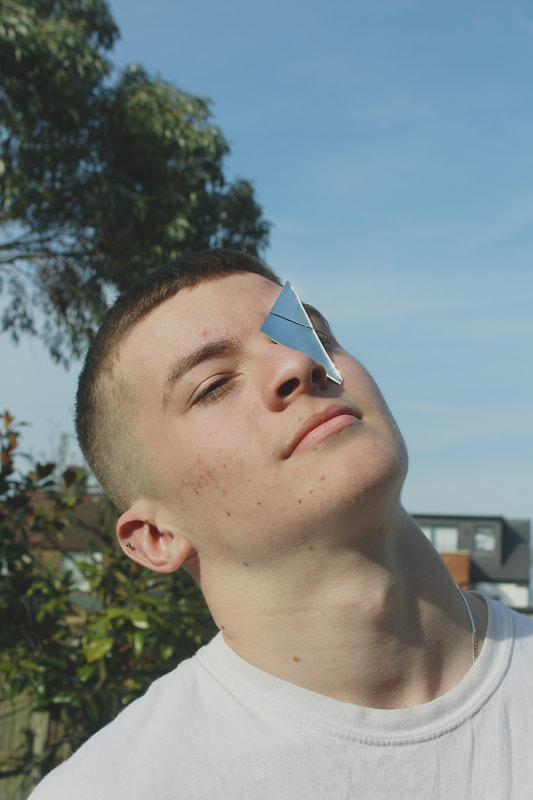
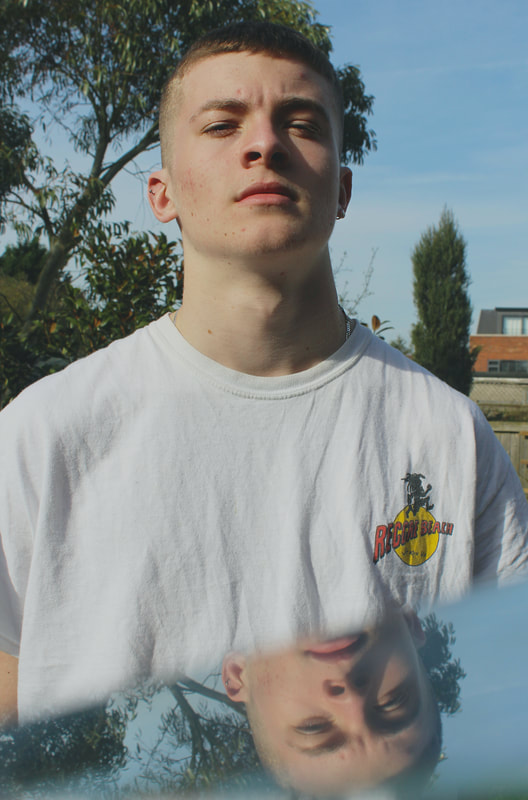
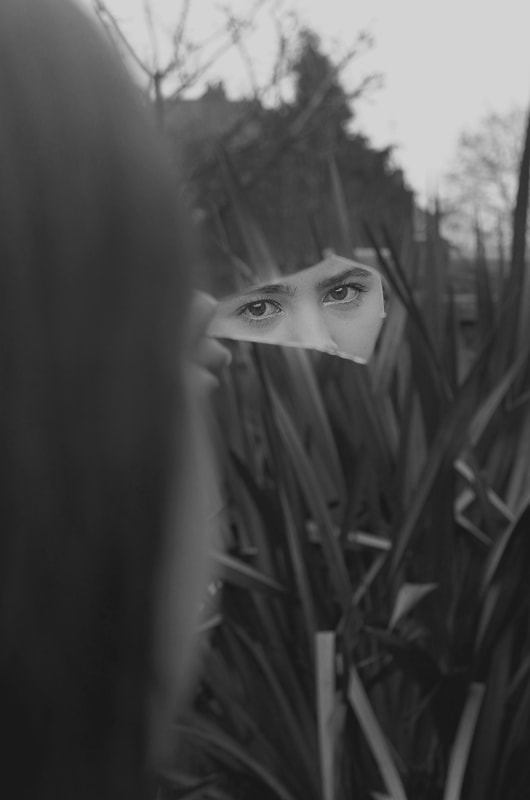
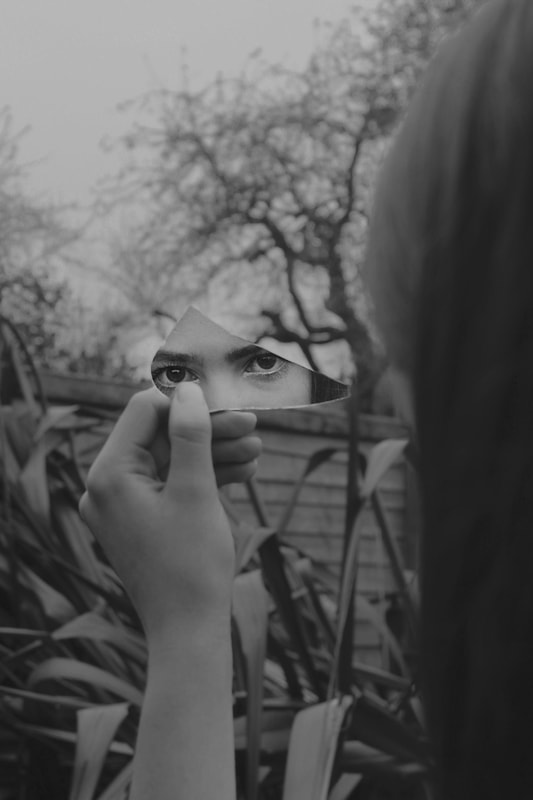
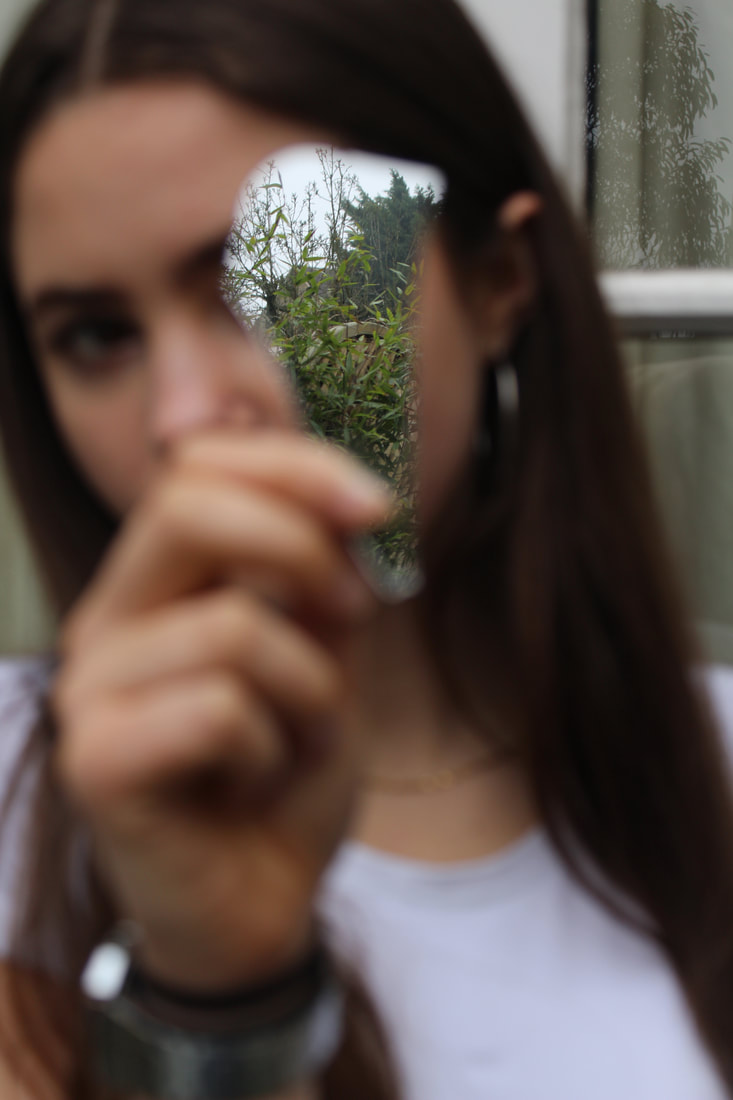
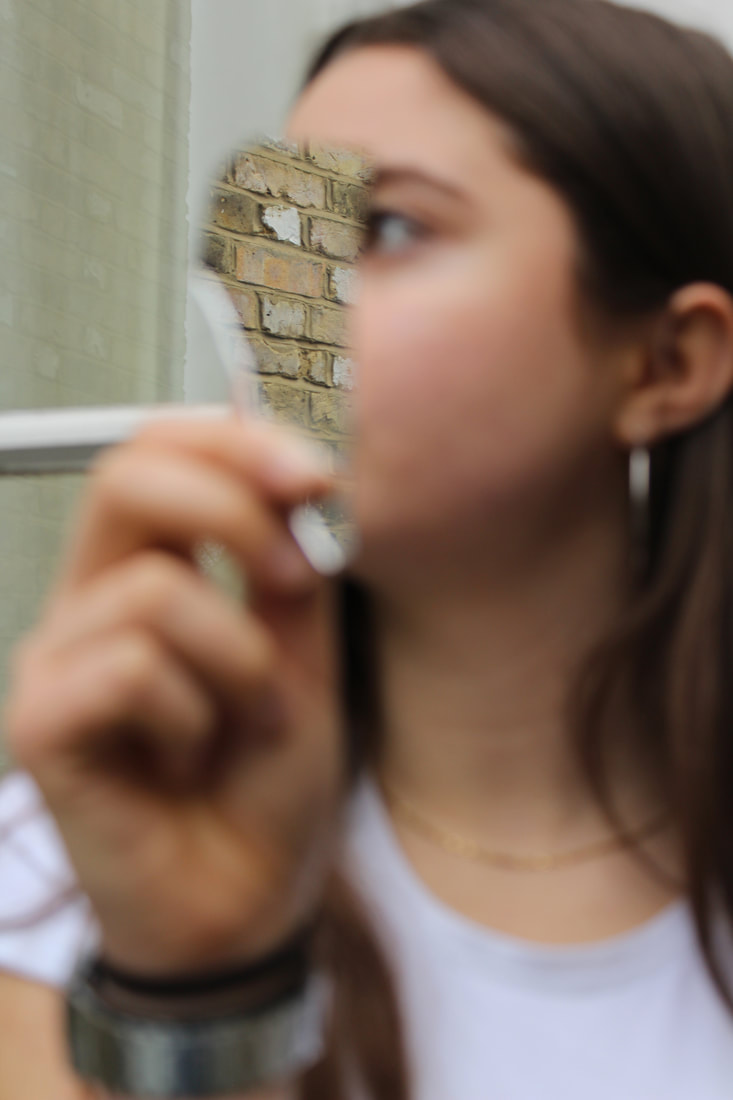
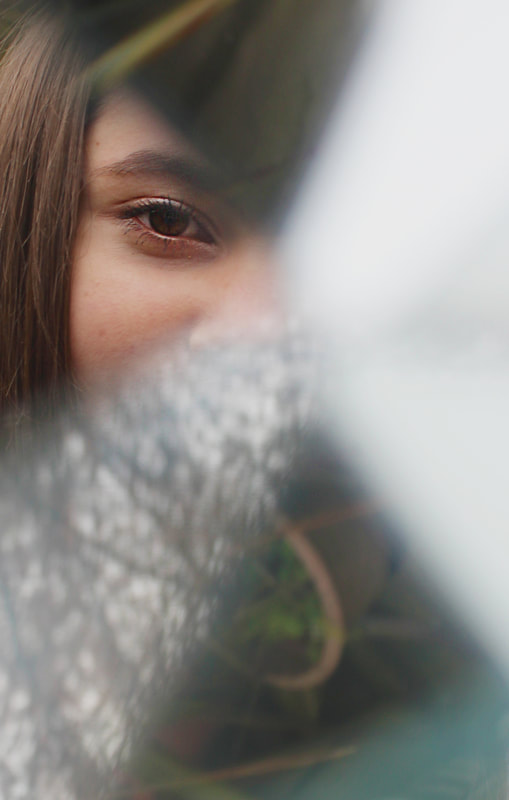
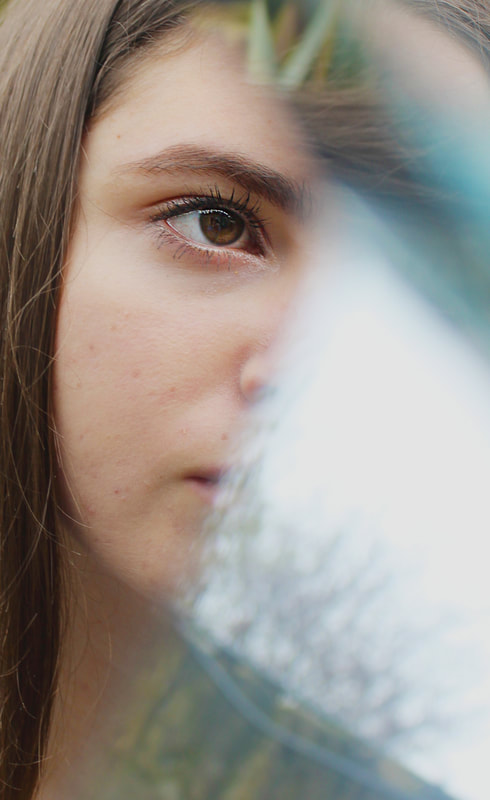
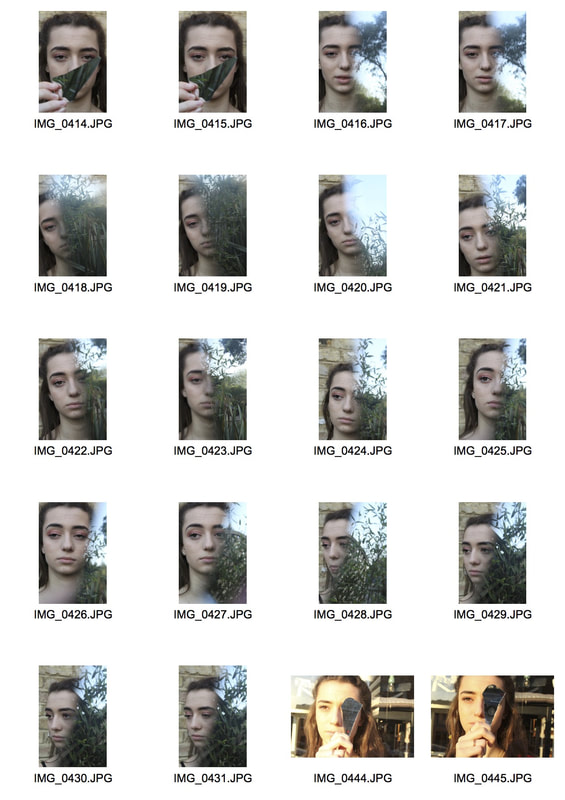
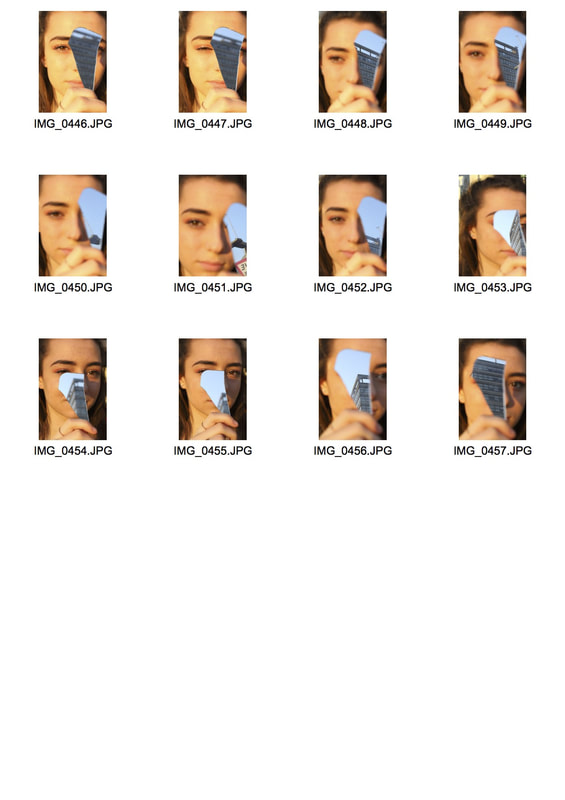
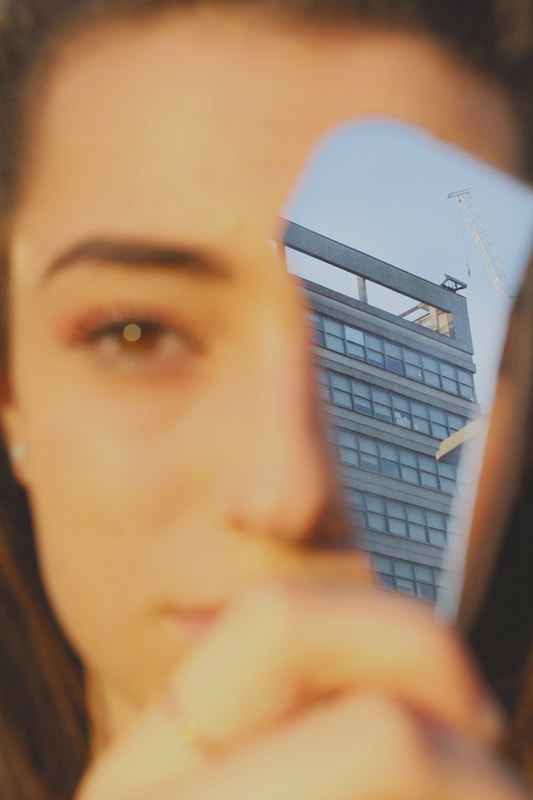
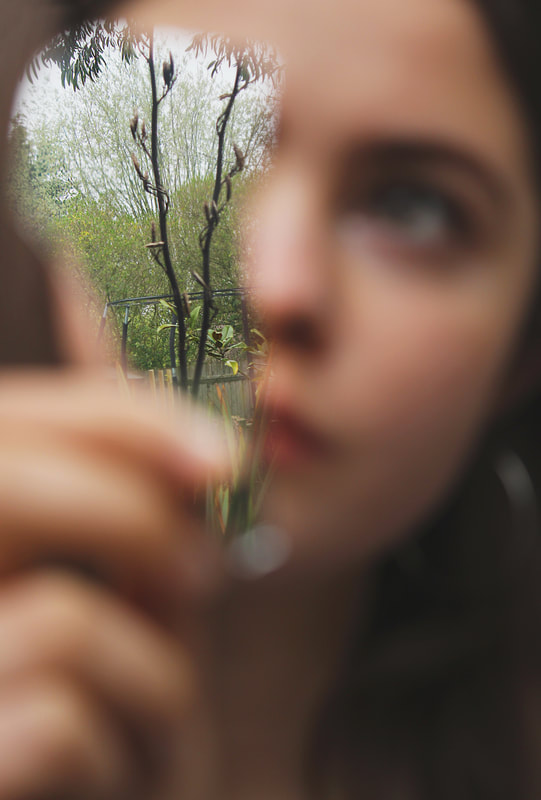
For my final piece I decided to take a series of photos using what I felt to be the most effective technique I experimented with, which was the subject holding the fragment of mirror in front of their face. I chose to take photos using both the reflections of a natural background and a man made building to link back to my theme of breaking the conventions of portraiture and what we identify as our own identity if our faces aren't shown. The two contrasting backgrounds express constant parts of our ever changing world and aesthetically it's interesting to look at the sculptures of both man made and nature. I also took reference from the reflection work of Saul Leiter, especially his self portrait, for his careful composition and use of focal points. I made sure to really focus on the composition of these photos, the subject closely cropped and in the centre with no other distractions, and the mirror fragment covering different parts of the face. The focus is kept on the reflection, the face blurred. This, I think, adds visual interest and linking to the theme of broken portrait conventions, it's unusual for the subject to almost be the background of the image. I also tried to be very careful with the actual reflection and angle, to increase aesthetic value and to add thought and precision into the otherwise rather abstract images.
As most of the effect was involved in the taking of the photo, I did not make many major altercations during editing. I brightened the photos and increased saturation to bring out the colour and contrast in the photos as well as sharpening the reflections.
As most of the effect was involved in the taking of the photo, I did not make many major altercations during editing. I brightened the photos and increased saturation to bring out the colour and contrast in the photos as well as sharpening the reflections.
|
|
|
|
|

|
|
|
